Halloween is right around the corner, and one of the most exciting parts of this spooky season is the tradition of pumpkin carving. Whether you’re a carving pro or just a beginner looking to impress your friends and family, there are endless possibilities to turn a simple pumpkin into a masterpiece. In this guide, I’ll walk you through 70 creative pumpkin carving ideas and designs, from classic jack-o-lanterns to intricate, artful carvings that will elevate your Halloween decor to the next level.
Why Pumpkin Carving is the Ultimate Halloween Tradition
Pumpkin carving is one of those age-old traditions that instantly gets everyone in the Halloween spirit. I remember my first attempt at carving a pumpkin – it was messy, exciting, and left me with a quirky little jack-o-lantern that sat proudly on my doorstep. Since then, I’ve tried different designs and techniques each year, and it never gets old. There’s something magical about turning a plain pumpkin into a glowing, spooky creation.
Whether you’re aiming for something simple or want to showcase your artistic flair, there’s a pumpkin carving idea for everyone. Plus, it’s a great way to bond with friends and family. Imagine gathering around with everyone, hands covered in pumpkin goo, laughing over whose design turned out the best (or worst)!
Let’s dive into some creative ideas that you can try this year.
Getting Started with Pumpkin Carving
Before we jump into the designs, let’s talk about the basics. If you’re a first-timer or even a seasoned pumpkin carver, it helps to be prepared.
Choosing the Right Pumpkin
Selecting the perfect pumpkin is the first step to creating a great design. Here’s what I’ve learned over the years:
- Size Matters: If you’re going for intricate designs, choose a larger pumpkin with a flat surface. For simpler designs, smaller pumpkins work just fine.
- Check for Soft Spots: Make sure the pumpkin is fresh and firm. Soft spots can indicate that it’s already starting to rot, which could ruin your carving.
- Pick Your Shape: Some designs work better on tall pumpkins, while others are perfect for round ones. Think about the design before choosing your pumpkin.
Tools You’ll Need
Having the right tools can make a huge difference in how your design turns out. You don’t need to invest in professional tools, but a basic pumpkin carving kit is super helpful.
- Pumpkin Scooper: This helps in hollowing out the pumpkin.
- Carving Knife: A small, serrated knife works best for detailed designs.
- Pin or Needle Tool: Great for tracing your design onto the pumpkin.
- Drills or Cutters: If you’re feeling adventurous, tools like power drills can be used for unique designs (more on that later!).
Once you’ve got your pumpkin and tools ready, it’s time to get carving!
Classic Pumpkin Carving Ideas
Sometimes, sticking with the classics is all you need for a perfect Halloween display. Here are some timeless pumpkin carving ideas that never go out of style.
1. The Traditional Jack-O-Lantern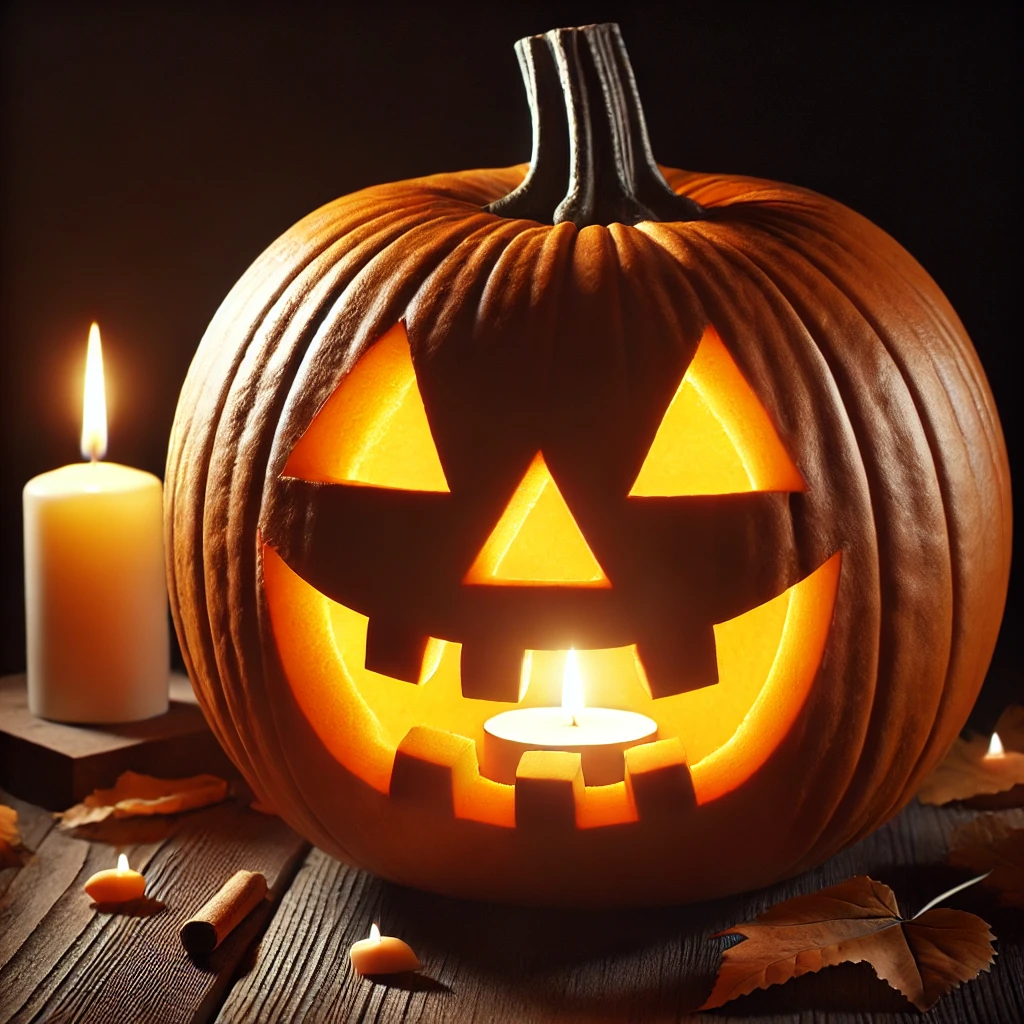
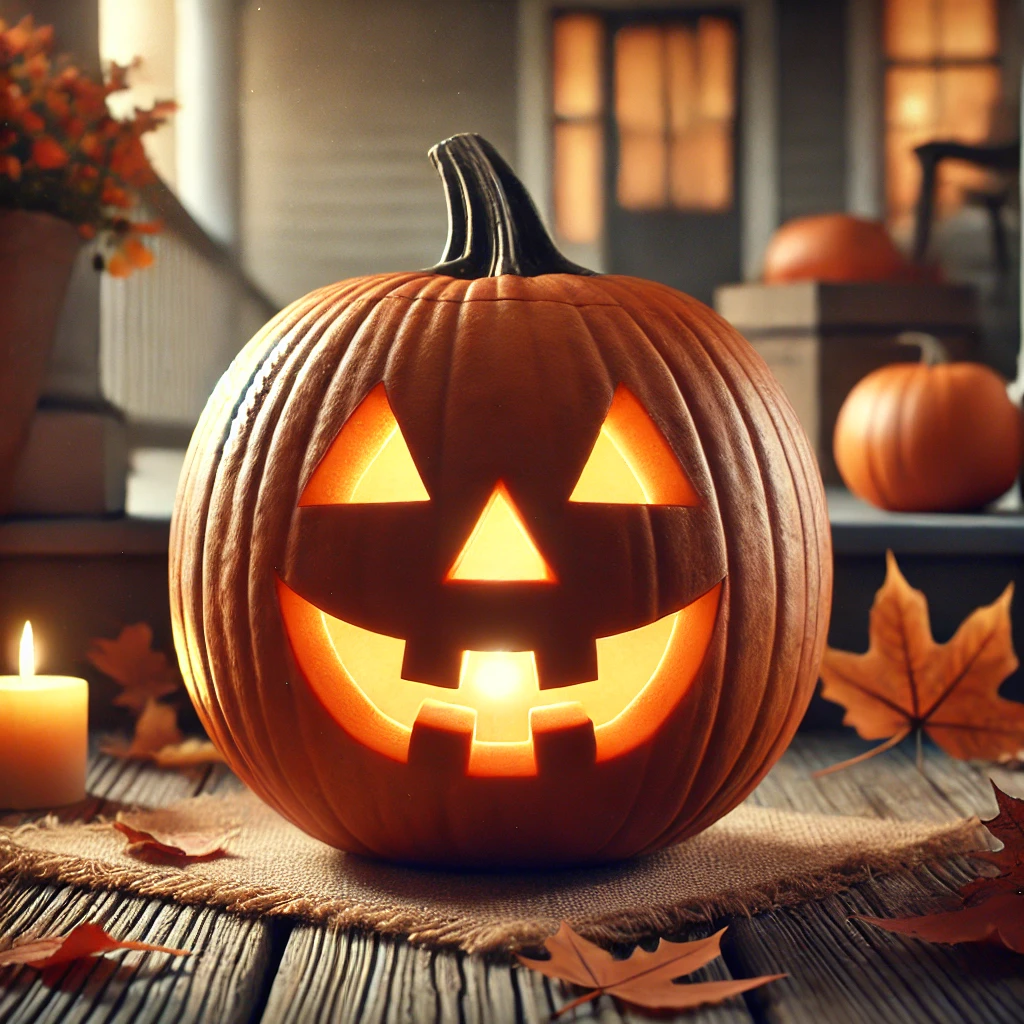
Let’s start with the most iconic pumpkin carving design – the classic jack-o-lantern. There’s a reason this design has been around for centuries. It’s simple, fun, and instantly recognizable. To create your jack-o-lantern, all you need to do is carve out triangular eyes, a nose, and a wide, jagged grin. You can get creative with the expression by giving your pumpkin an evil smirk or a surprised look.
2. Pumpkin Friendly Faces for the Kids

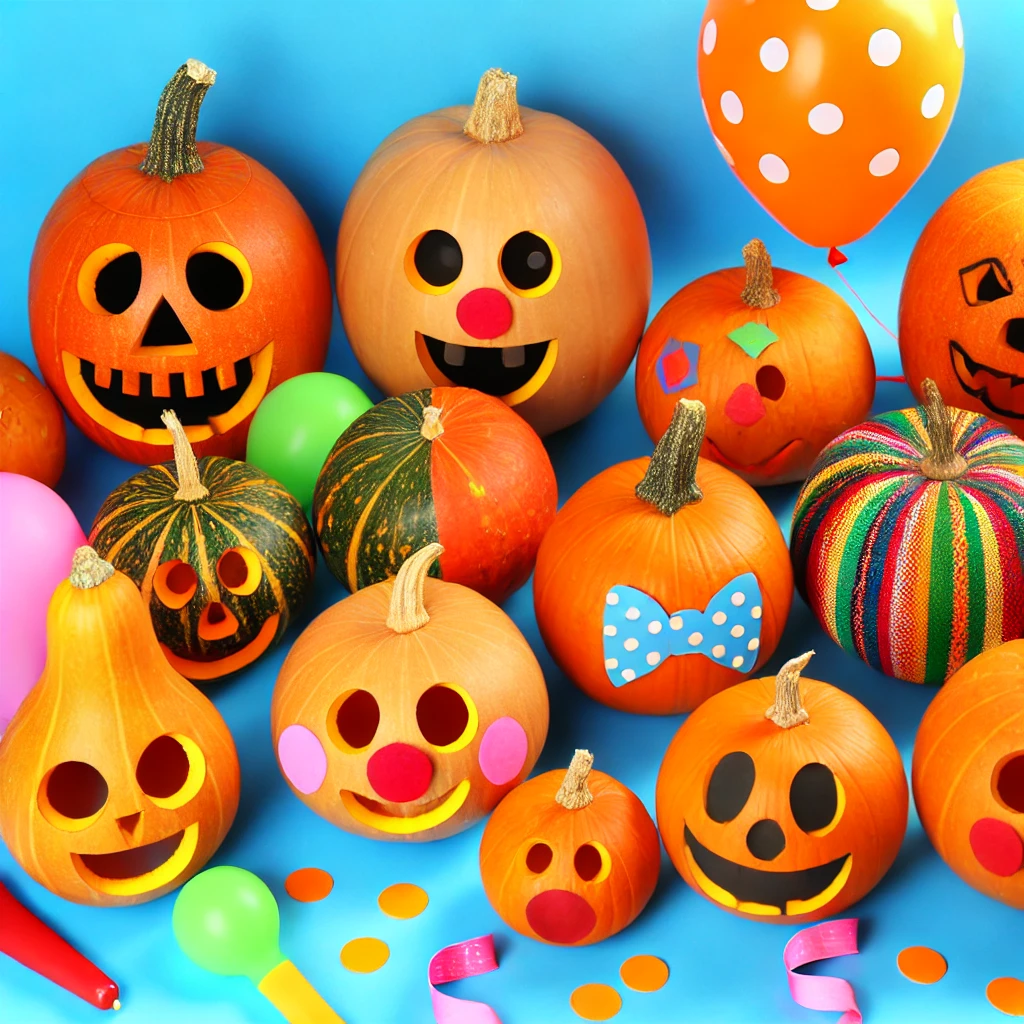
If you’ve got little ones, you might want to skip the spooky faces and opt for something a bit friendlier. Carve big, round eyes and a happy smile to give your pumpkin a more cheerful appearance. These pumpkins are perfect for family-friendly Halloween gatherings and won’t scare the kids (too much).
3. The Spooky Ghost Face Pumpkin
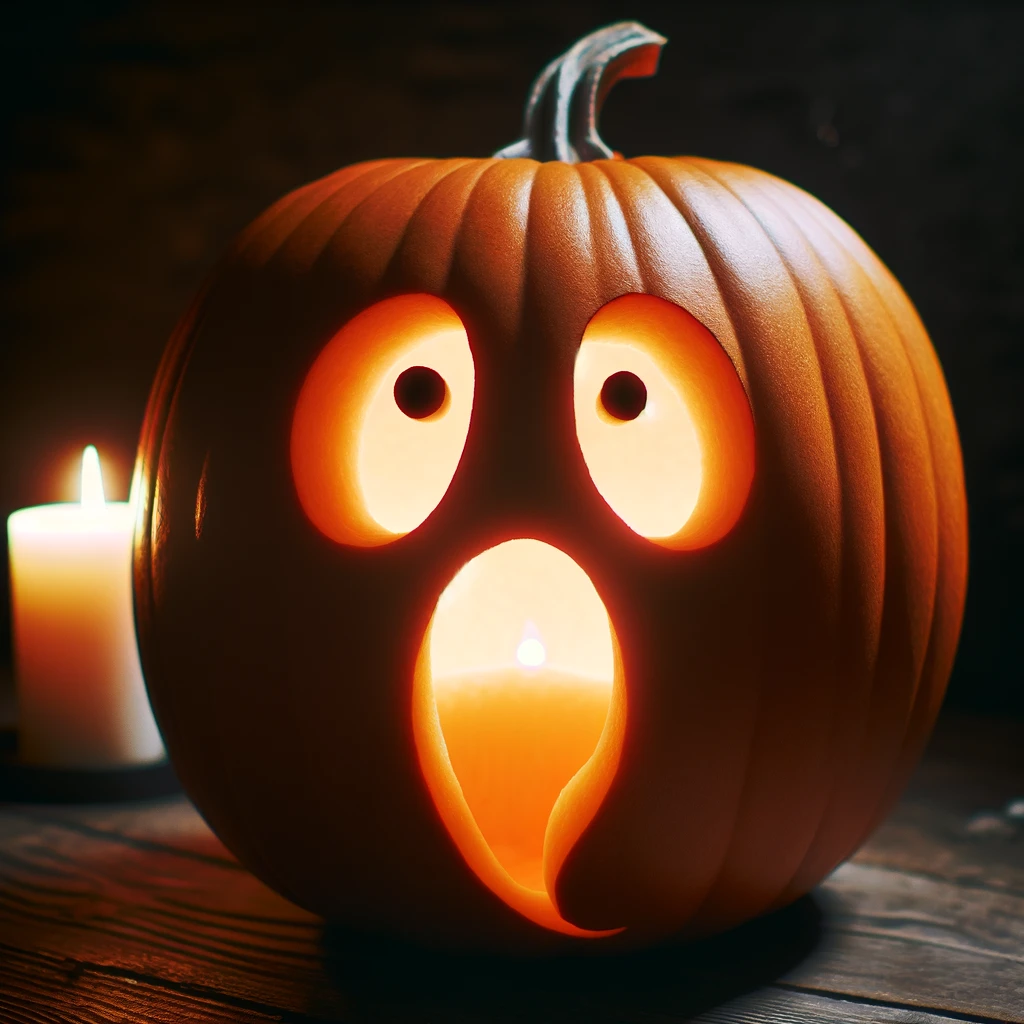
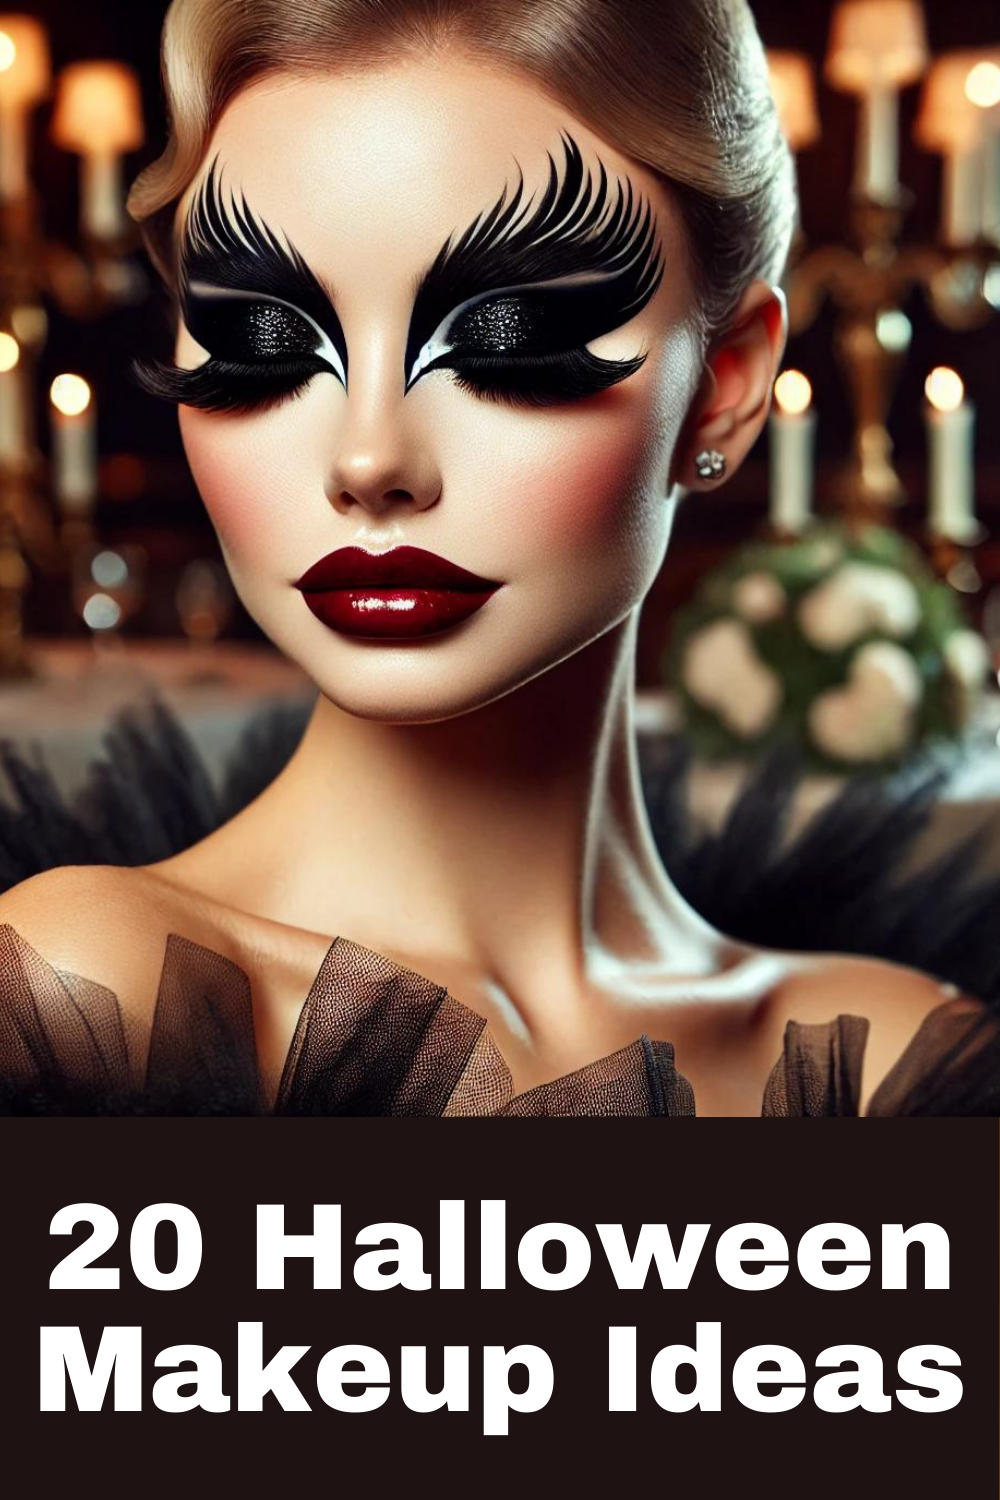
For those who love the eerie side of Halloween, a spooky ghost face is a great idea. Start with wide, hollow eyes and a mouth shaped like an “O” to create that haunted look. Add some shading or thin cuts to give the illusion of shadows, making your ghost face come to life at night when the candle is lit. Get Halloween Makeup ideas.
4. Frankenstein’s Monster Pumpkin
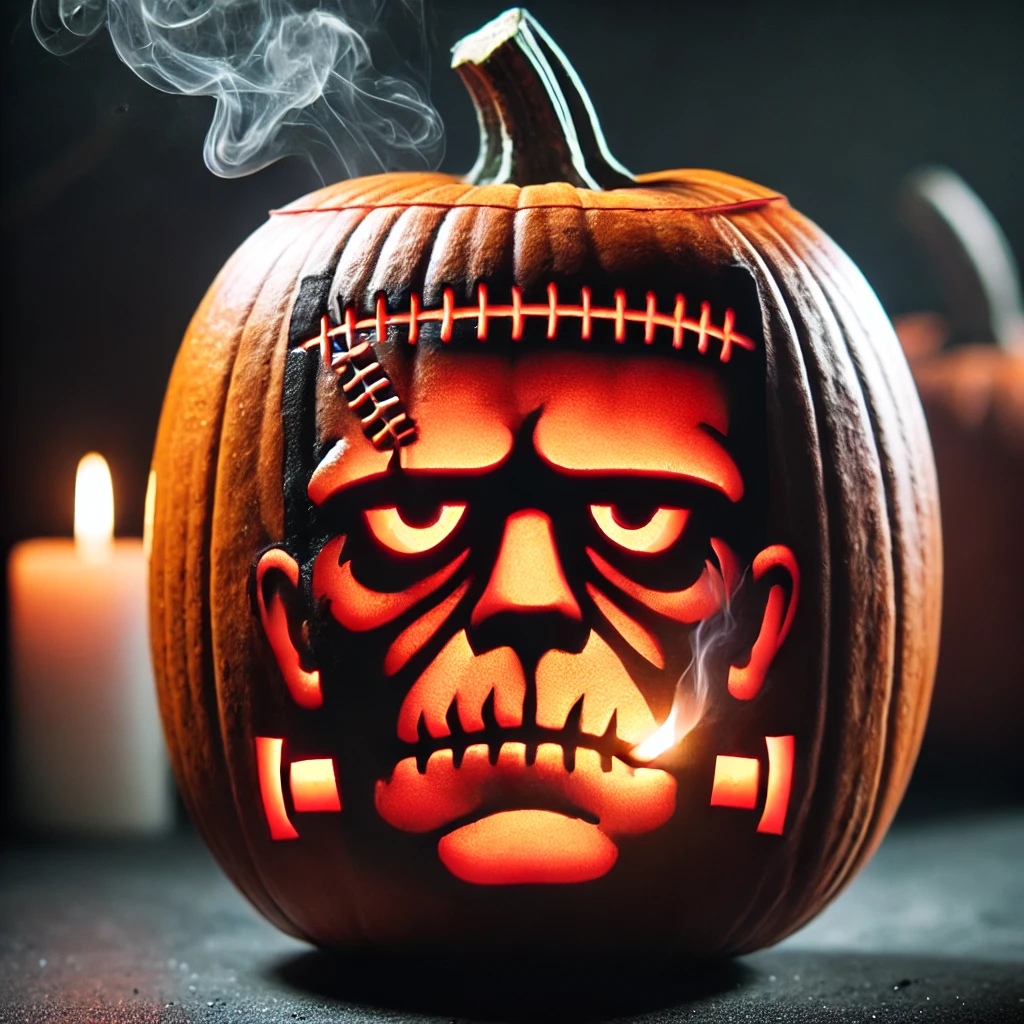
Channel your inner mad scientist and carve a Frankenstein’s monster face onto your pumpkin. This design is fun and easy to recognize. Start with square-shaped eyes and add a straight line for the mouth with little stitches carved on either side to resemble Frankenstein’s famous bolts. For an extra touch, consider adding a scar on the forehead.
5. The Vampire Pumpkin
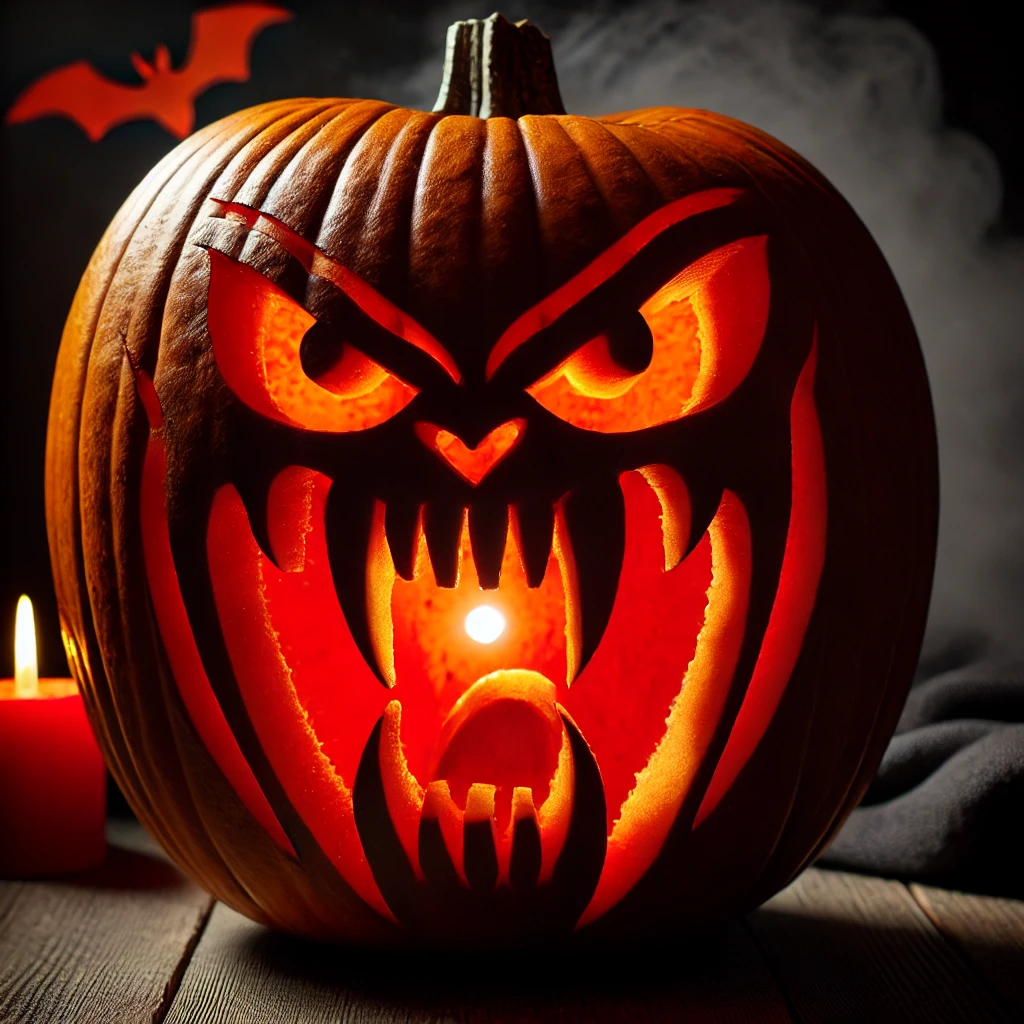
Give your pumpkin a pair of sharp, fang-like teeth to transform it into a vampire. For the eyes, you can carve slits or add plastic vampire fangs for a 3D effect. This design looks especially cool when you place a red LED light inside, making your vampire pumpkin appear even more menacing. Check out these 22 Halloween women outfit ideas for inspiration to complement your spooky decor and bring your Halloween look to life.
Creative and Unique Pumpkin Carving Designs
Once you’ve mastered the basics, you might want to experiment with more creative and unique designs. Here are some ideas that go beyond the traditional jack-o-lantern.
6. The Starry Night Pumpkin
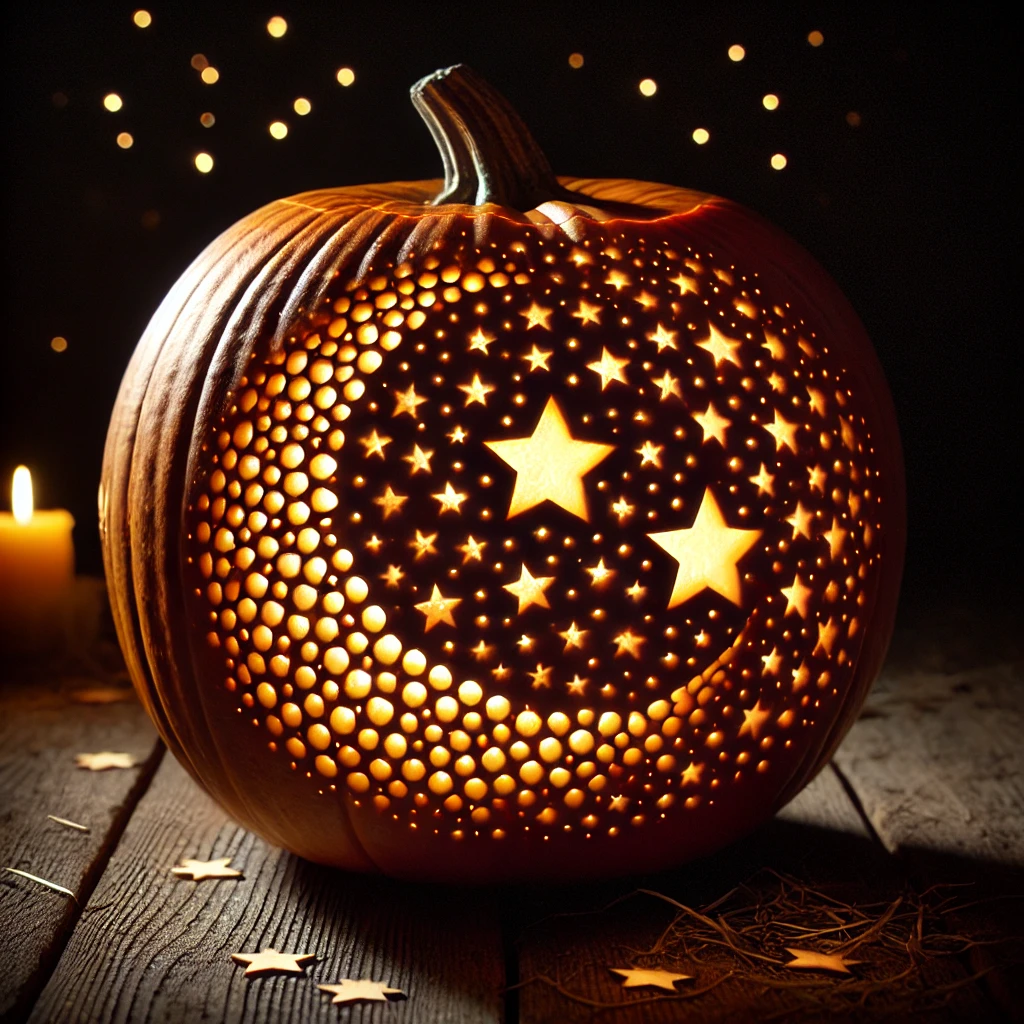
For a mesmerizing effect, carve out a starry night pattern on your pumpkin. Use a drill or a sharp tool to create small holes in the shape of stars across the pumpkin’s surface. When you place a candle inside, the light will shine through the holes, creating a stunning starry night effect. It’s one of the easiest yet most beautiful designs you can try.
7. Geometric Patterns on Pumpkin
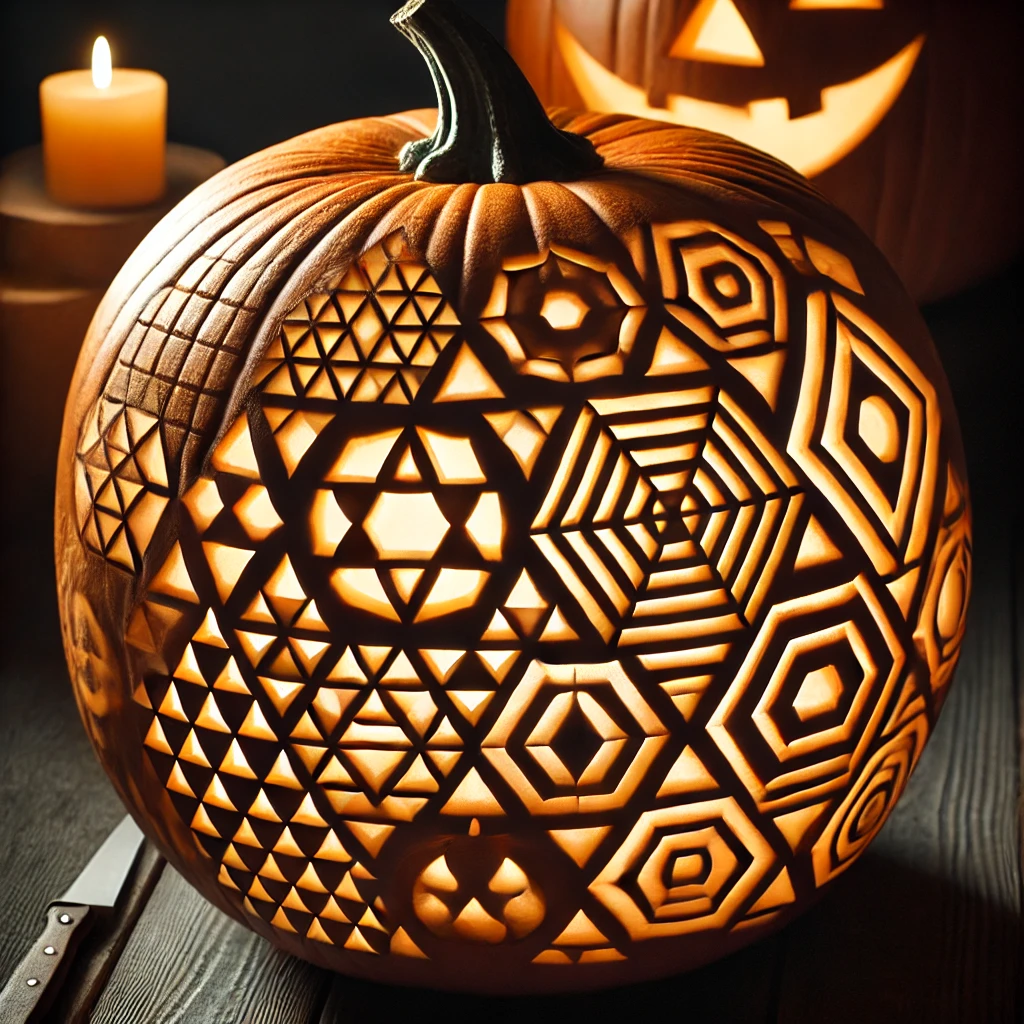
If you’re looking for something modern and chic, try carving geometric patterns into your pumpkin. From triangles to hexagons, geometric shapes can turn your pumpkin into a work of art. Plus, this design works well with any size pumpkin, making it a versatile option for your Halloween decor.
8. Polka Dot Pumpkin
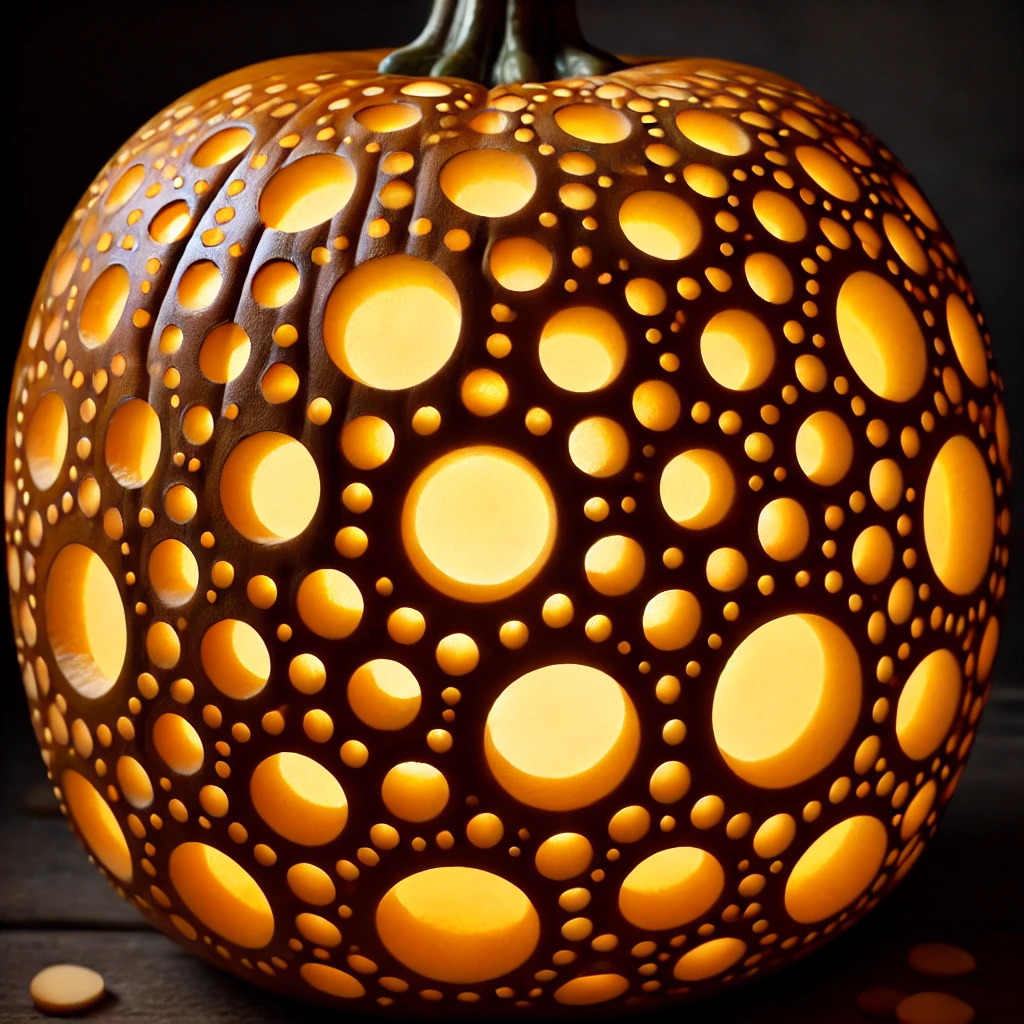
Polka dots aren’t just for fashion – they work great on pumpkins too! Use a melon baller or a small cookie cutter to create perfectly round holes all over the pumpkin. This design is playful, unique, and surprisingly easy to execute. For added flair, use different colored lights inside the pumpkin to make the dots glow in vibrant shades. Check out these 22 spooky Halloween nail design ideas for more hauntingly creative inspirations!
9. The Haunted House Scene Pumpkin Design
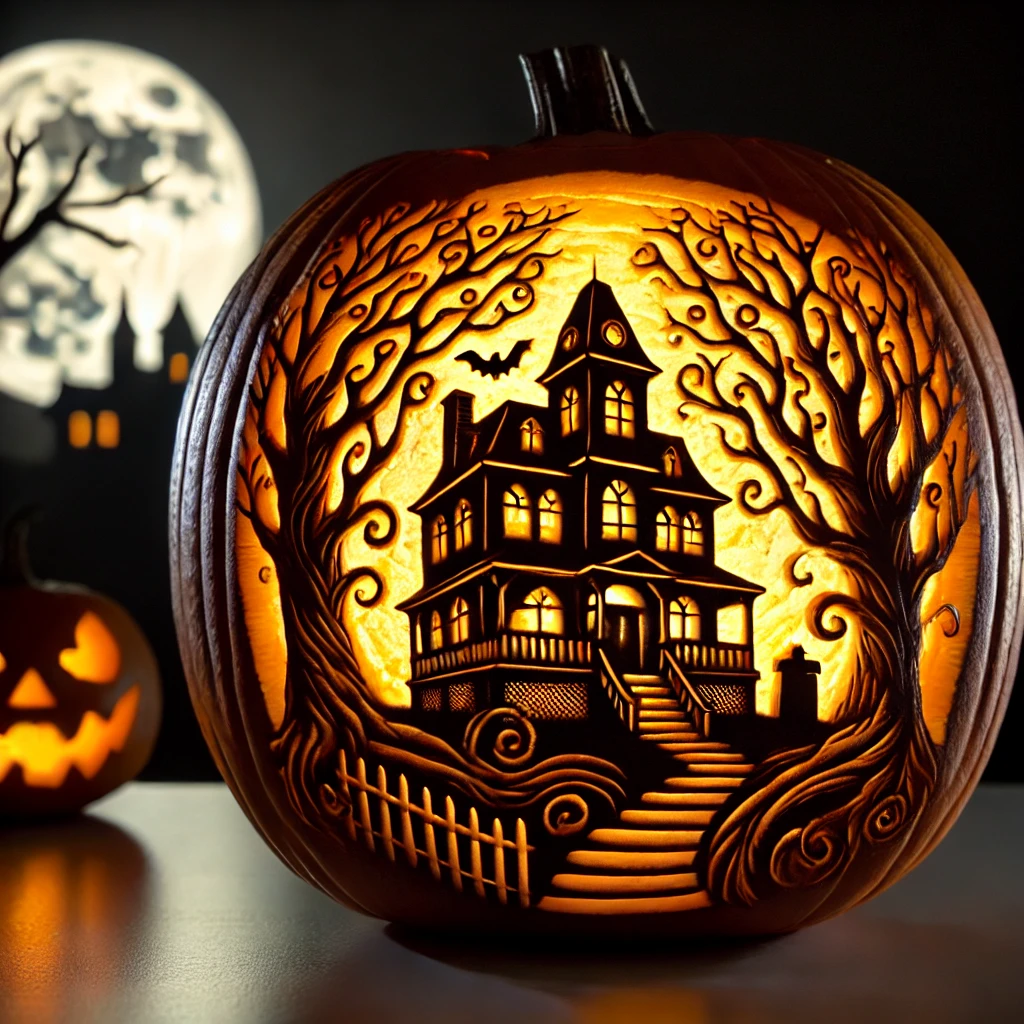
If you’re feeling particularly ambitious, try carving an entire haunted house scene into your pumpkin. This intricate design can include spooky trees, a full moon, and a haunted mansion. While it requires some patience and precision, the result is absolutely worth it.
10. Animal Faces Ideas on Pumpkin
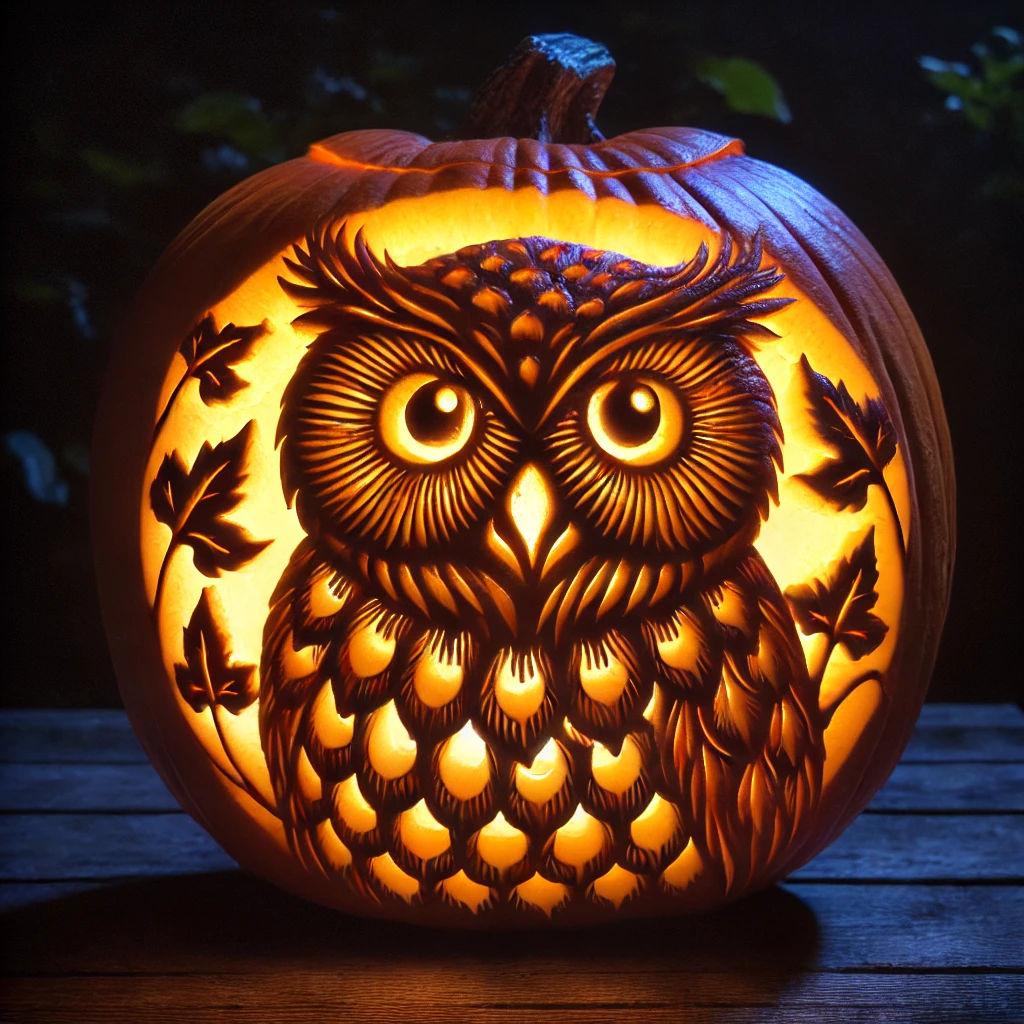
One of my favorite pumpkin carving ideas is creating animal faces. Whether it’s a cat, owl, or even a fox, animal-themed pumpkins add a whimsical touch to your Halloween decor. For a cat, carve pointy ears and use a knife to etch whiskers into the surface. An owl pumpkin could have big, wide eyes and feather-like details.
Fun and Whimsical Pumpkin Designs
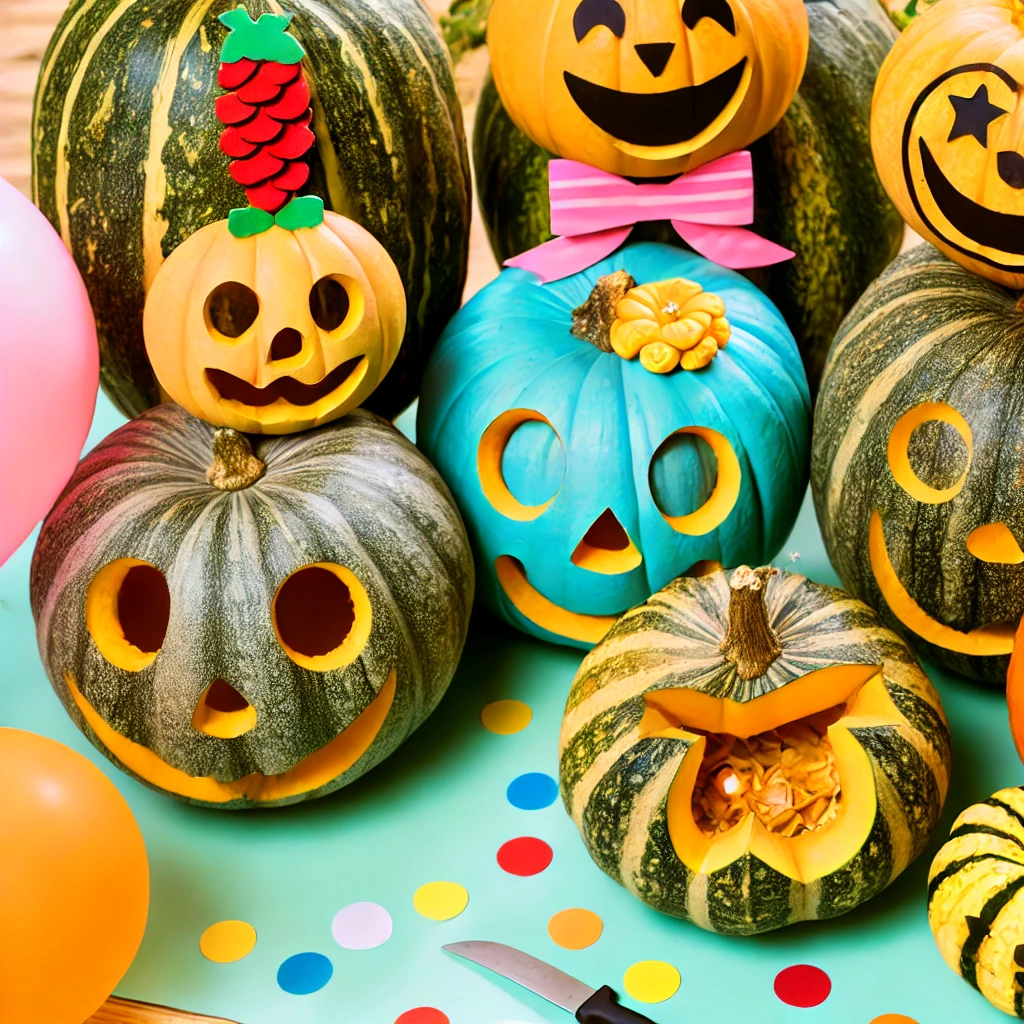
Not every Halloween pumpkin has to be scary or spooky. If you’re looking for something more light-hearted or creative, these designs will add a whimsical touch to your holiday décor.
11. Emoji Pumpkins
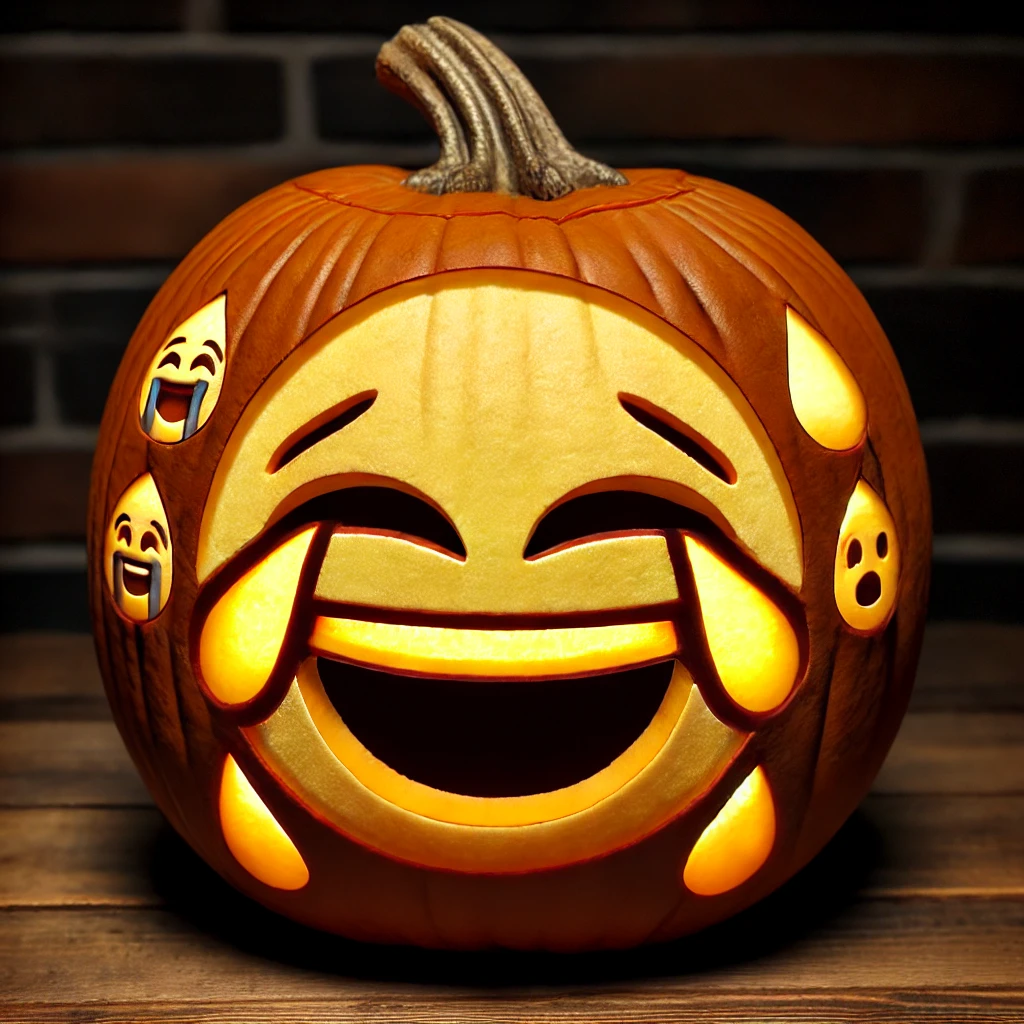
Turn your pumpkin into your favorite emoji! This is a fun, modern take on pumpkin carving and perfect for those who want something playful rather than creepy. You can carve out the classic smiley face emoji, the heart eyes emoji, or even the infamous “laughing with tears” emoji. These designs are easy to create and sure to get some laughs from your guests.
12. Rainbow Pumpkin

Who says Halloween has to be all black and orange? A rainbow pumpkin is a bright and cheerful option that will definitely stand out. While this design involves less carving and more painting, you can still carve out shapes like hearts or stars and then paint around them in different colors. This is a great project for kids who love to get messy with paint!
13. Sugar Skull Pumpkin
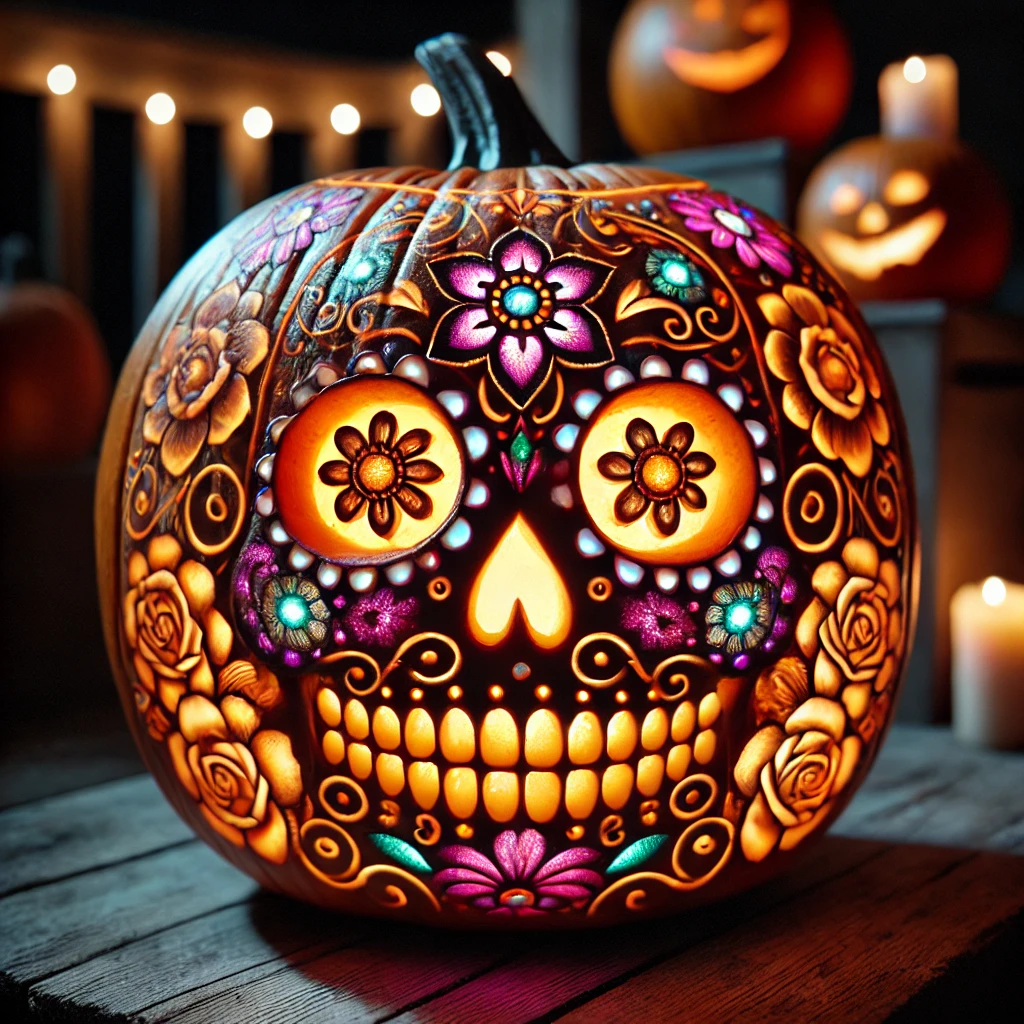
Inspired by the Mexican Day of the Dead tradition, the sugar skull pumpkin combines bright colors and intricate designs. Start by carving out large, round eyes and then use smaller tools to etch floral and decorative patterns around the face. This design looks particularly striking when you use multi-colored LED lights inside the pumpkin to give it that vibrant sugar skull feel.
14. The Witch’s Brew
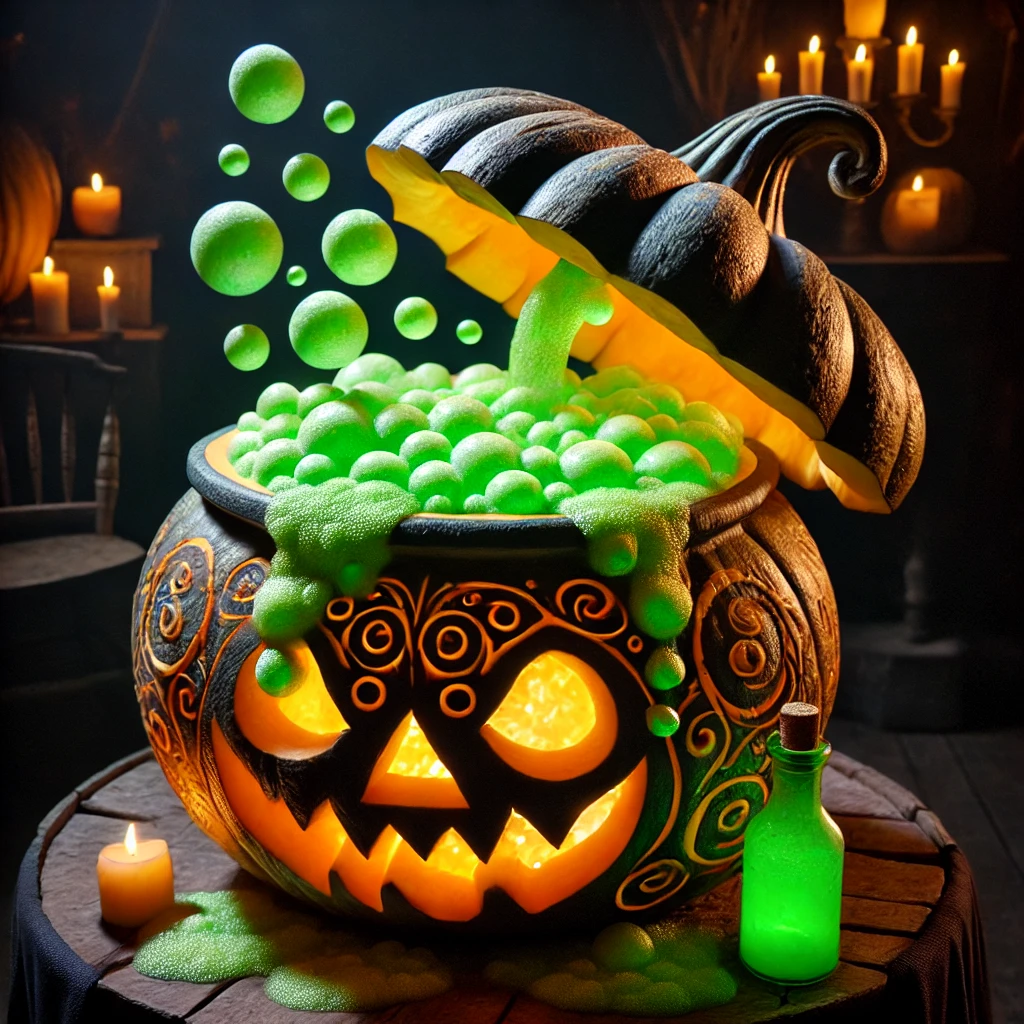
Create a bubbling cauldron look by carving out the top of your pumpkin and making it look like it’s overflowing with a witch’s potion. You can add small details like bubbling drops or even stick a mini broom beside it for added effect. Place a green light inside to mimic the glow of a magical brew. This is a fun and imaginative idea that brings a touch of magic to your Halloween display.
15. The Animal Parade with Pumpkins
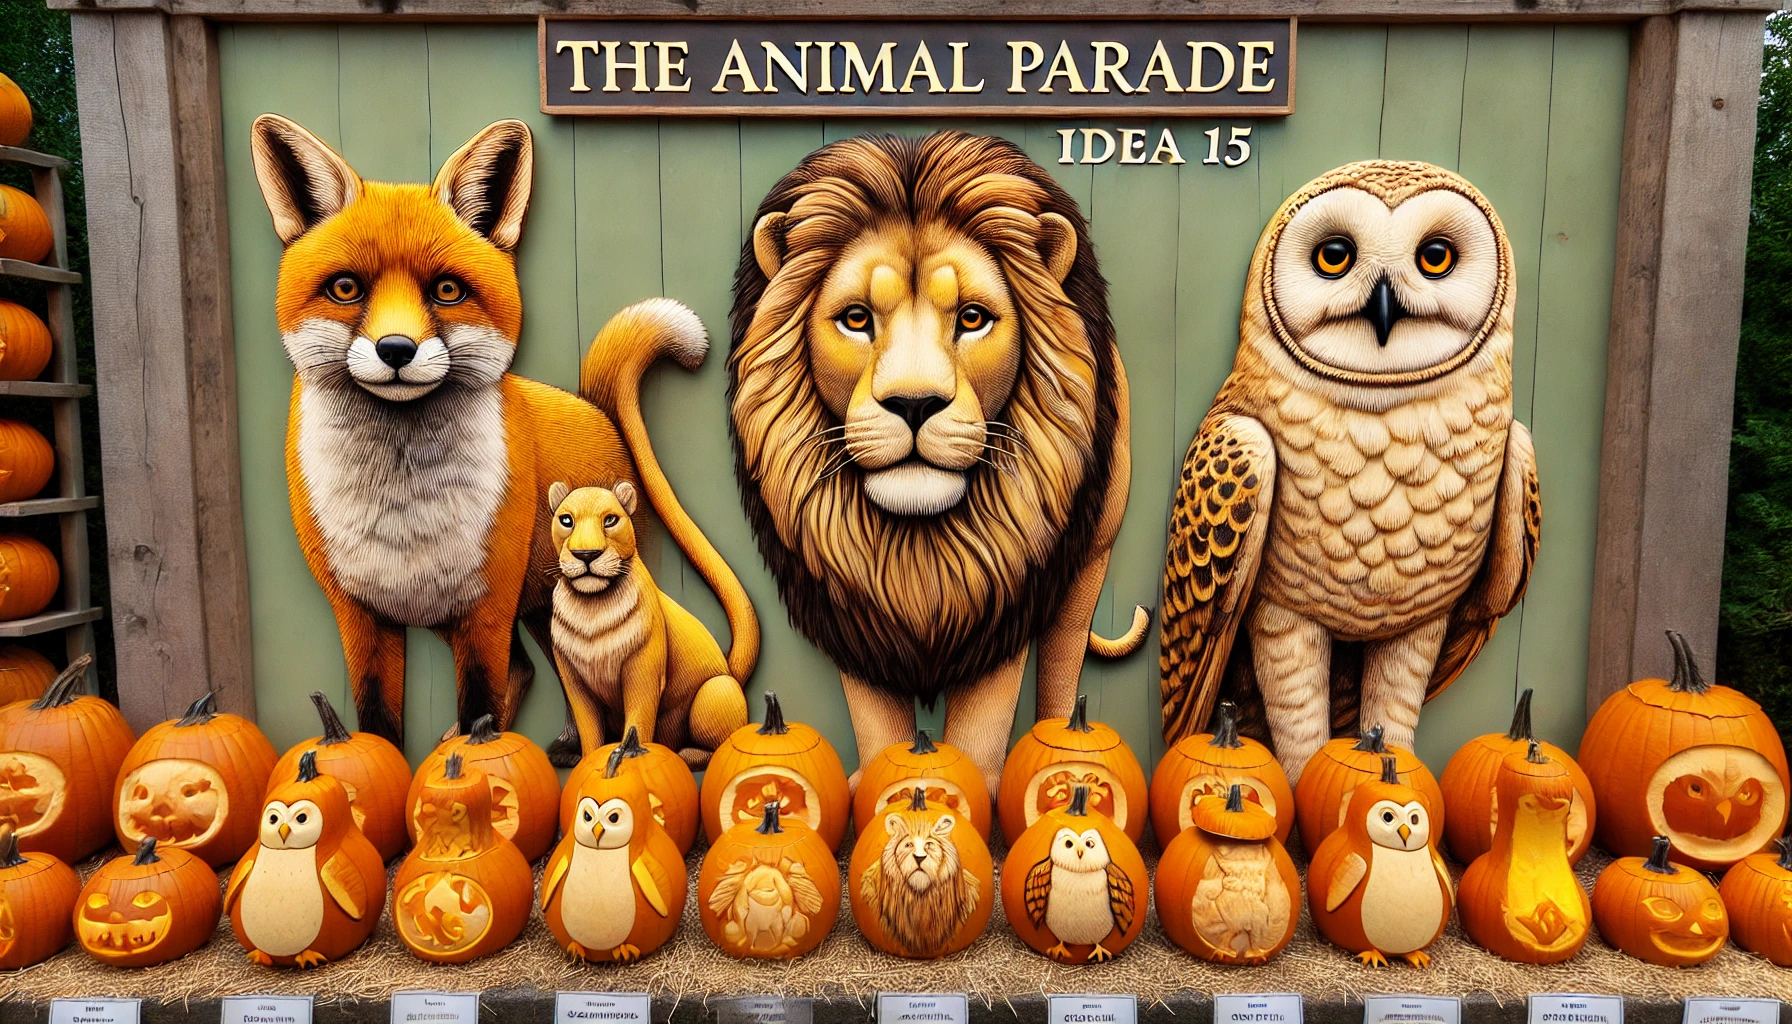
If you love animals, why stop at just one? Create an entire parade of animal-themed pumpkins. From a sly fox to a roaring lion or a wise owl, you can carve different animals onto multiple pumpkins and line them up together. For added fun, paint each pumpkin to match the animal you’re representing. This is a great idea if you have several pumpkins and want a cohesive, themed display.
Advanced Pumpkin Carving Techniques
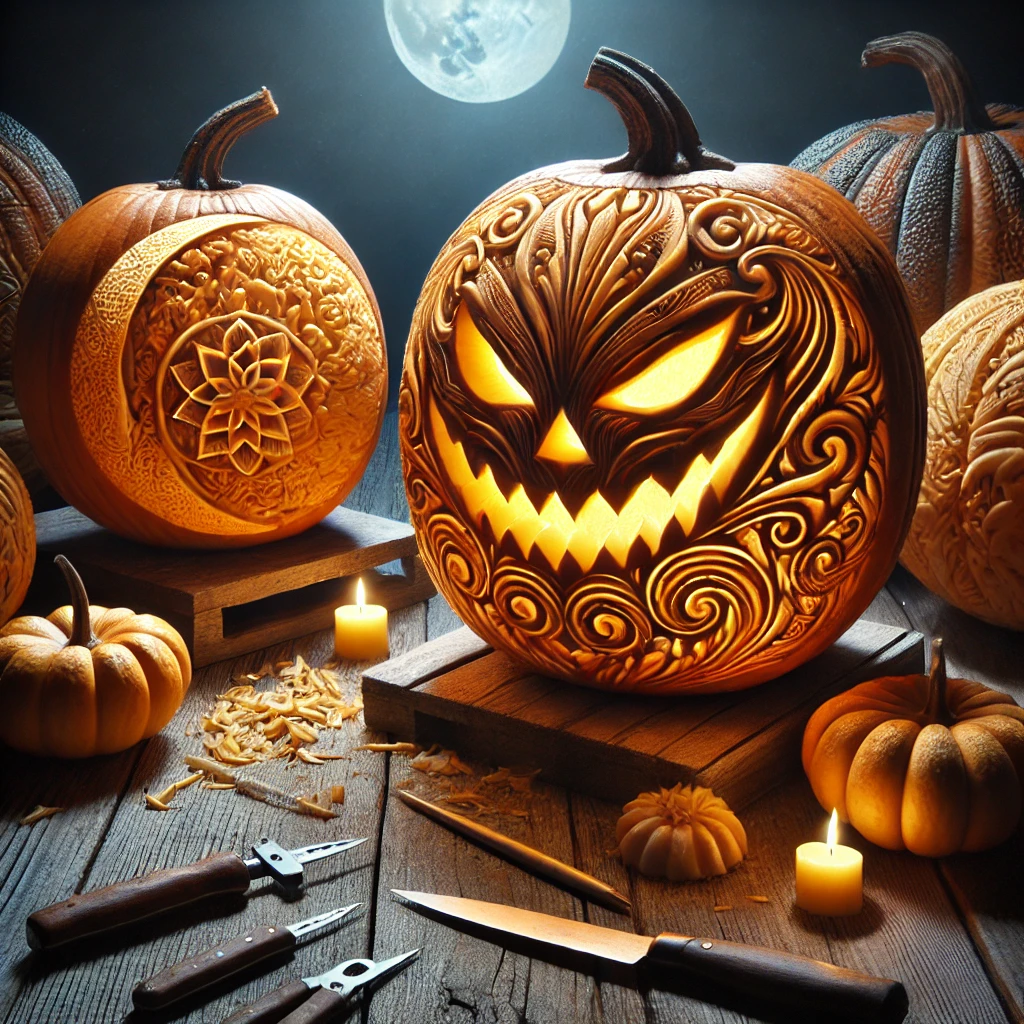
Once you’ve mastered the basics, you might want to push your pumpkin carving skills to the next level. Here are some advanced techniques and designs that require a bit more time and patience but result in truly breathtaking pumpkins.
16. Pumpkin Lanterns
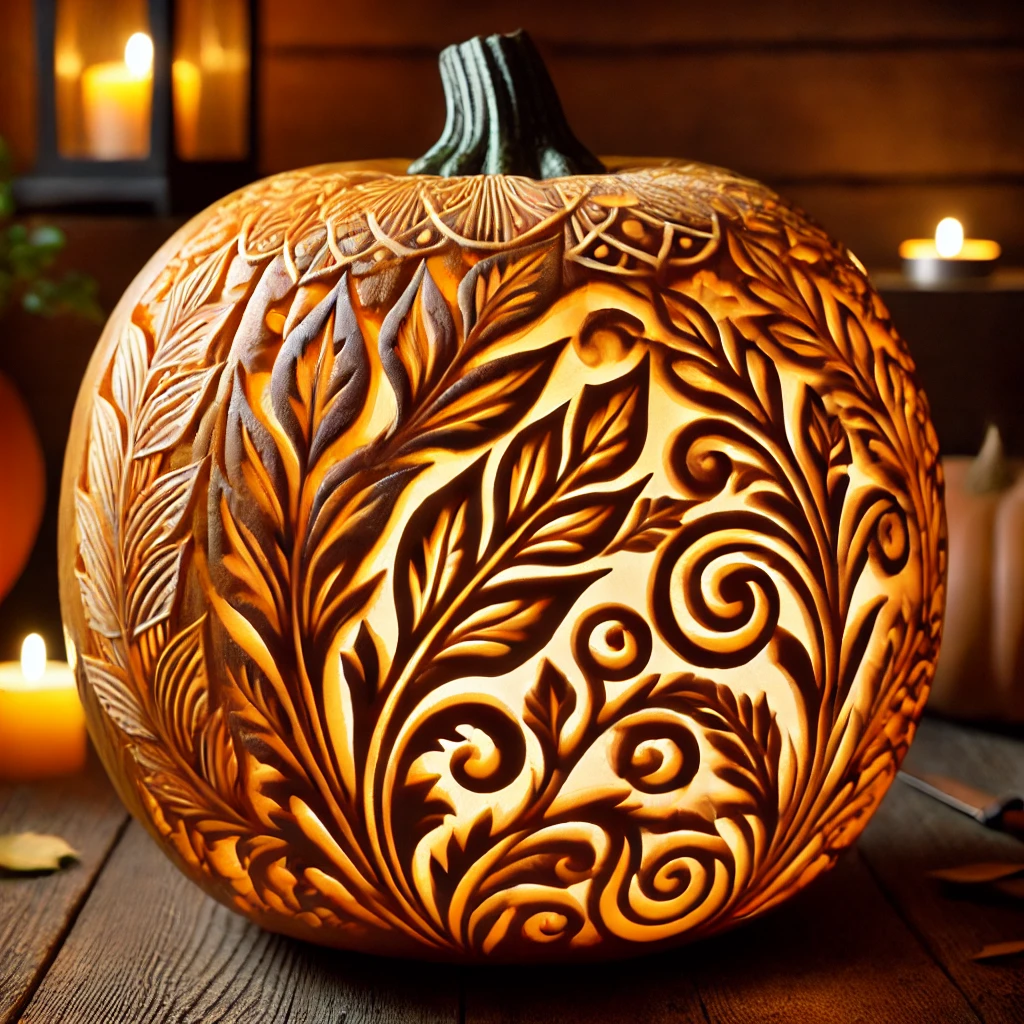
Take your pumpkin from ordinary to extraordinary by transforming it into a lantern. The trick here is to carve multiple layers into the pumpkin, creating depth and dimension. Start by drawing a design of your choice (like leaves, swirls, or geometric shapes), then carefully carve out different depths to give the illusion of texture. When lit up, the varying layers will create a beautiful, glowing lantern effect.
17. 3D Pumpkin Carving DIY
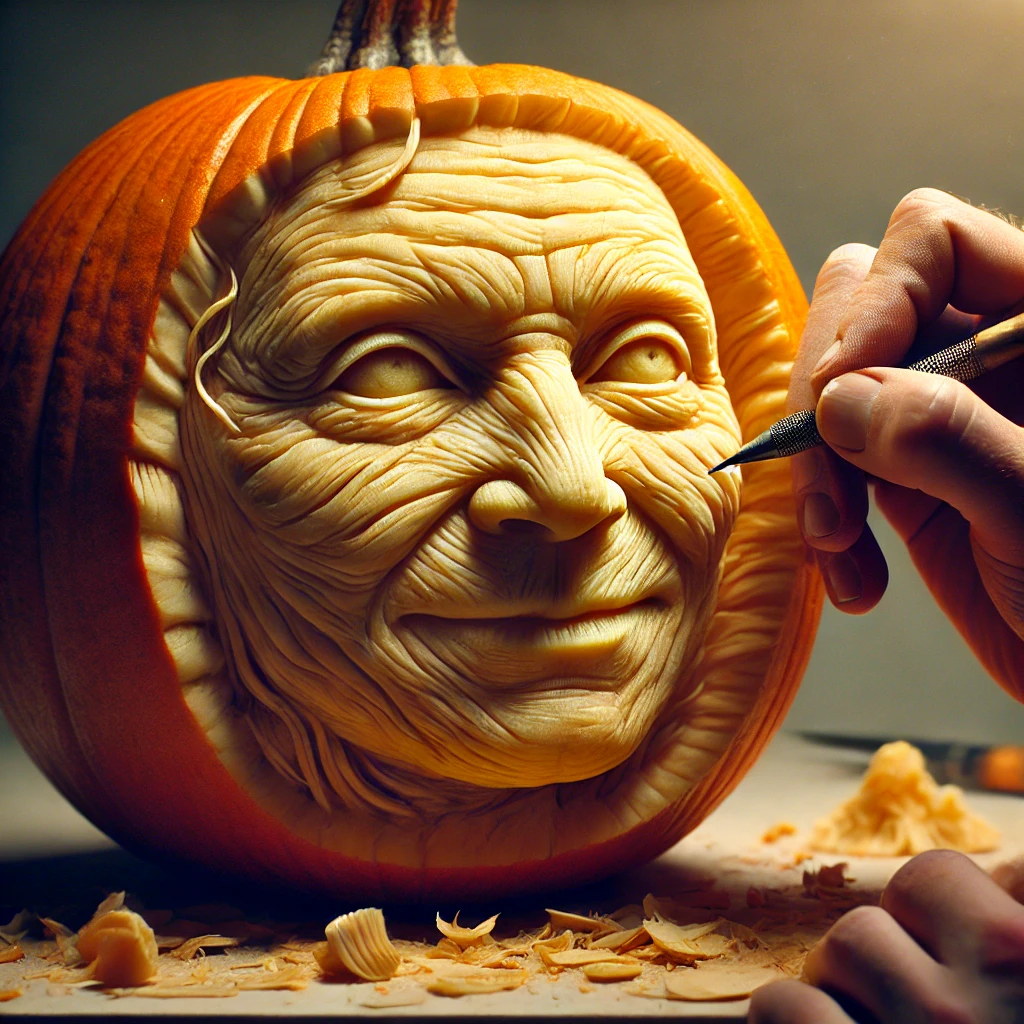
For a truly impressive display, try 3D carving. Instead of just cutting through the pumpkin, this technique involves carving into the surface to create a sculpted effect. You can carve a lifelike face, an animal, or even a famous character. This requires specialized tools and a lot of patience, but the end result is a show-stopping pumpkin that will be the talk of the neighborhood.
18. Negative Space Designs
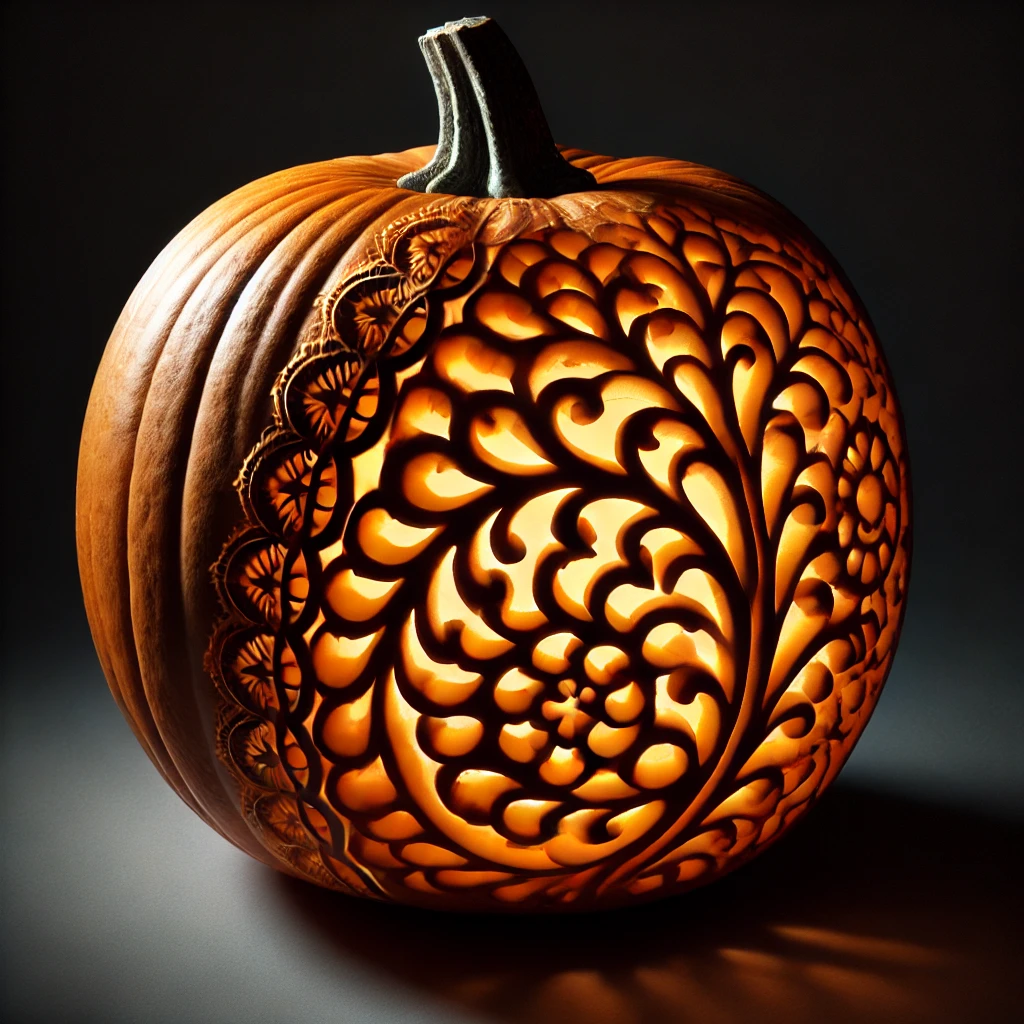
Negative space designs are all about using the untouched areas of the pumpkin to create a striking effect. Instead of carving out your entire design, carve only around certain areas, leaving the shapes of your design in the untouched pumpkin flesh. This works particularly well for intricate designs like leaves, lace patterns, or city skylines.
19. Use Power Tool For Carving Pumpkin
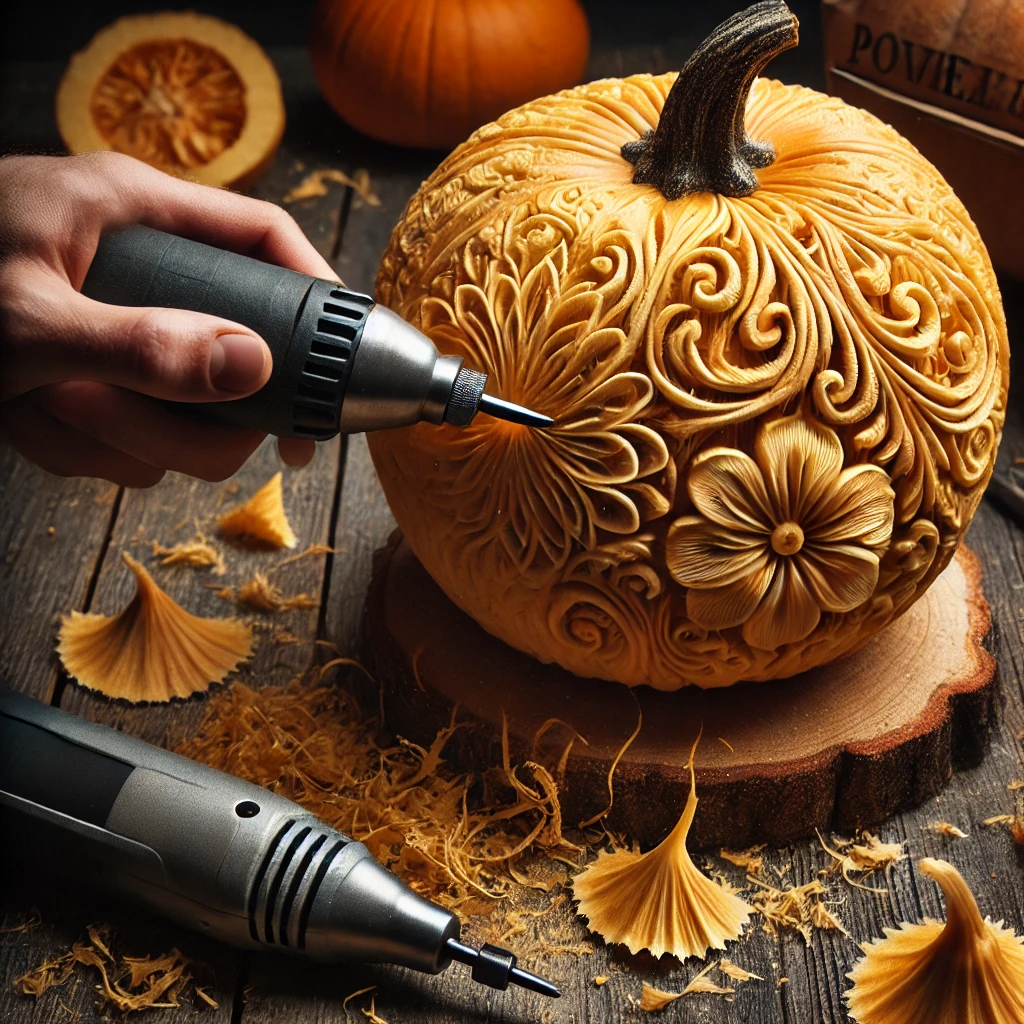
If you’re looking for precision and speed, power tools can be your best friend. Small handheld drills or rotary tools like a Dremel can help you carve intricate designs in less time. You can use different attachments to create smooth cuts, delicate lines, and even textured effects. Just be sure to handle power tools carefully, especially when working with a round, slippery pumpkin!
20. Stacked Pumpkin Towers
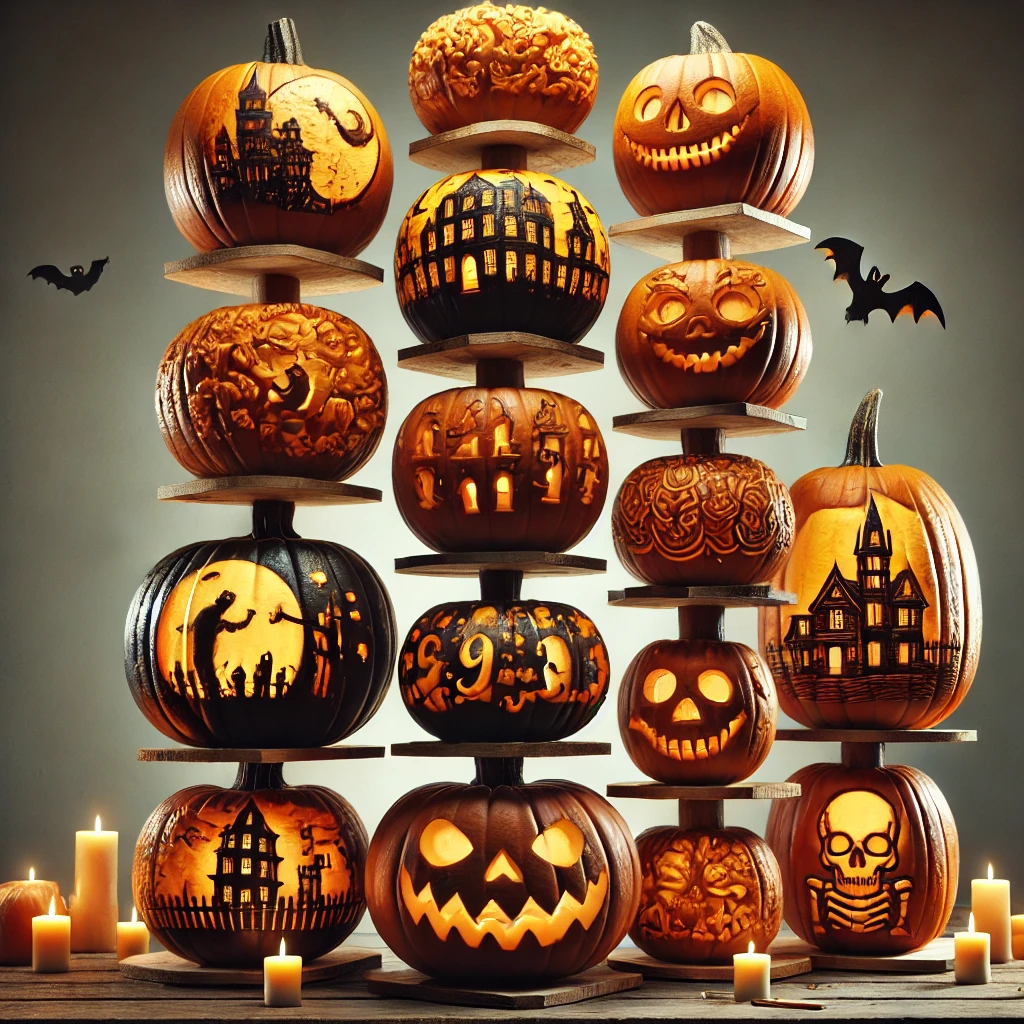
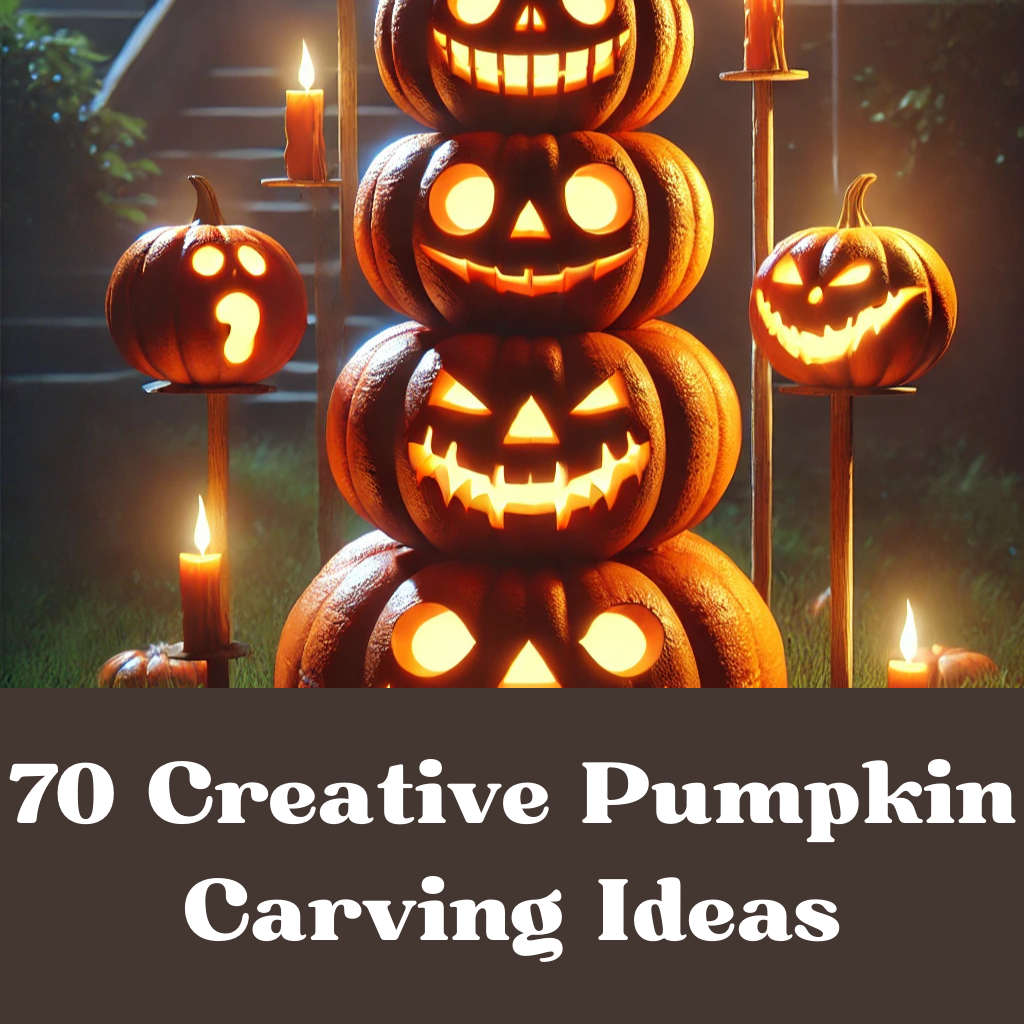
Why settle for one pumpkin when you can create an entire tower? Stacked pumpkin towers involve carving multiple pumpkins and then stacking them on top of one another. You can create a story that flows from the bottom pumpkin to the top. For example, start with a spooky graveyard scene at the base and finish with a ghost or skeleton at the top. Secure the pumpkins together using wooden dowels or sturdy stakes to keep them in place.
No-Carve Pumpkin Ideas
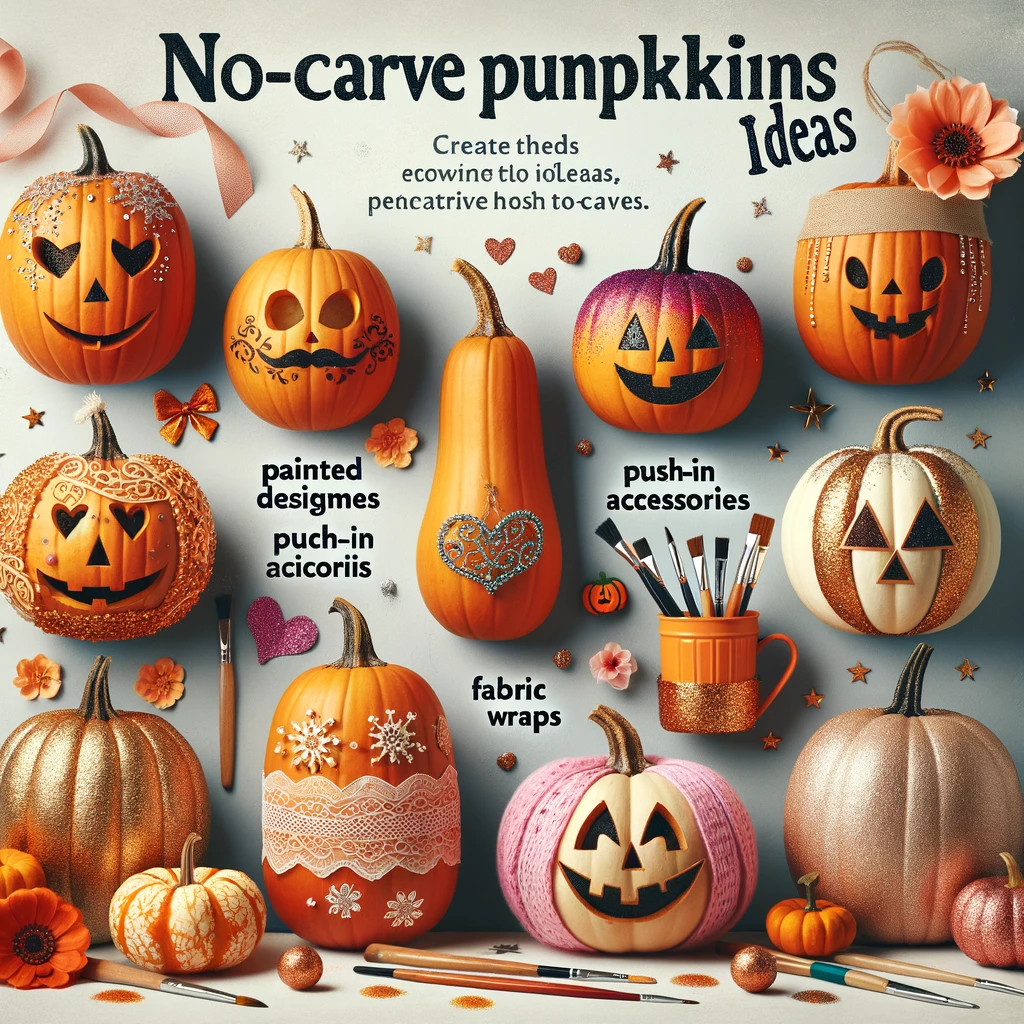
If you’re not a fan of carving or just want to try something different this year, no-carve pumpkins are a fantastic option. These designs are great for kids or for anyone looking to create a mess-free pumpkin display.
21. Painted Pumpkins
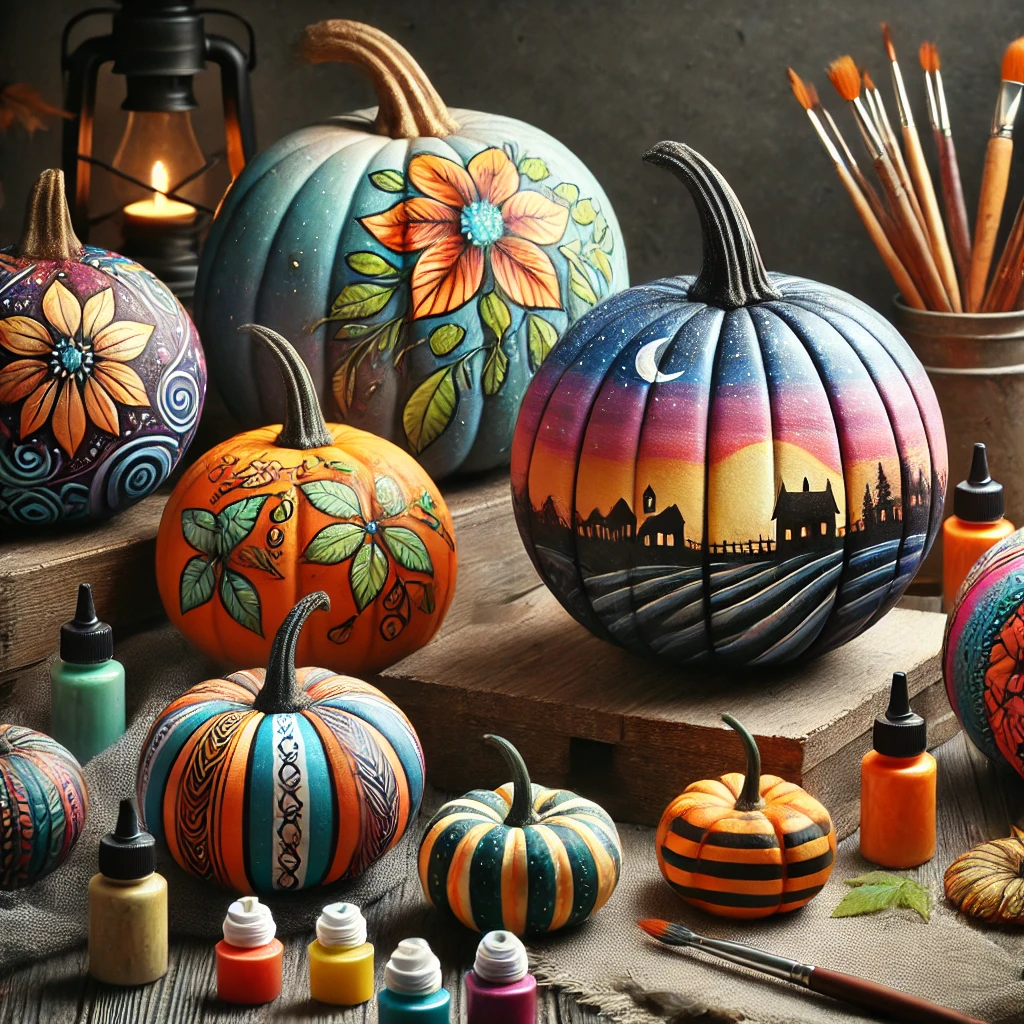
One of the easiest and most versatile no-carve ideas is to simply paint your pumpkins. You can paint them solid colors, add stripes, or even turn them into works of art by painting scenes or characters. If you’re feeling extra crafty, you can use stencils to create more detailed designs. The best part is that painted pumpkins last much longer than carved ones, so you can enjoy them all season long.
22. Glitter Pumpkins
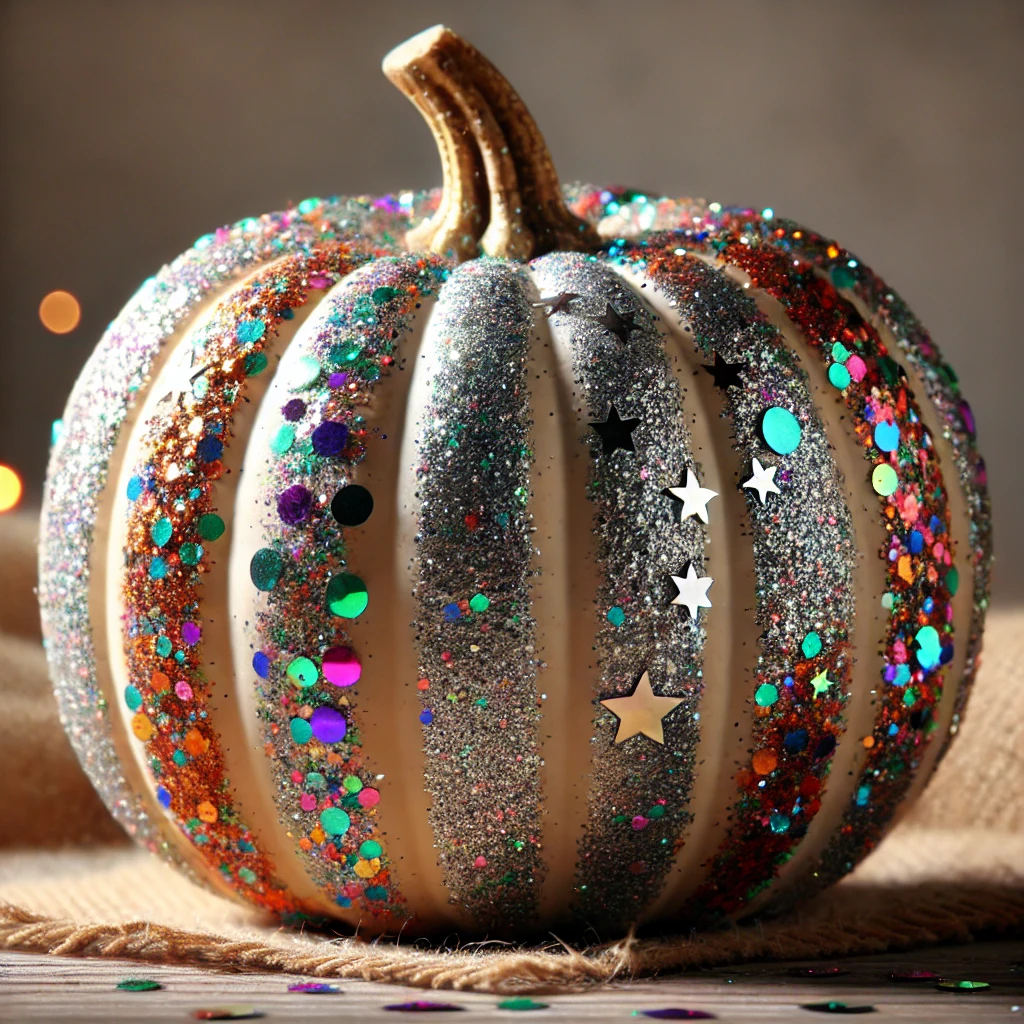
Bring some sparkle to your Halloween with glitter pumpkins. All you need is some glue, a paintbrush, and glitter in the color of your choice. Brush glue over the pumpkin’s surface and then sprinkle glitter all over it. You can cover the entire pumpkin or just create a glittery design like stripes, polka dots, or stars. These pumpkins are glamorous, fun, and will definitely catch the light at night.
23. Push-In Pumpkin Accessories
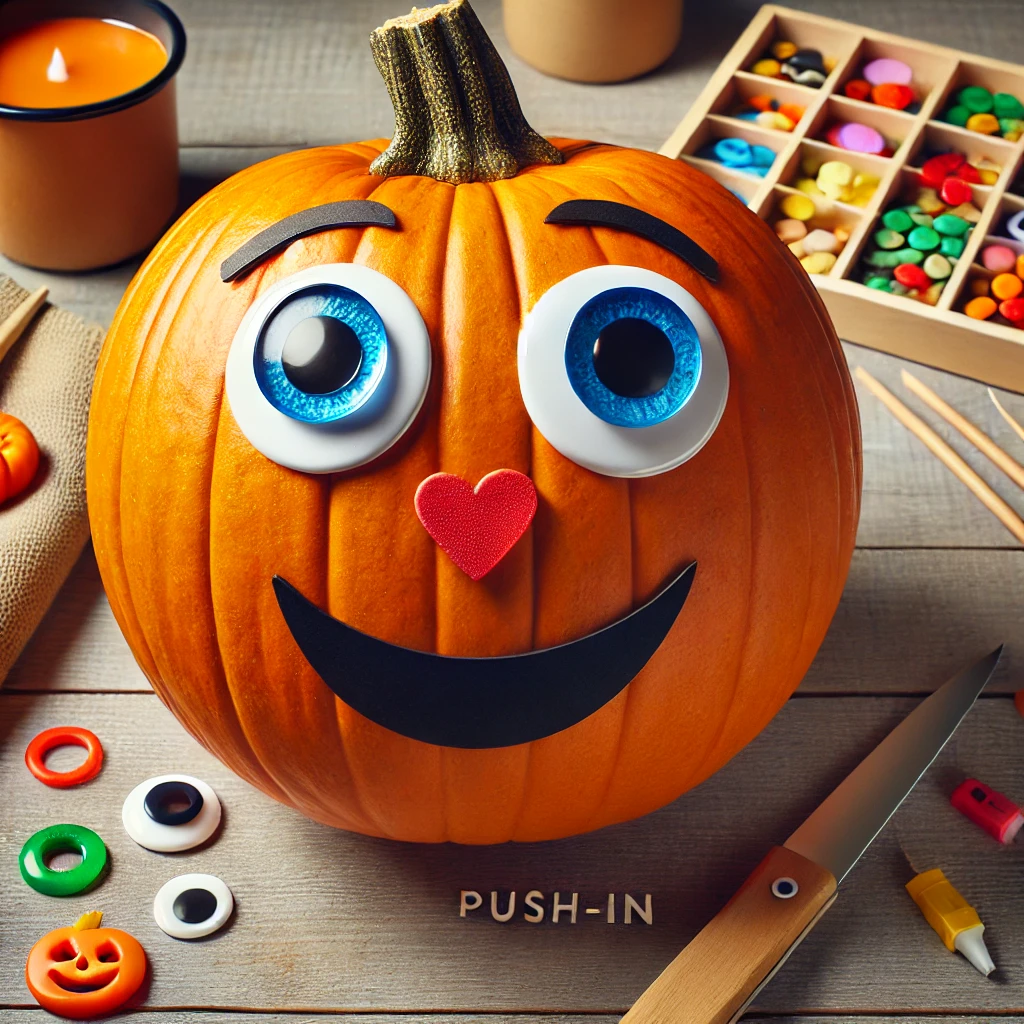
For a quick and easy no-carve option, consider using push-in pumpkin accessories. These are pre-made parts like eyes, noses, ears, and mouths that you simply push into the pumpkin to create a face or character. This is a perfect project for kids or for anyone who wants to avoid the hassle of carving. You can find accessory kits at most craft stores or even make your own using household items.
24. Fabric-Wrapped Pumpkins
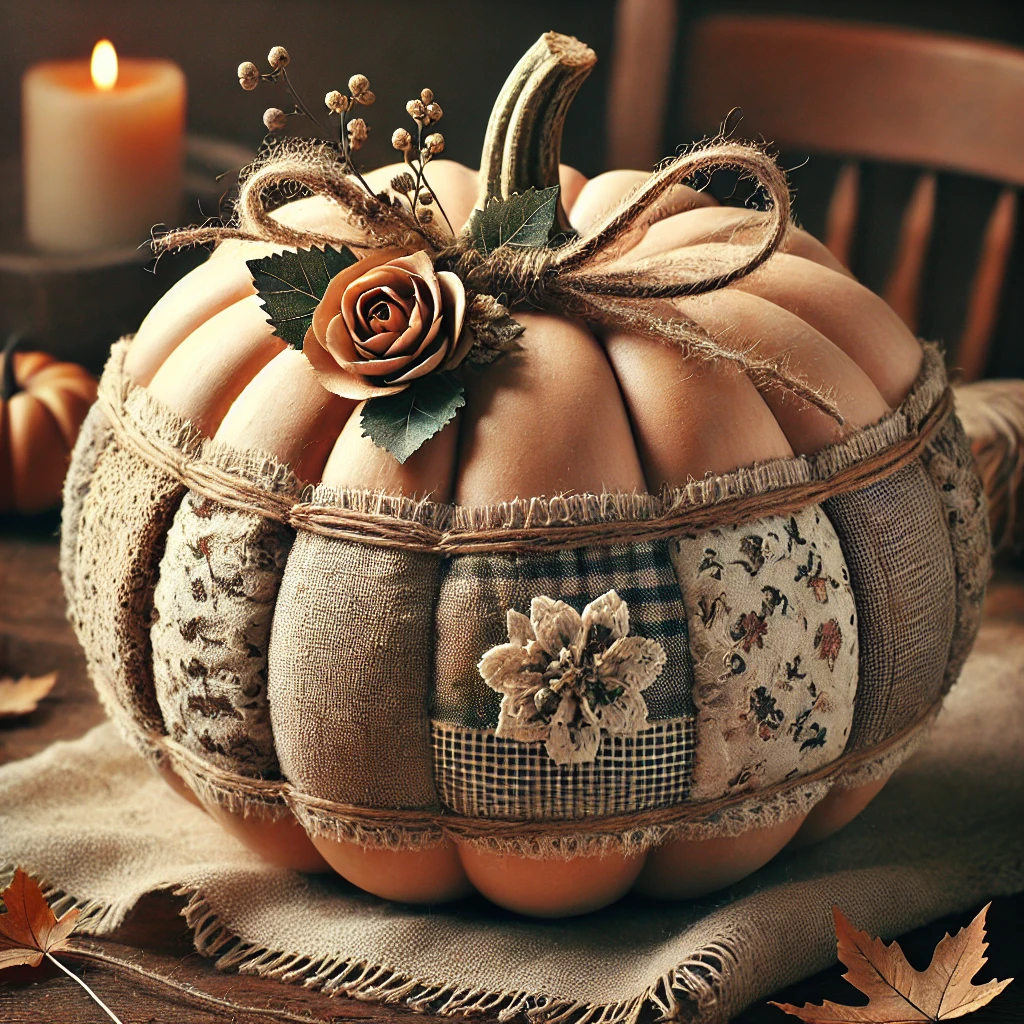
For a cozy and rustic vibe, wrap your pumpkins in fabric. Use burlap, lace, or even old flannel shirts to cover the pumpkin and tie it up with twine. You can add decorative touches like faux flowers, leaves, or ribbons to enhance the look. This no-carve idea is perfect for anyone who loves farmhouse-style decor and wants to create a warm, inviting Halloween display.
25. Chalkboard Pumpkins
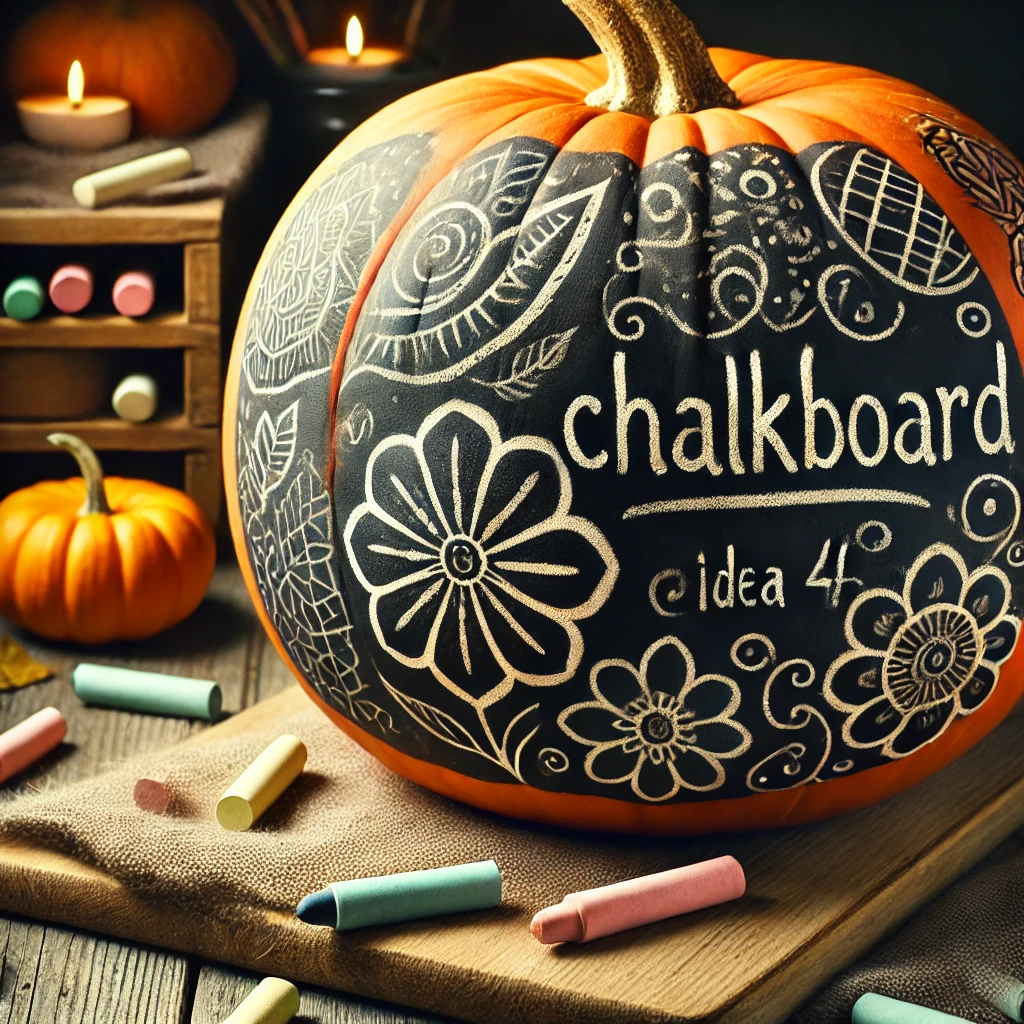
Turn your pumpkin into a chalkboard canvas by painting it with chalkboard paint. Once dry, you can use chalk to write messages, draw designs, or even let guests add their own doodles. The best part is that you can wipe it off and start over anytime you want. This is a great interactive option for parties or gatherings, allowing people to get creative with their pumpkin designs.
Pumpkin Carving Safety Tips
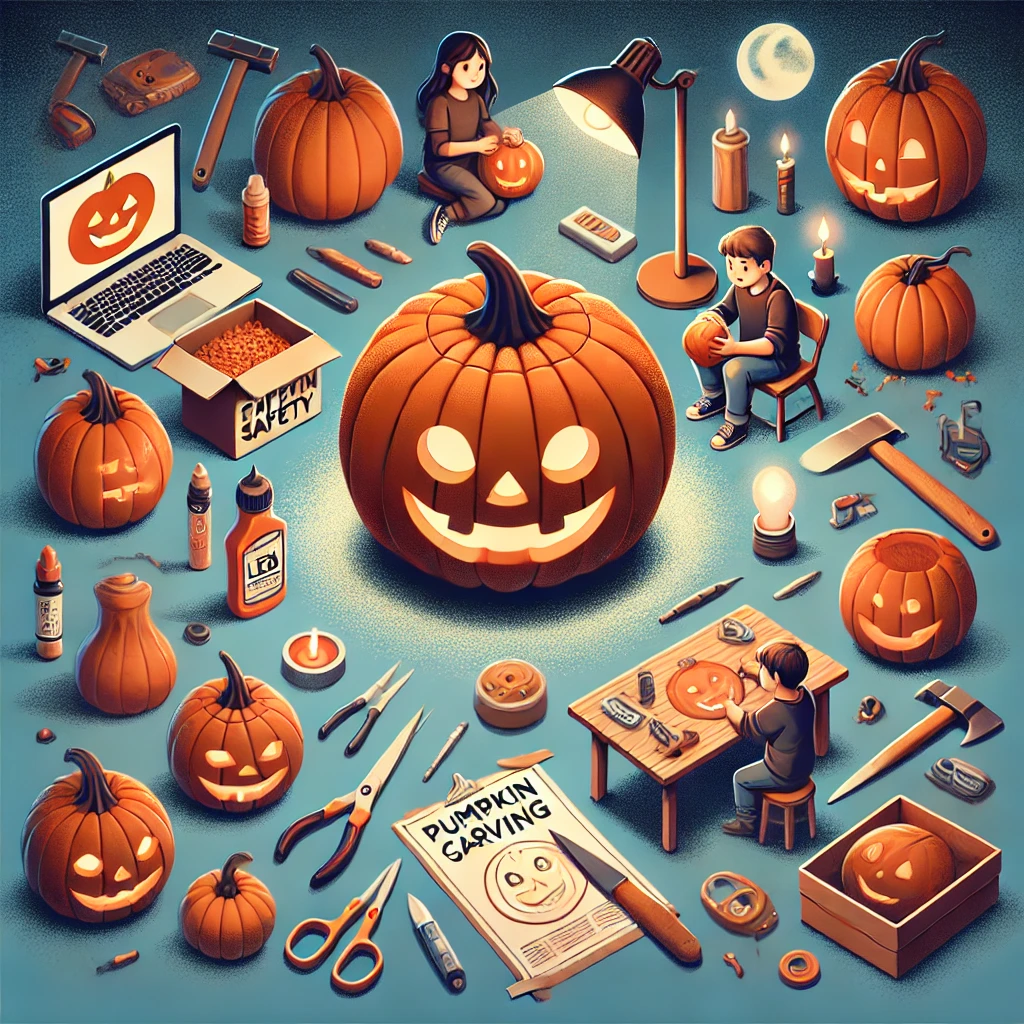
Pumpkin carving can be loads of fun, but it’s important to keep safety in mind, especially if kids are involved. Here are a few tips to make sure everyone stays safe while creating their Halloween masterpieces:
- Use the Right Tools: Pumpkin carving kits are designed specifically for cutting through pumpkin flesh, making them safer than using kitchen knives. If you don’t have a kit, opt for small, serrated knives instead of large, sharp ones.
- Work on a Stable Surface: Make sure your pumpkin is on a flat, non-slippery surface while carving. This will help prevent any accidents.
- Supervise Young Children: If kids are helping out, give them safe tasks like scooping out the pumpkin or tracing the design with a marker. Leave the carving to adults or older children.
- Keep Your Hands Dry: Wet hands can easily slip, so make sure to dry your hands and tools frequently during the carving process.
- Light Your Pumpkin Safely: Instead of traditional candles, consider using LED tea lights or battery-operated lights to illuminate your pumpkin. This reduces the risk of fire, especially if you’re displaying the pumpkin indoors or near flammable materials.
Intricate and Detailed Pumpkin Designs
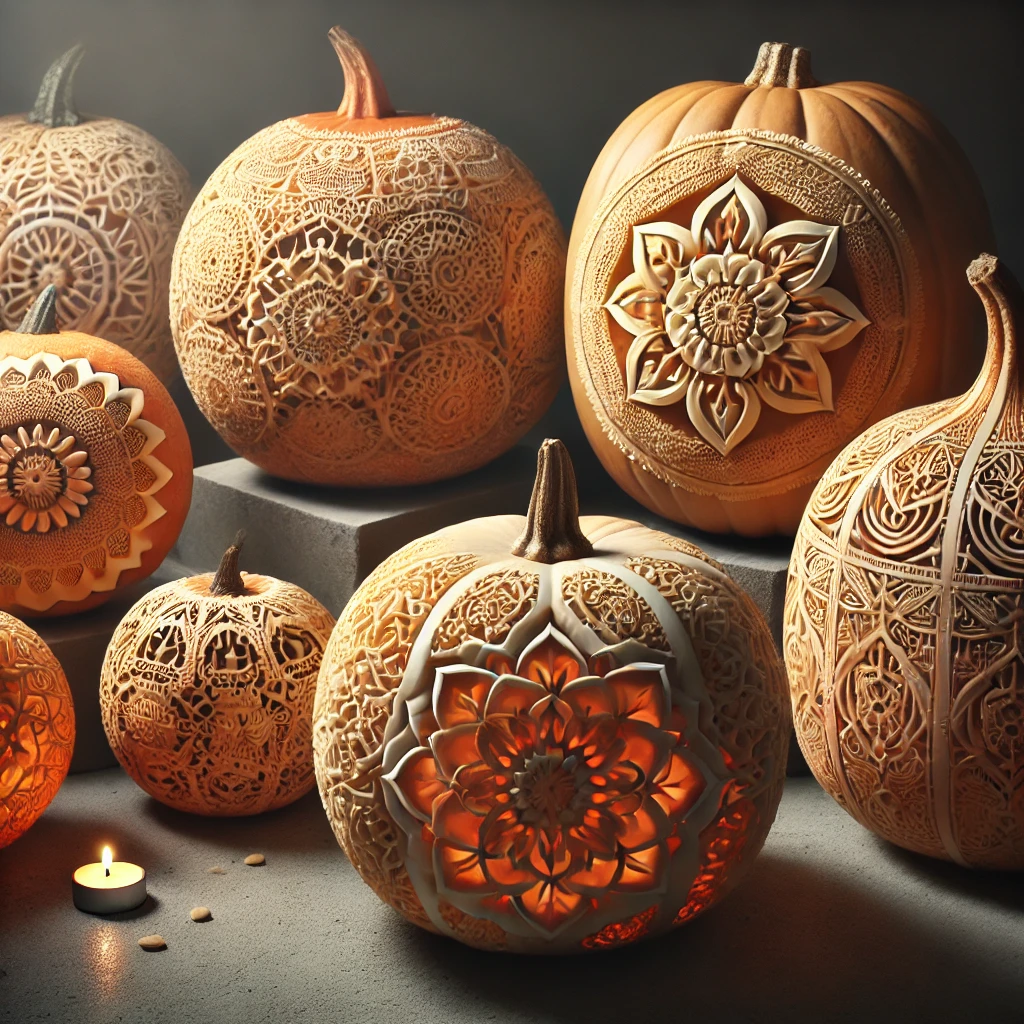
If you’re ready to take your pumpkin carving skills to a whole new level, these intricate designs will challenge your creativity and precision. They require a steady hand and patience, but the end results are absolutely stunning.
26. Lace Pattern Pumpkins
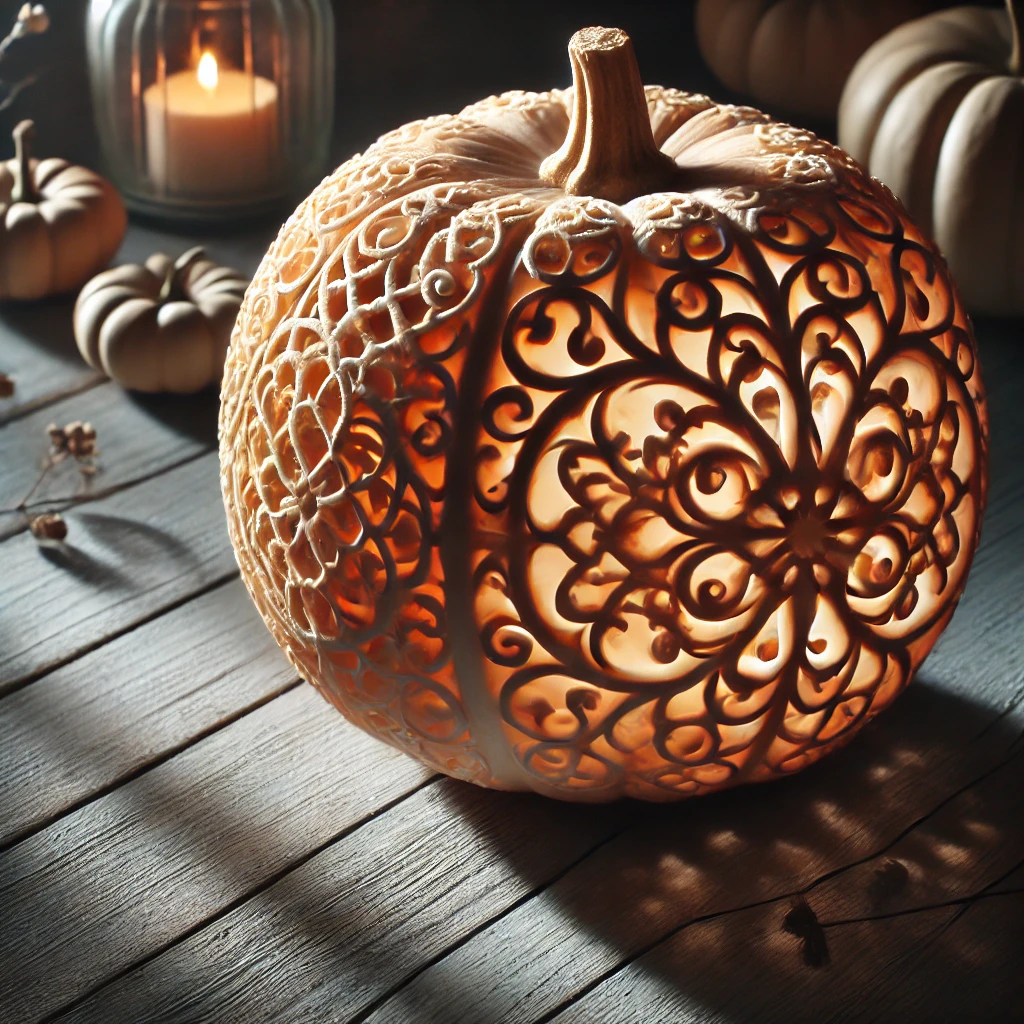
For an elegant and sophisticated pumpkin, try carving a lace pattern. This design involves creating delicate, interlocking shapes that mimic the appearance of lace fabric. It’s perfect for those who prefer a more refined Halloween aesthetic. To achieve this look, draw out the lace pattern on the pumpkin with a marker first, and then carefully carve the shapes using a small precision knife. When lit from within, the intricate details will cast beautiful shadows on the surrounding area.
27. Mandala Pumpkin
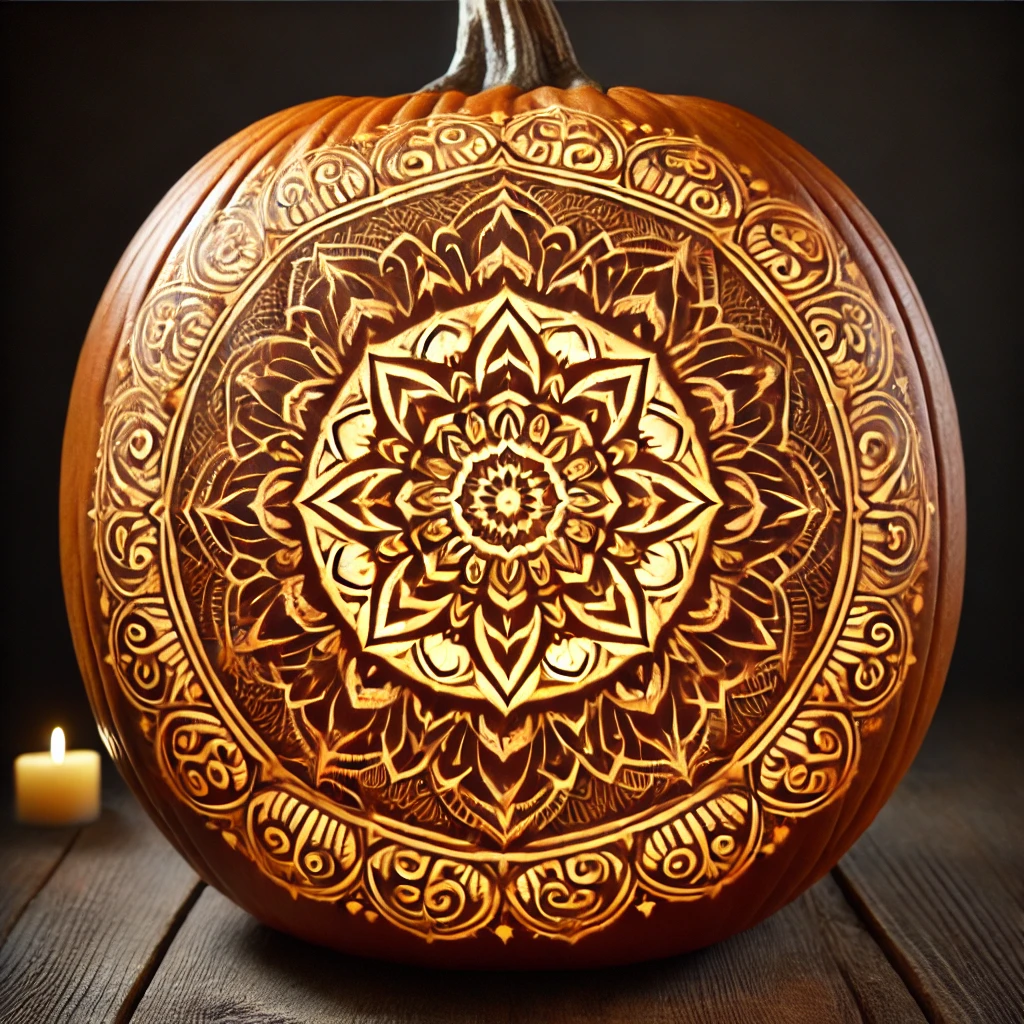
Mandala designs are known for their intricate patterns and symmetrical beauty. You can apply this meditative art form to pumpkin carving by drawing a mandala on your pumpkin and then carefully carving out the details. Start from the center of the pumpkin and work your way outwards, carving each layer of the mandala with precision. This design works best on larger pumpkins to give you enough room for the details. When you place a candle inside, the mandala’s geometric shapes will create a mesmerizing effect.
28. Fairytale Castle Pumpkin
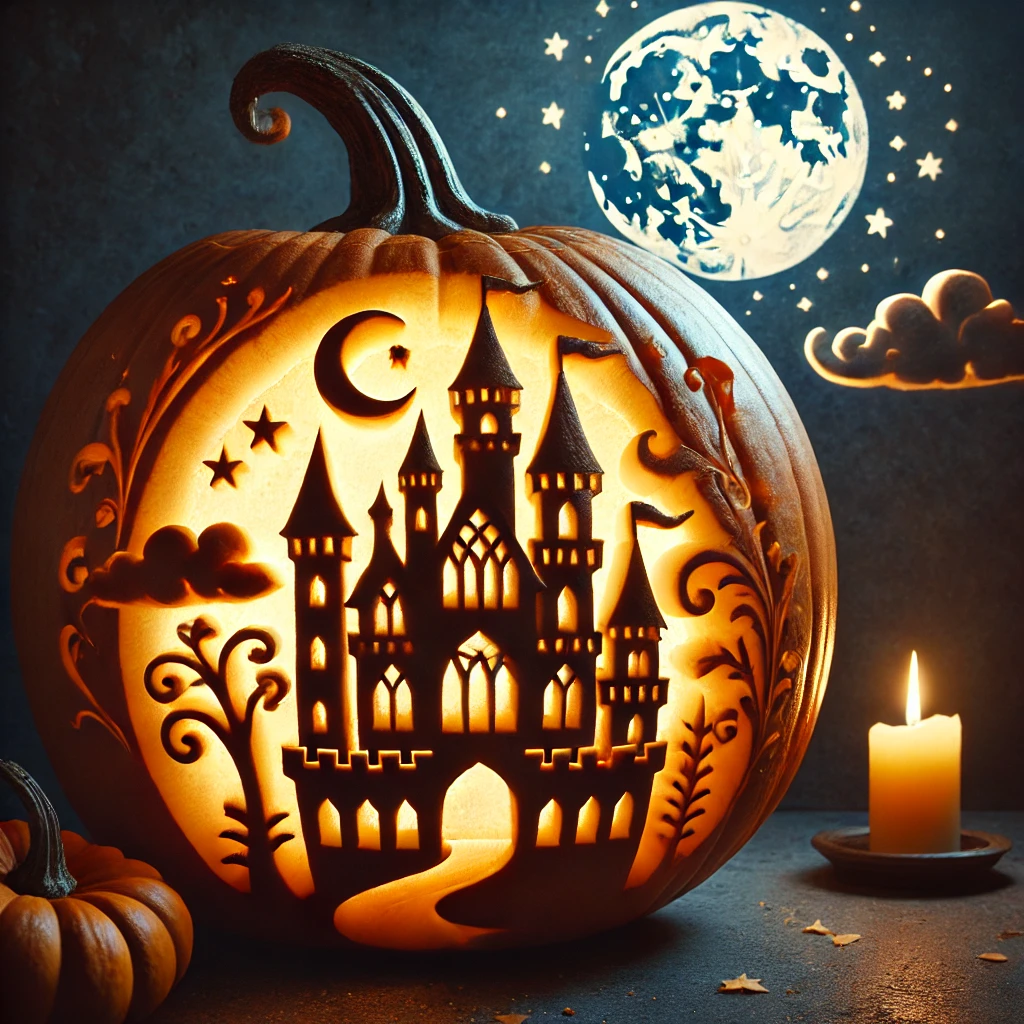
Bring a touch of magic to Halloween with a fairytale castle carved into your pumpkin. This design can include towers, turrets, and even a tiny carved moon or stars in the background. It’s a great idea for anyone who loves fantasy and fairytales. The key to this design is layering — carve the castle in the foreground and add details like trees or clouds in the background. Use small, intricate cuts to bring out the finer elements of the scene.
29. Floral Pumpkin
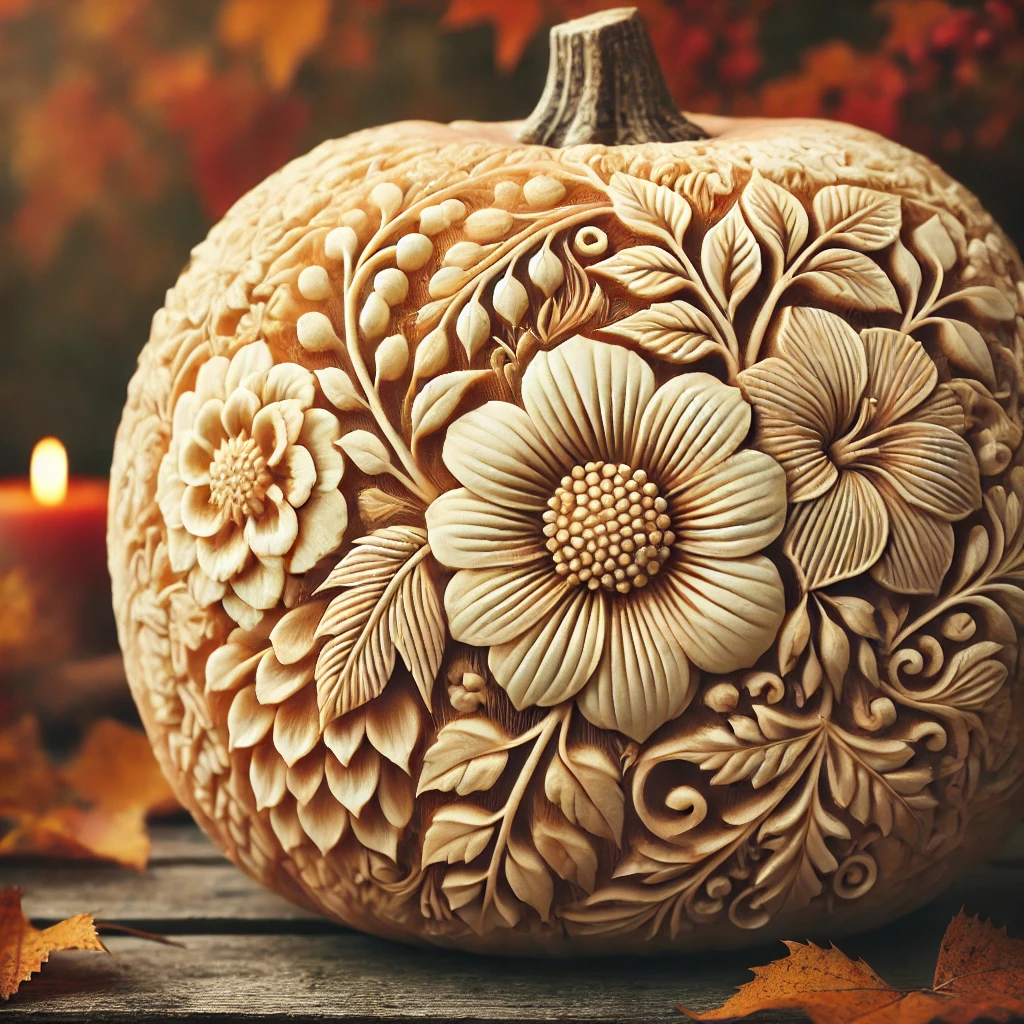
Who says pumpkins can’t be pretty? A floral design is a unique and beautiful way to celebrate Halloween. Instead of spooky faces, carve flowers, vines, and leaves into your pumpkin. This design works especially well for outdoor displays, as the natural theme blends seamlessly with the autumn season. Use different carving depths to create layers of petals and leaves, adding depth and texture to your pumpkin.
30. Mechanical Gears Pumpkin
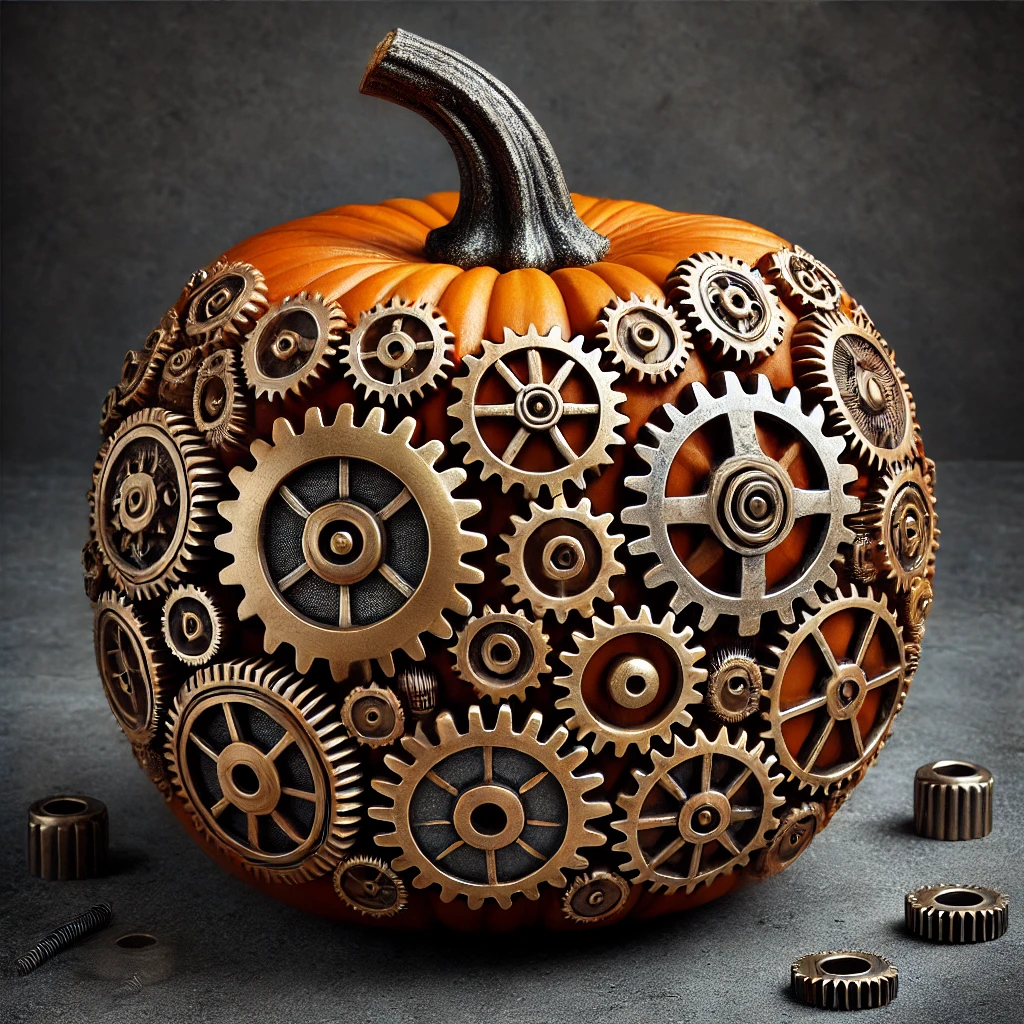
For a steampunk-inspired pumpkin, try carving a series of mechanical gears into the surface. This design is intricate and gives your pumpkin an industrial, futuristic look. Start by sketching the gear shapes onto the pumpkin, making sure they overlap slightly to create the illusion of interlocking gears. Once carved, the gears will stand out, especially when lit up at night. Add metallic paint to the carved edges for an extra touch of authenticity.
Group and Theme Pumpkin Displays
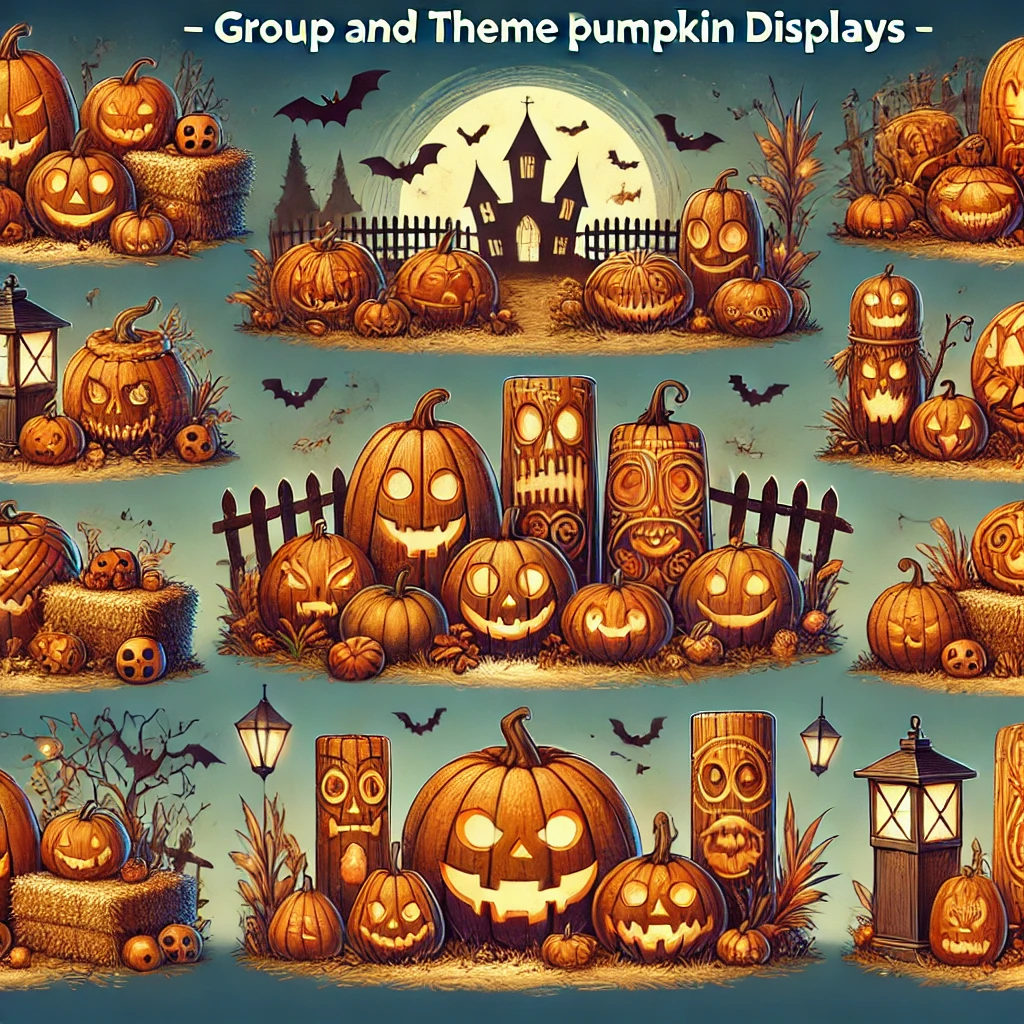
Why settle for one pumpkin when you can create an entire display? Grouping multiple pumpkins together to tell a story or fit a theme is a great way to make your Halloween decor stand out.
31. Pumpkin Family
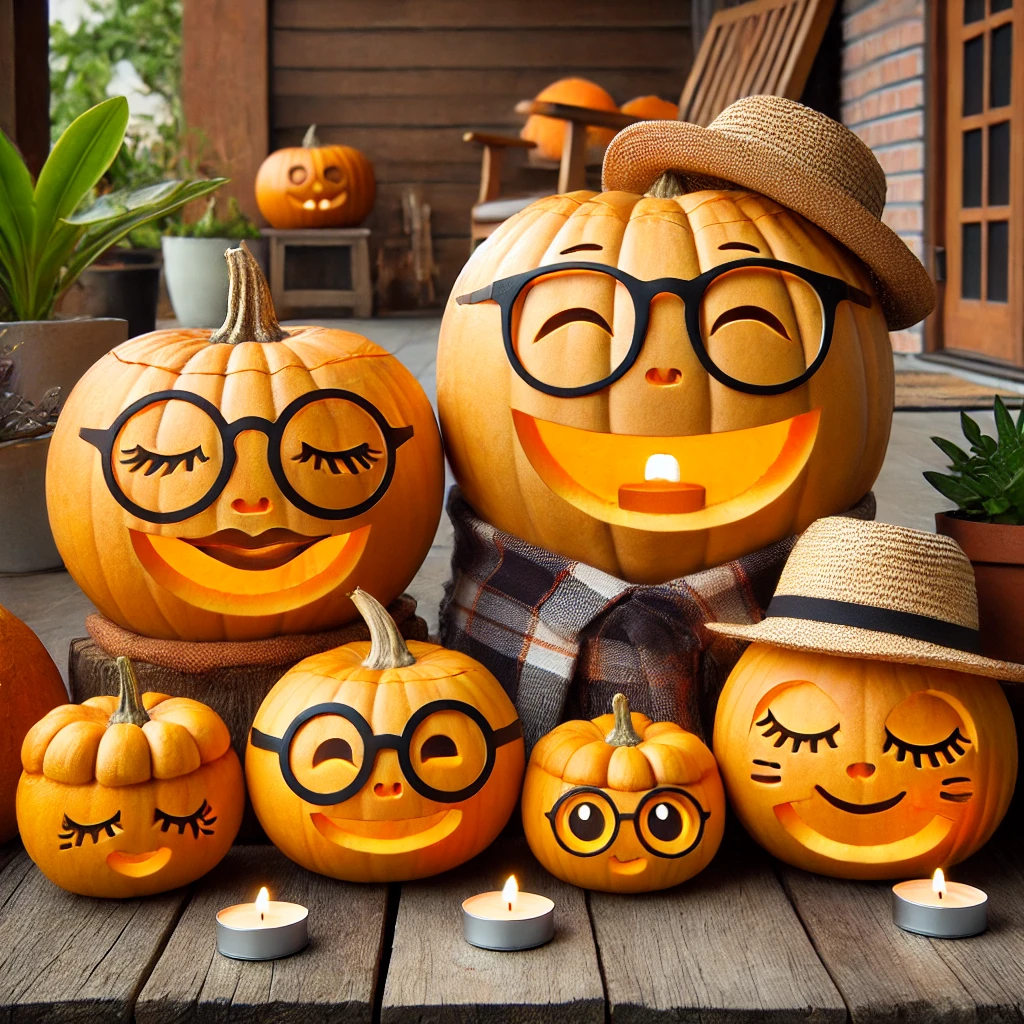
One of my favorite ideas is creating a pumpkin family. Carve faces on pumpkins of different sizes to represent each family member. The largest pumpkin can be the parent, while smaller ones represent the kids. Add accessories like glasses, hats, or scarves to give each pumpkin personality. This display is perfect for porches and adds a warm, playful vibe to your Halloween decorations.
32. Haunted Graveyard
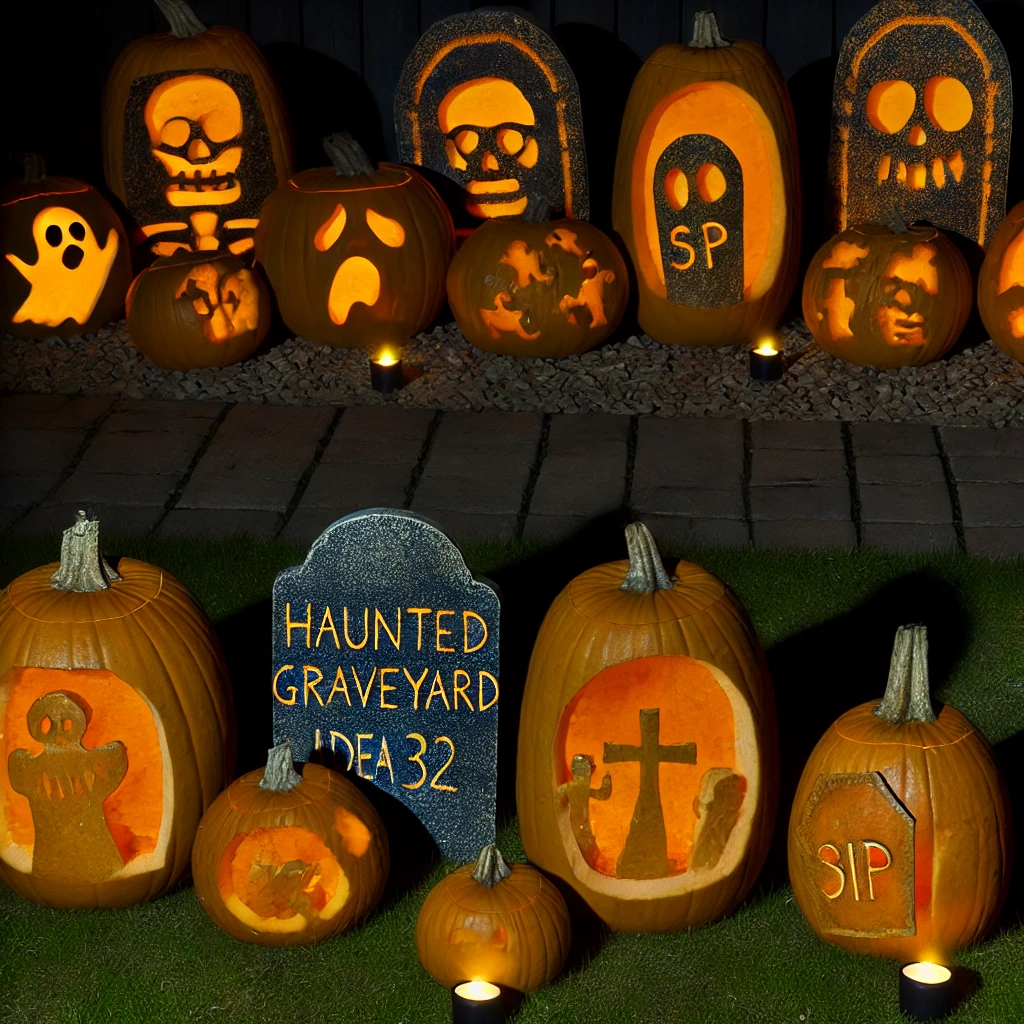
Create an entire haunted graveyard scene with pumpkins. Carve tombstones, skeletons, and ghosts into several pumpkins and arrange them together in your yard. You can even carve out the names of famous spooky characters on the tombstones for an extra touch of fun. To enhance the effect, add some fake spider webs and small LED lights to make the graveyard come alive at night.
33. Pumpkin Totem Pole
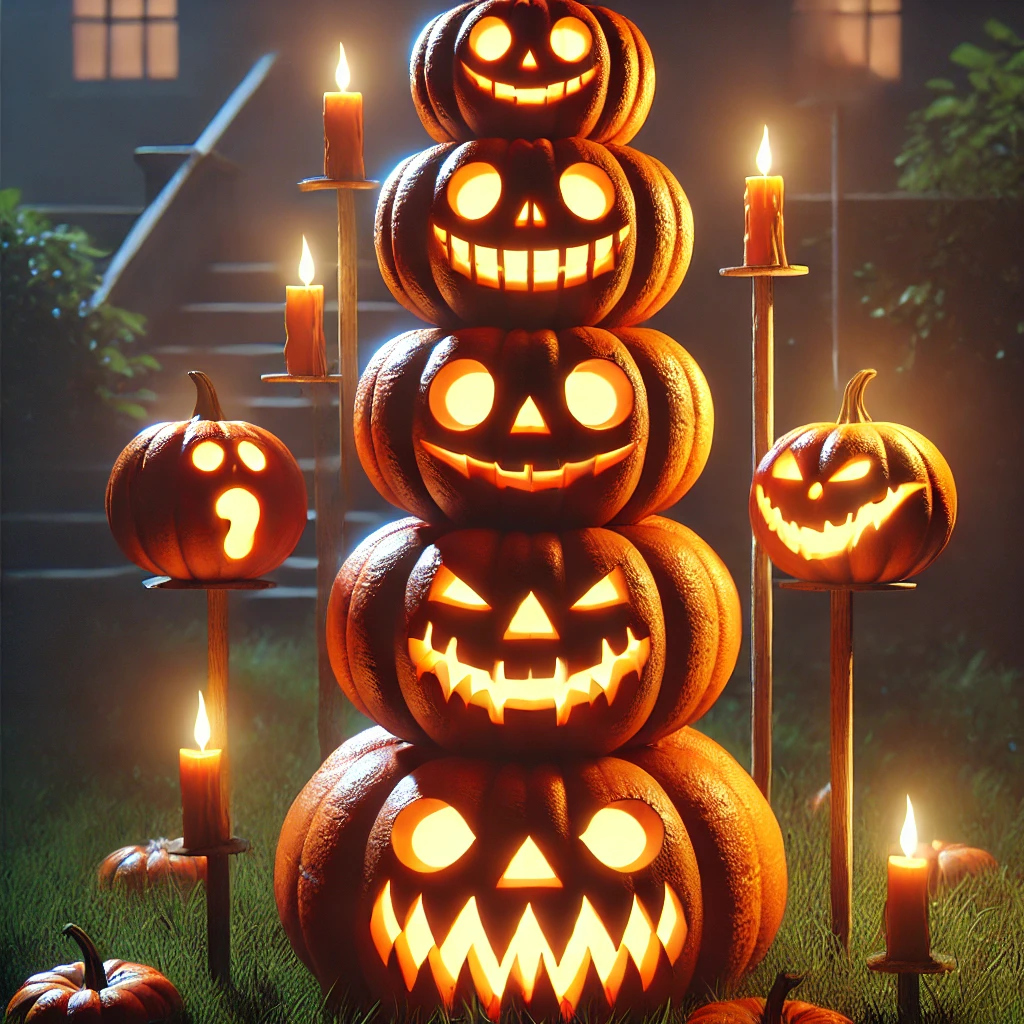
Stack pumpkins on top of each other to create a totem pole effect. Each pumpkin can have a different design — one could be a scary face, another could be a monster, and the top one could be a ghost. Secure the pumpkins together using dowels or stakes and place the totem pole in your yard for a fun and quirky display.
34. Movie-Themed Pumpkins
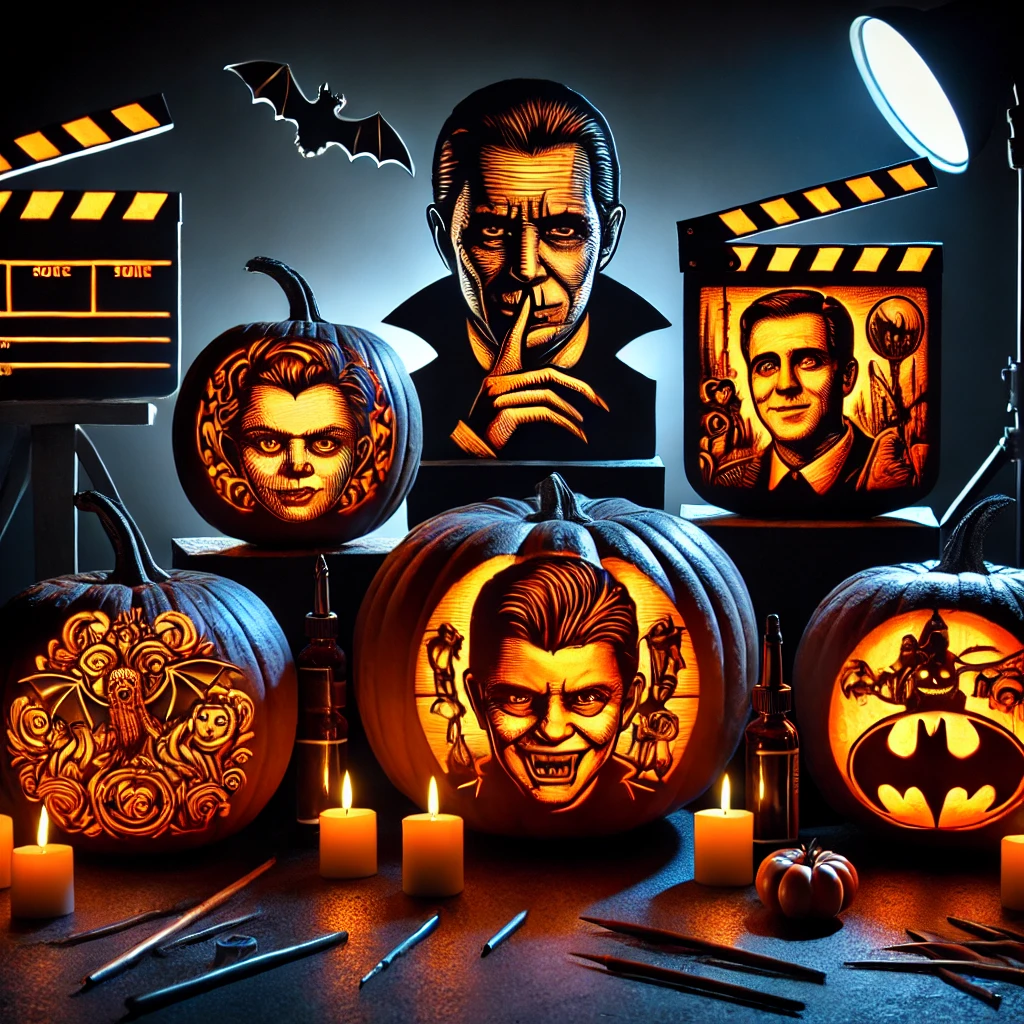
If you’re a movie buff, why not create a display featuring your favorite characters? Carve pumpkins to resemble iconic movie villains like Dracula, Frankenstein, or even modern favorites like characters from horror films. Arrange them together with props related to the movies to complete the look. This is a great way to showcase your love for film while adding a spooky element to your Halloween decor.
35. Farmhouse Chic Pumpkin Display
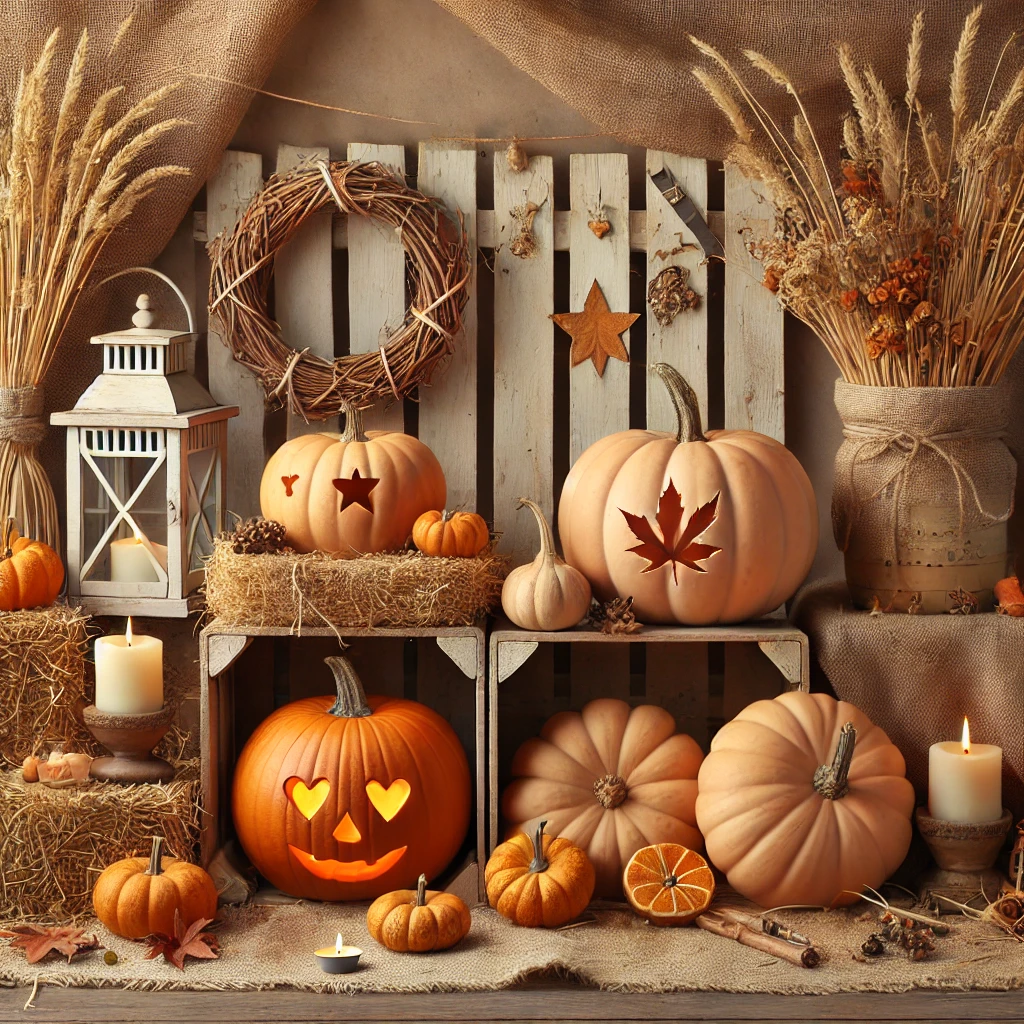
For those who prefer a rustic, farmhouse-style decor, group a series of pumpkins together and decorate them with burlap, twine, and wooden crates. You can carve simple designs like hearts, leaves, or stars to keep things understated. Surround the pumpkins with hay bales, dried flowers, and lanterns to create a cozy, country-inspired Halloween display.
Tips to Keep Your Carved Pumpkins Fresh
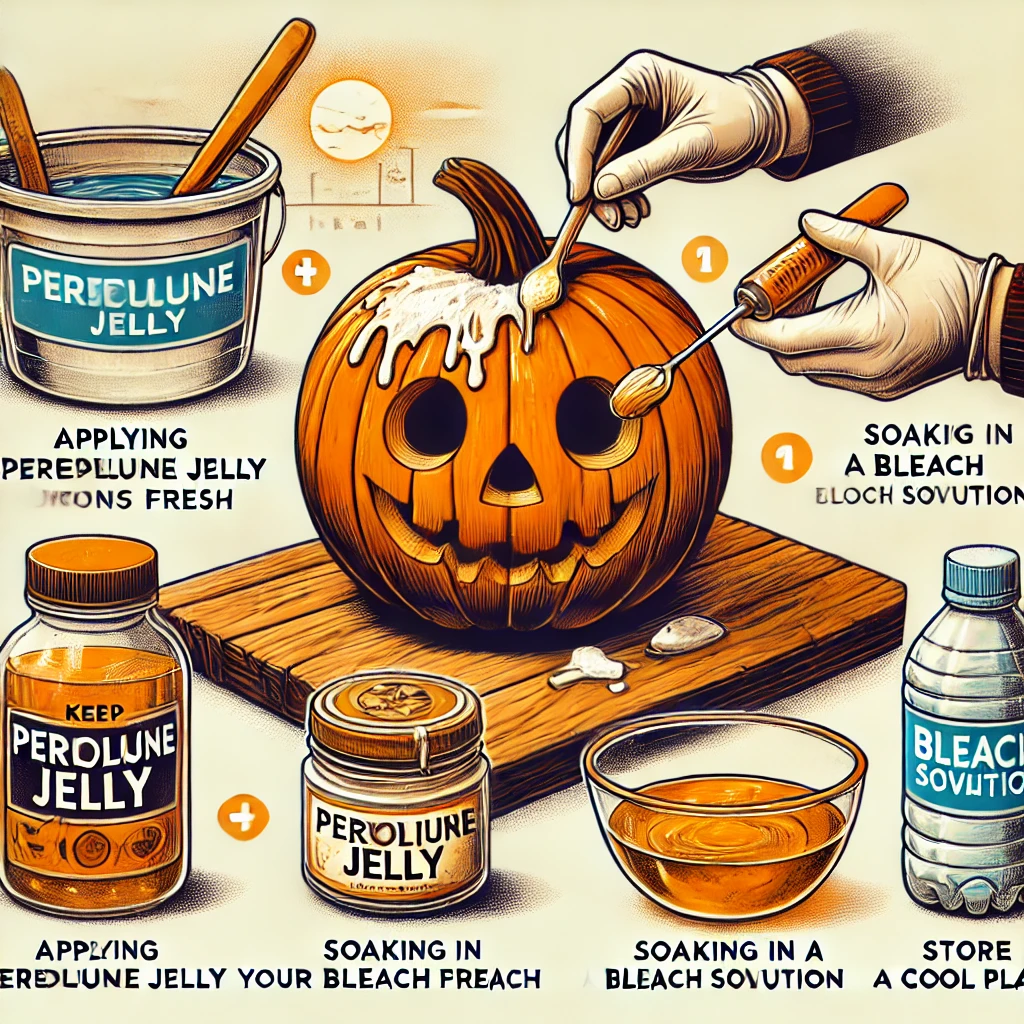
One of the challenges of pumpkin carving is keeping your masterpiece fresh for as long as possible. Here are some tried-and-true tips to make your carved pumpkins last longer:
36. Clean Out the Inside Thoroughly
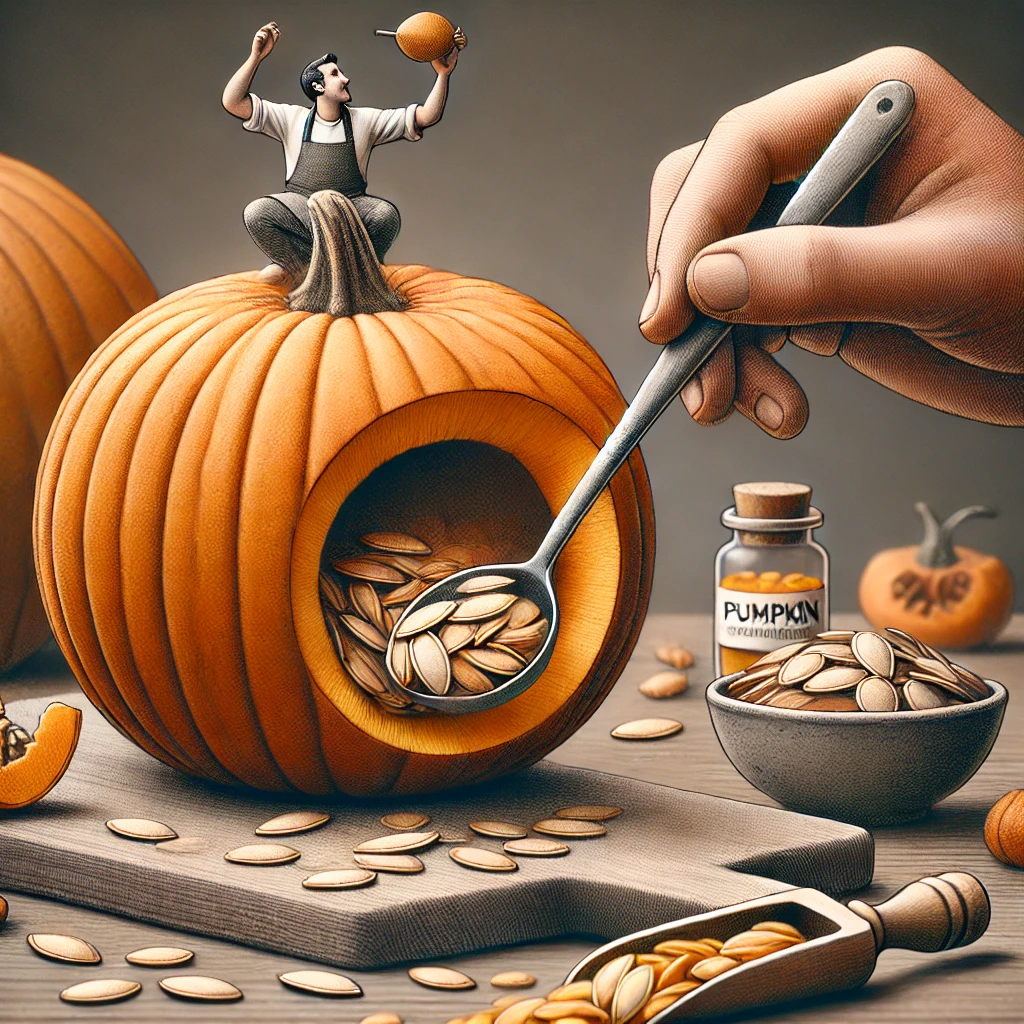
After you’ve cut open your pumpkin, make sure to scoop out all of the seeds and pulp as thoroughly as possible. Any leftover bits can cause the pumpkin to rot faster. Use a spoon or pumpkin scooper to scrape the walls of the pumpkin clean.
37. Use a Bleach Solution
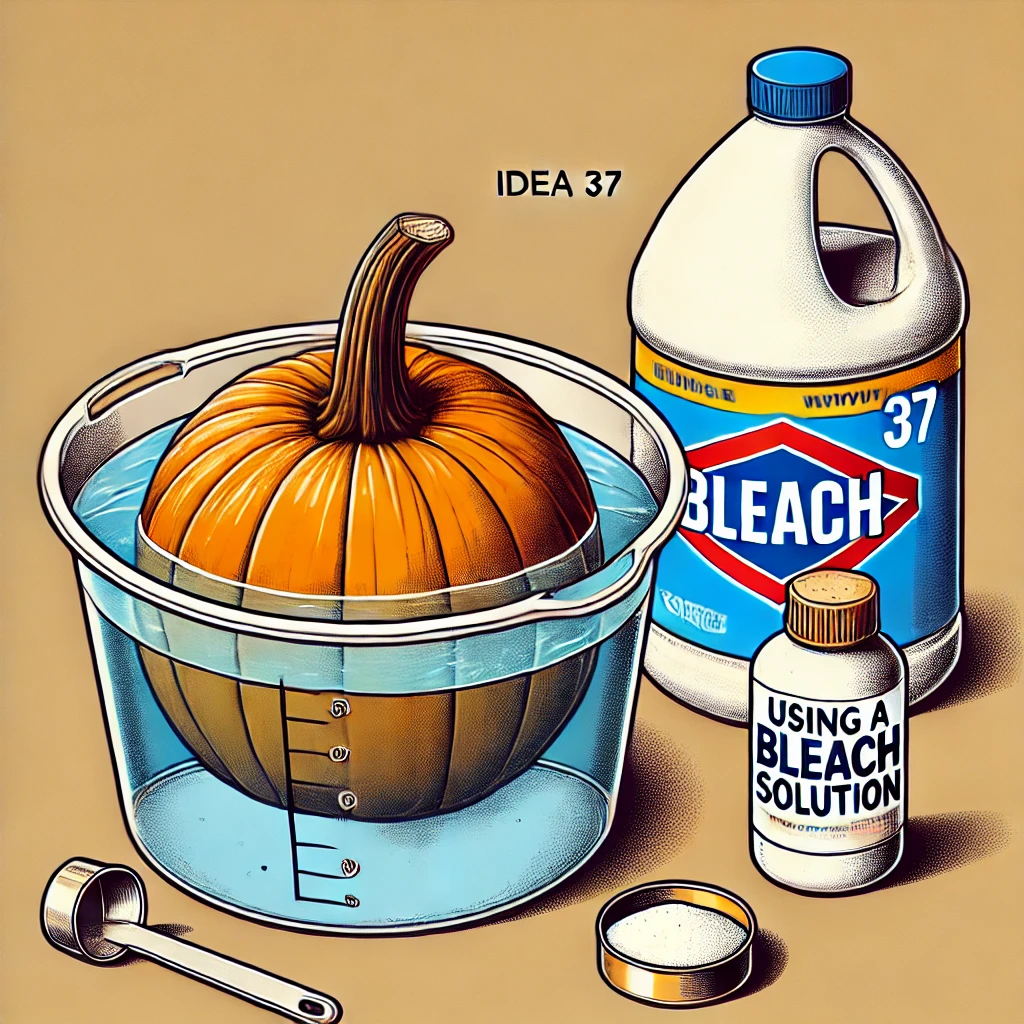
One of the best ways to keep a carved pumpkin fresh is by soaking it in a bleach solution. Mix one tablespoon of bleach with a gallon of water and soak the pumpkin for 20-30 minutes. The bleach will kill any bacteria that might speed up the rotting process.
38. Apply Petroleum Jelly
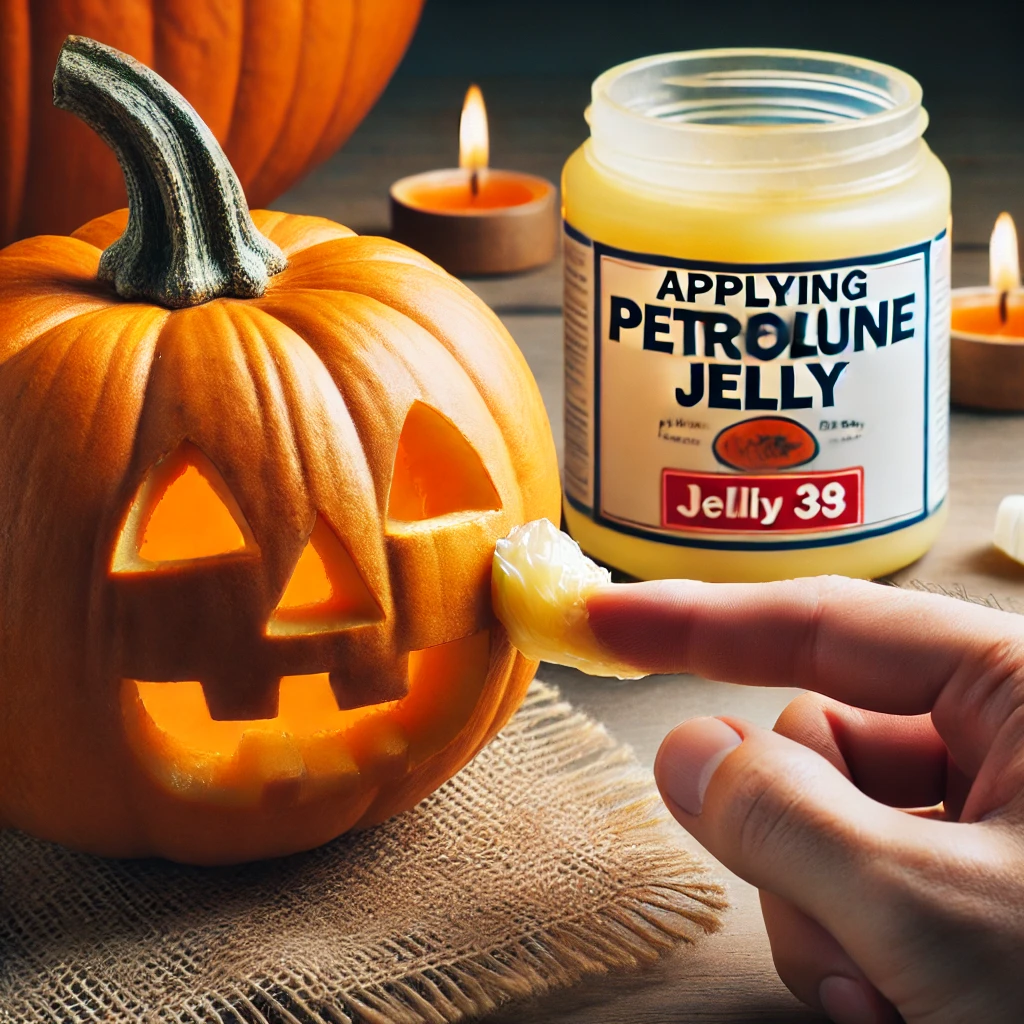
Once your pumpkin is carved, rub petroleum jelly along the carved edges. This creates a barrier that helps prevent moisture from escaping, which can keep the pumpkin from shriveling too quickly. If you don’t have petroleum jelly, vegetable oil or a similar product will work as well.
39. Store Your Pumpkin in a Cool, Dry Place
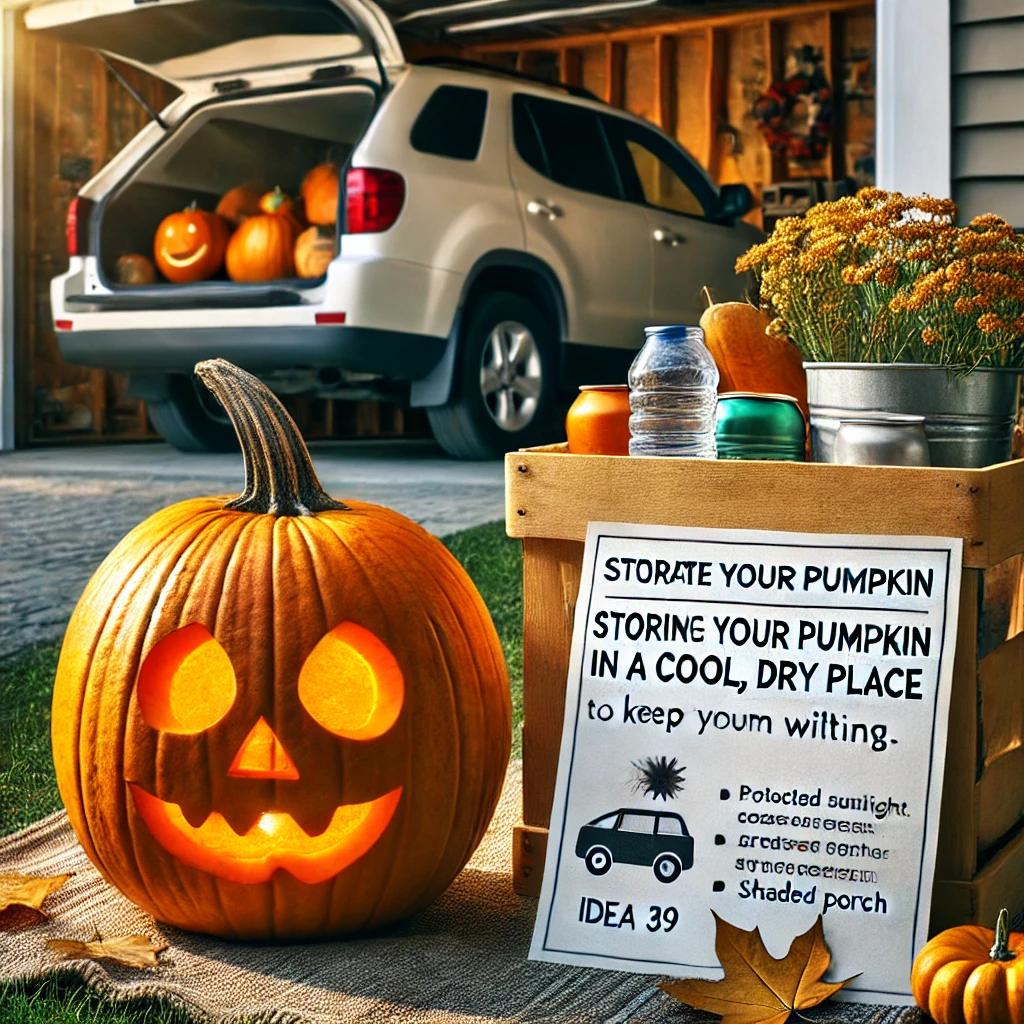
Heat is the enemy of carved pumpkins, so try to keep them in a cool, shaded area if possible. At night, or during especially warm days, bring your pumpkins indoors or into a garage to keep them from wilting. If you live in a warmer climate, consider using battery-operated LED lights inside your pumpkin instead of candles, as the heat from the flame can speed up the decaying process.
40. Rehydrate When Necessary
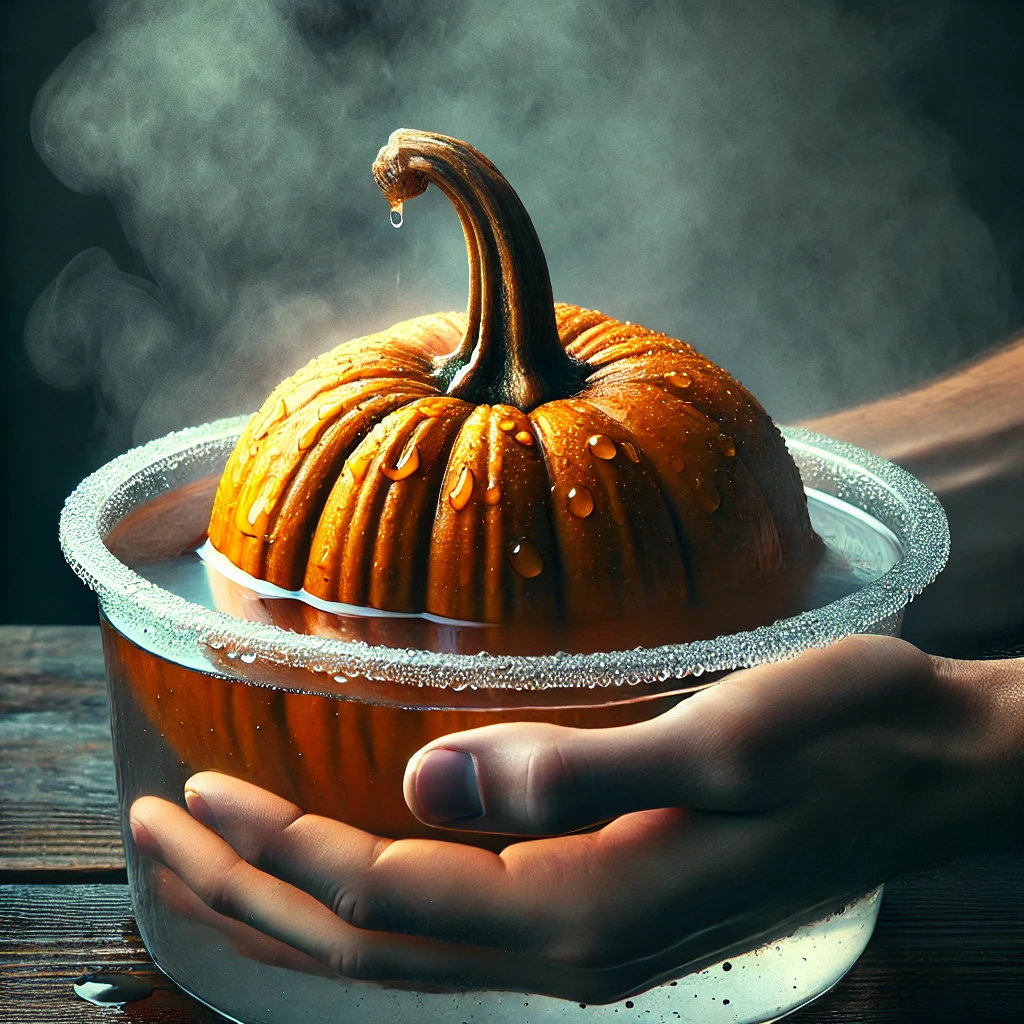
If your pumpkin starts to shrivel, don’t panic! You can revive it by soaking it in cold water for a few hours. The pumpkin will absorb the moisture and regain some of its original shape. After soaking, dry it off and reapply petroleum jelly to the carved edges to seal in the moisture.
Creative Pumpkin Carving Wrap-Up

Pumpkin carving is more than just a Halloween tradition — it’s a way to express your creativity, bond with loved ones, and add a touch of spooky magic to your home. Whether you’re sticking to the classic jack-o-lantern or trying your hand at an elaborate 3D design, the possibilities are endless. From beginner-friendly ideas like emoji pumpkins and painted pumpkins to advanced techniques like 3D carving and negative space designs, there’s something for everyone.
Remember to have fun with the process. Pumpkin carving doesn’t have to be perfect to be enjoyable! The best part is gathering around with friends and family, sharing laughs, and admiring everyone’s unique creations. And, of course, don’t forget the importance of safety and preservation to keep your pumpkins glowing all Halloween season long.
So grab your pumpkins, pull out your tools, and let your imagination run wild this Halloween. Happy carving!
With these tips and ideas, you’ll be well on your way to creating a stunning and memorable pumpkin display for Halloween. If you need more inspiration, don’t hesitate to explore other creative techniques or experiment with your own unique designs.
More Creative Pumpkin Carving Ideas to Try
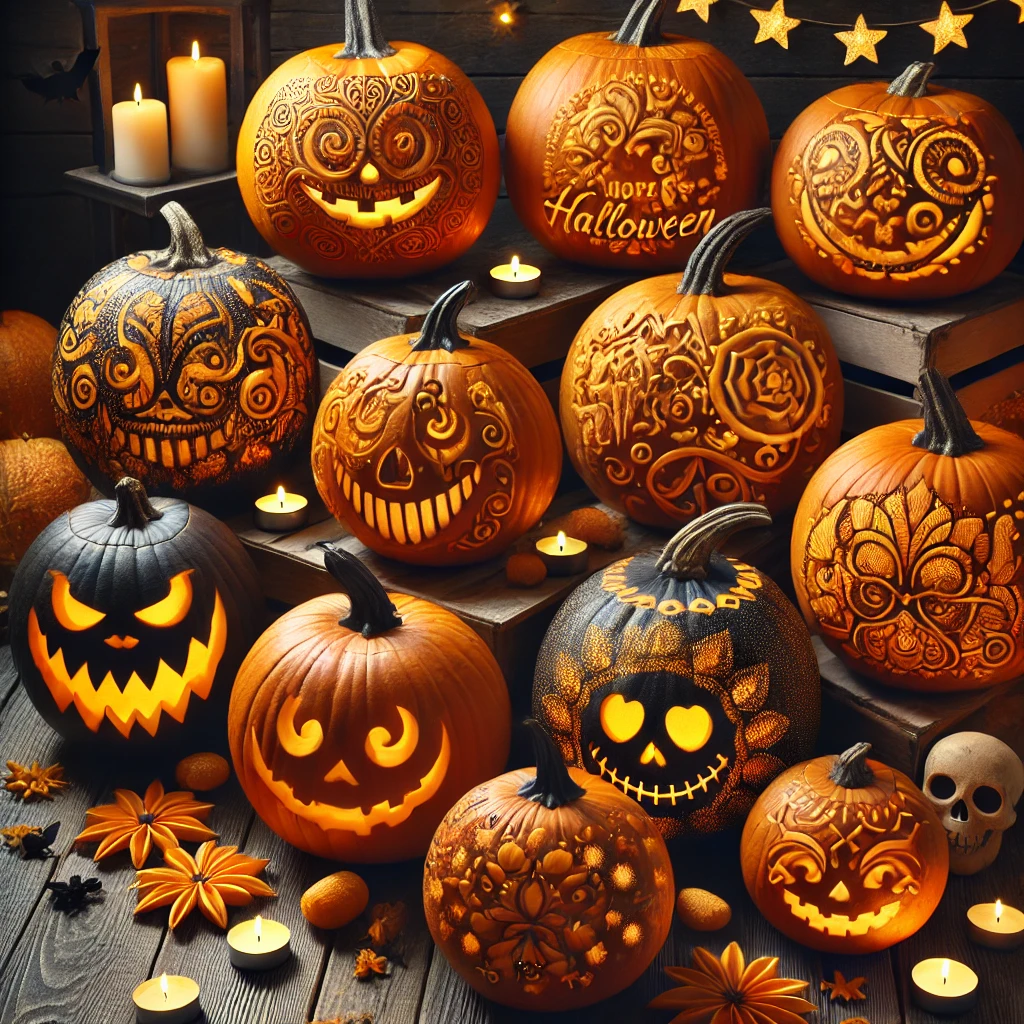
We’ve already covered some fantastic pumpkin carving ideas, but there’s still more creativity to explore. Below, we’ll dive into a variety of fun, stylish, and spooky designs that will bring your Halloween decor to life.
41. Pumpkin Faces for Kids
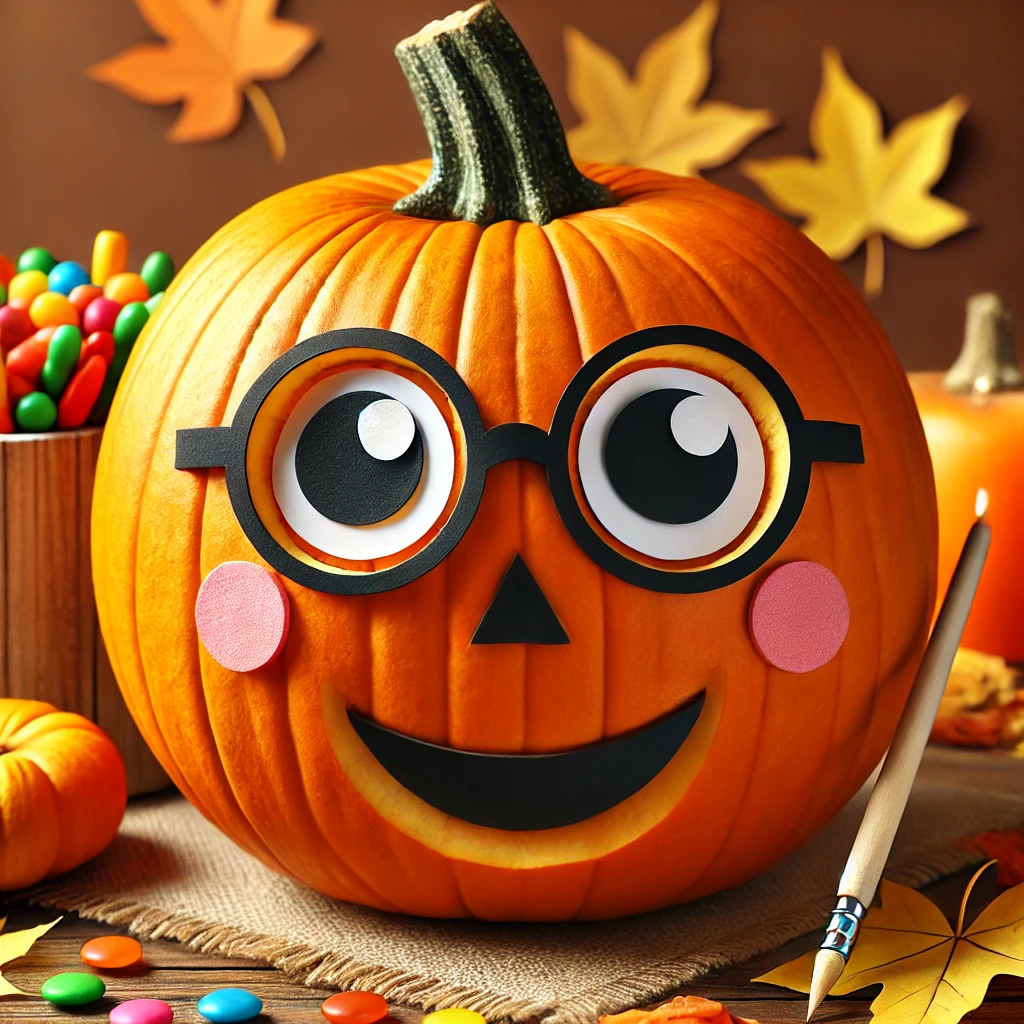
If you’re carving pumpkins with kids, it’s a good idea to choose designs that are simple yet fun. One popular choice is creating cartoon-like pumpkin faces. You can carve big, round eyes and a goofy grin or even add fun accessories like a mini hat or paper glasses. Using plastic accessories, like vampire teeth or googly eyes, can add a playful touch without requiring too much carving effort.
42. Glow-in-the-Dark Pumpkin
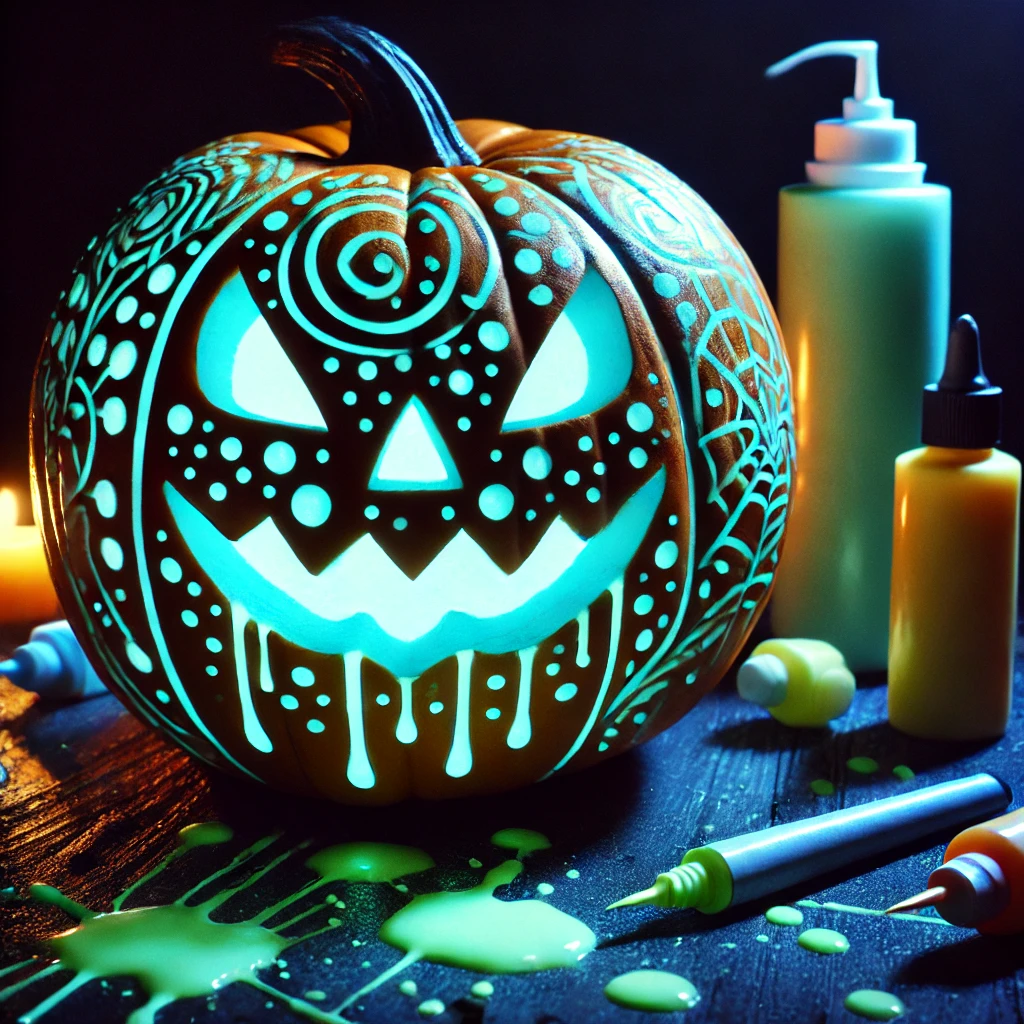
Why not make your pumpkin glow without using a candle? A glow-in-the-dark pumpkin is an innovative and eye-catching idea. Simply carve your design as usual, but instead of lighting it from the inside, paint the outside of the pumpkin with glow-in-the-dark paint. You can choose to outline your design in glow paint or cover the entire pumpkin for a luminous effect that shines at night.
43. Haunted Tree Silhouette
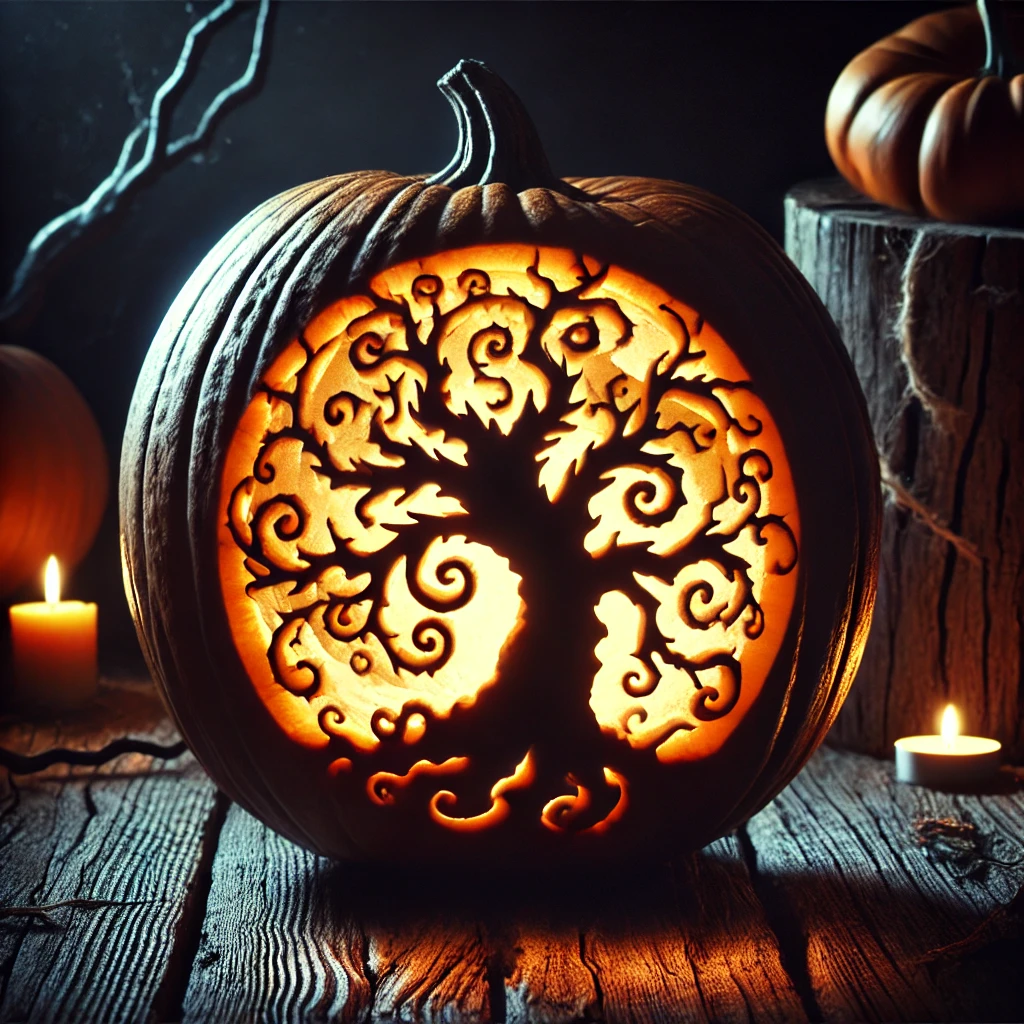
A haunted tree silhouette is a spooky and dramatic pumpkin carving idea that adds a gothic vibe to your Halloween decor. Carve the shape of a gnarled, twisted tree on the front of your pumpkin. For an extra eerie effect, you can carve a full moon behind the tree, which will illuminate the silhouette when the pumpkin is lit from within. This design works particularly well with tall, narrow pumpkins.
44. Pumpkin Carving Faces
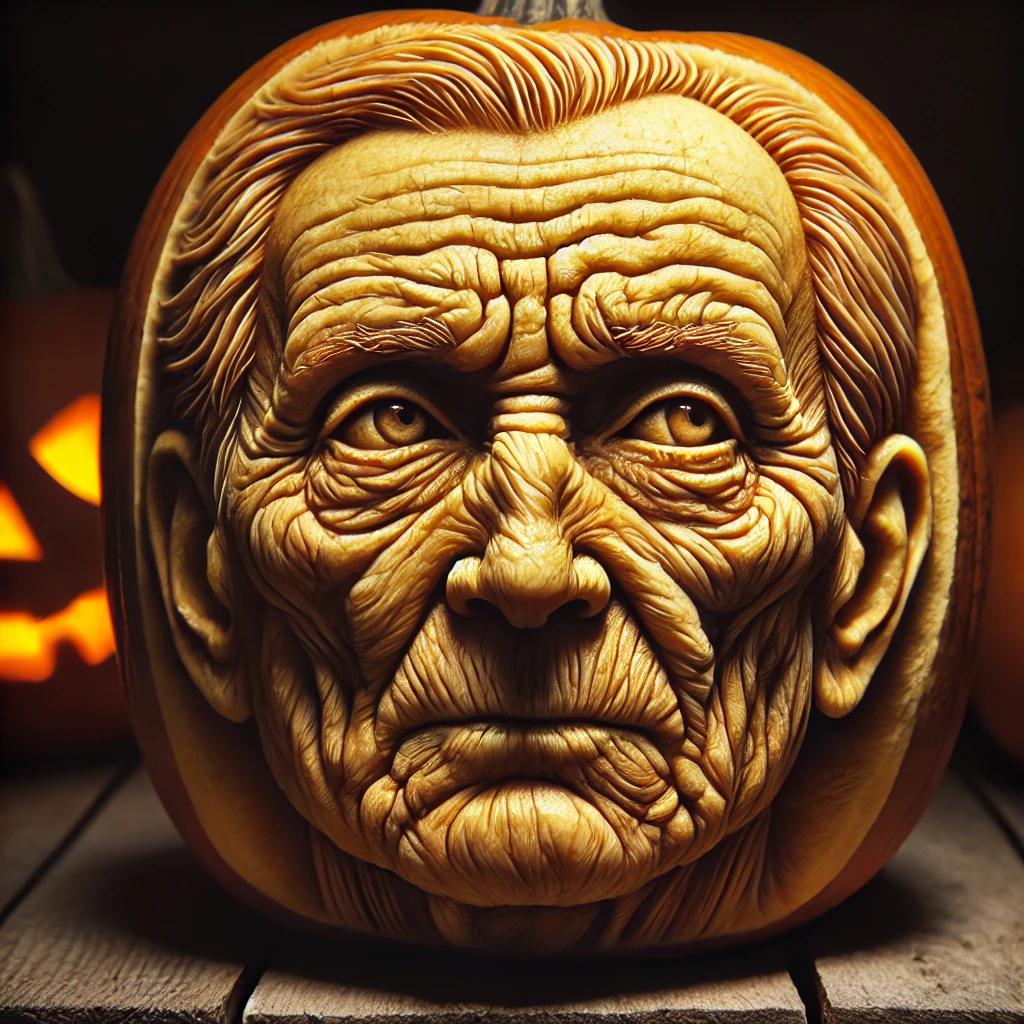
If you’re aiming for realism, try carving human-like faces into your pumpkins. This advanced technique requires careful shading and depth, but it can produce stunningly lifelike expressions. You can choose to carve anything from a mischievous grin to a frightened face. It’s a great option for those who love detailed work and want to add a more personalized touch to their Halloween decorations.
45. Carved Pumpkin Faces with Painted Accents
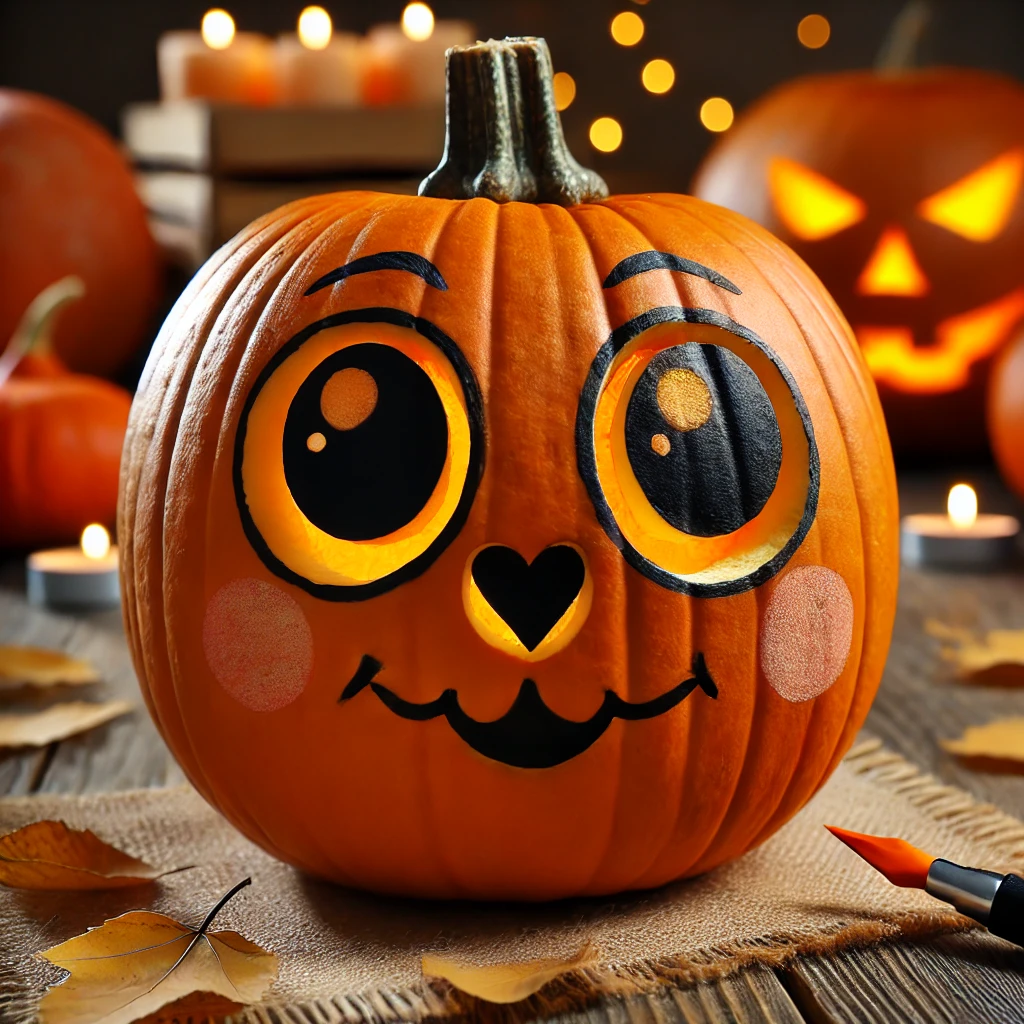
Sometimes a combination of carving and painting can produce amazing results. Carve basic facial features into your pumpkin, and then use paint to enhance the details. For example, you can carve large eyes and a simple smile, then paint around the eyes to make them appear larger and more dramatic. This technique allows for more flexibility, especially if you’re not confident with intricate carving.
46. Simple Pumpkin Faces for Beginners

Not everyone has the time or tools to create elaborate pumpkin designs, and that’s perfectly okay! Simple pumpkin faces are a timeless option that anyone can do. A basic triangle-eyed, wide-mouth jack-o-lantern never goes out of style, and it’s an easy and satisfying project for beginners. The key is to keep the design straightforward while ensuring the features are large enough to stand out when lit.
47. Pumpkin Faces with Expression
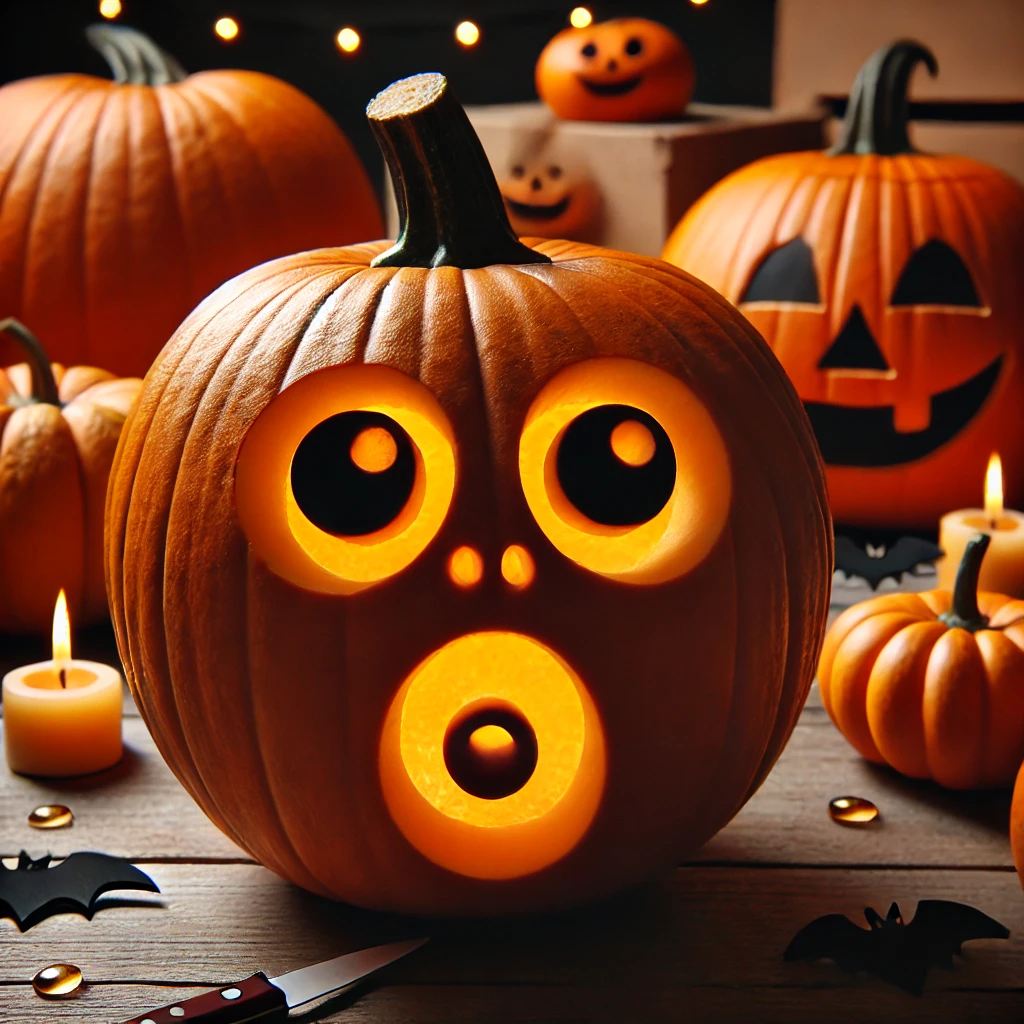
Want to give your pumpkin some personality? Experiment with different expressions! You can create surprised, angry, happy, or sad faces by altering the shape of the eyes and mouth. For example, slanted eyebrows and a downturned mouth can make your pumpkin look angry, while wide-open eyes and an “O” shaped mouth give it a surprised appearance. These expressive faces are sure to catch the attention of passersby.
48. Spider Web Pumpkin
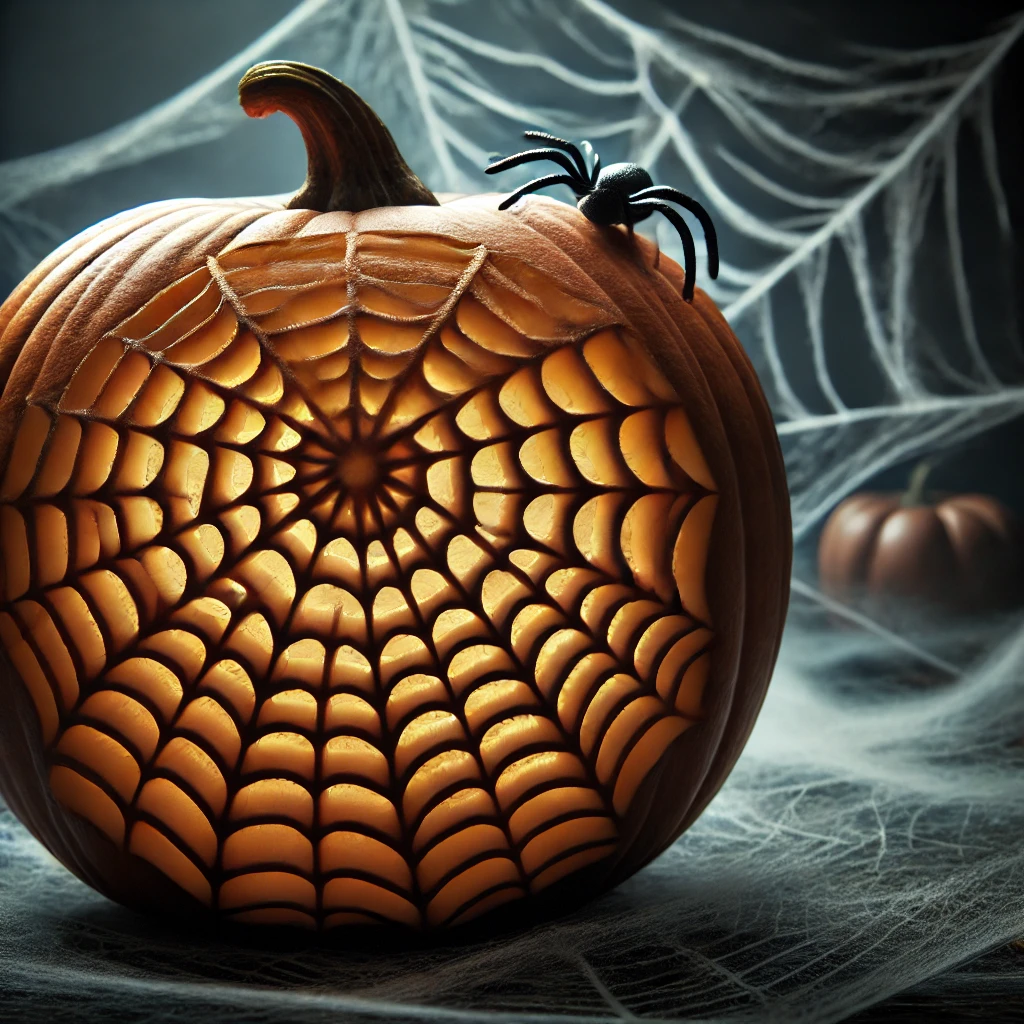
Carve an intricate spider web pattern into your pumpkin for a creepy, crawly design that’s perfect for Halloween. This design works well with larger pumpkins, as the details of the web require space. You can make the web as simple or complex as you like, and for added effect, place a small plastic spider on the web to complete the look.
49. Monster Faces Pumpkin
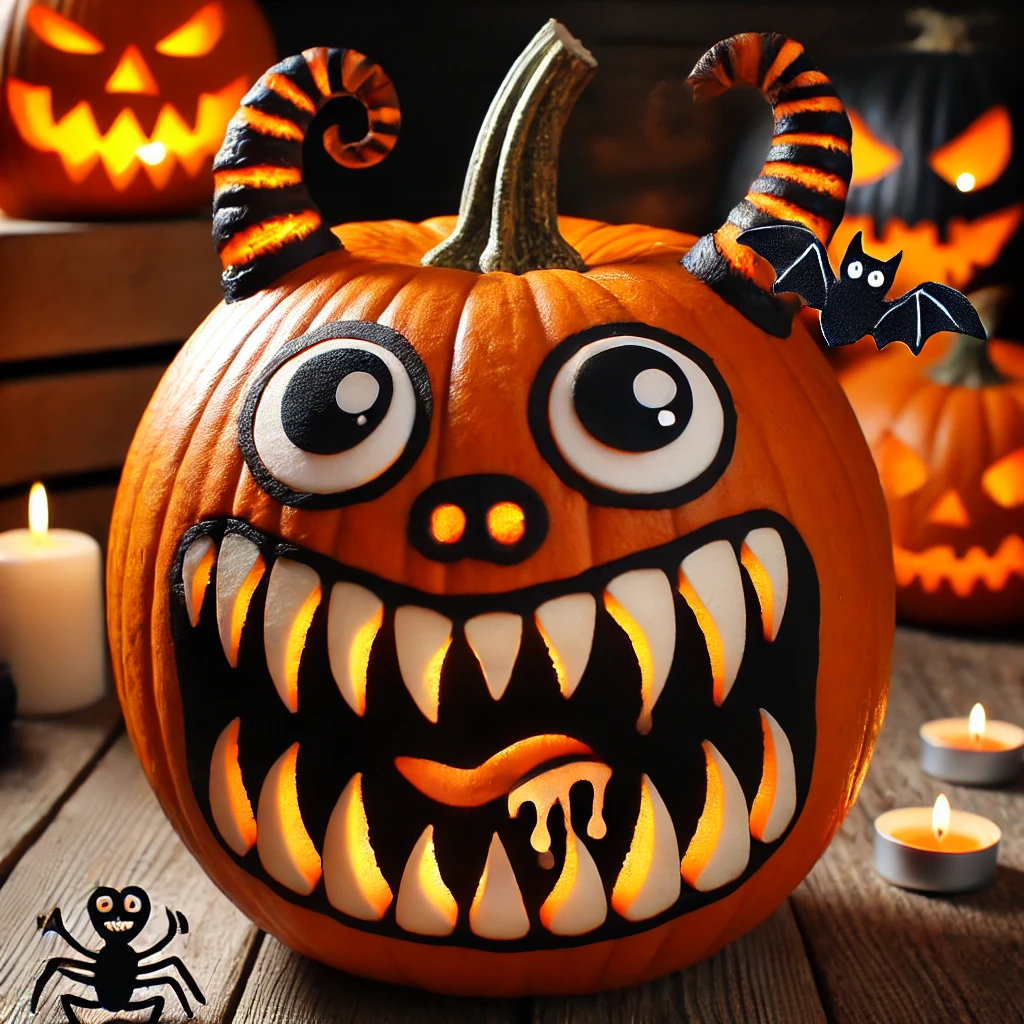
Monster faces are a fun and creative way to give your pumpkin some extra spookiness. You can carve sharp teeth, one or two eyes, and even add horns or other monstrous features. This design allows for a lot of creativity—no two monster pumpkins will look the same. Try adding paint or other accessories to make your monster truly unique.
50. Vampire Pumpkin with Fangs
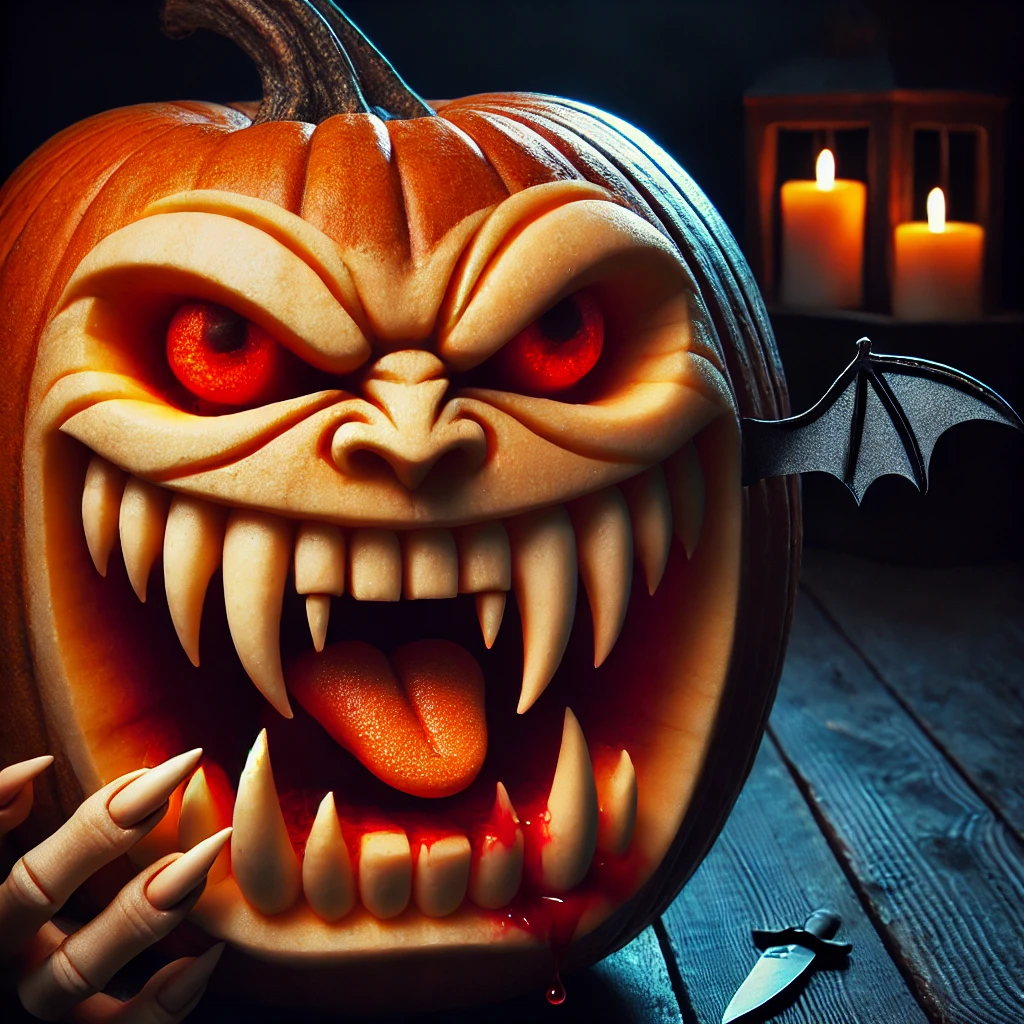
Transform your pumpkin into a vampire by carving a set of fangs! A vampire pumpkin can have sharp, exaggerated teeth and an evil grin. For an added touch, you can use store-bought plastic fangs to insert into the pumpkin for a 3D effect. Painting the inside of the mouth red can give the impression of blood, making your vampire pumpkin even more sinister.
51. Carve Designs from Your Favorite Movies
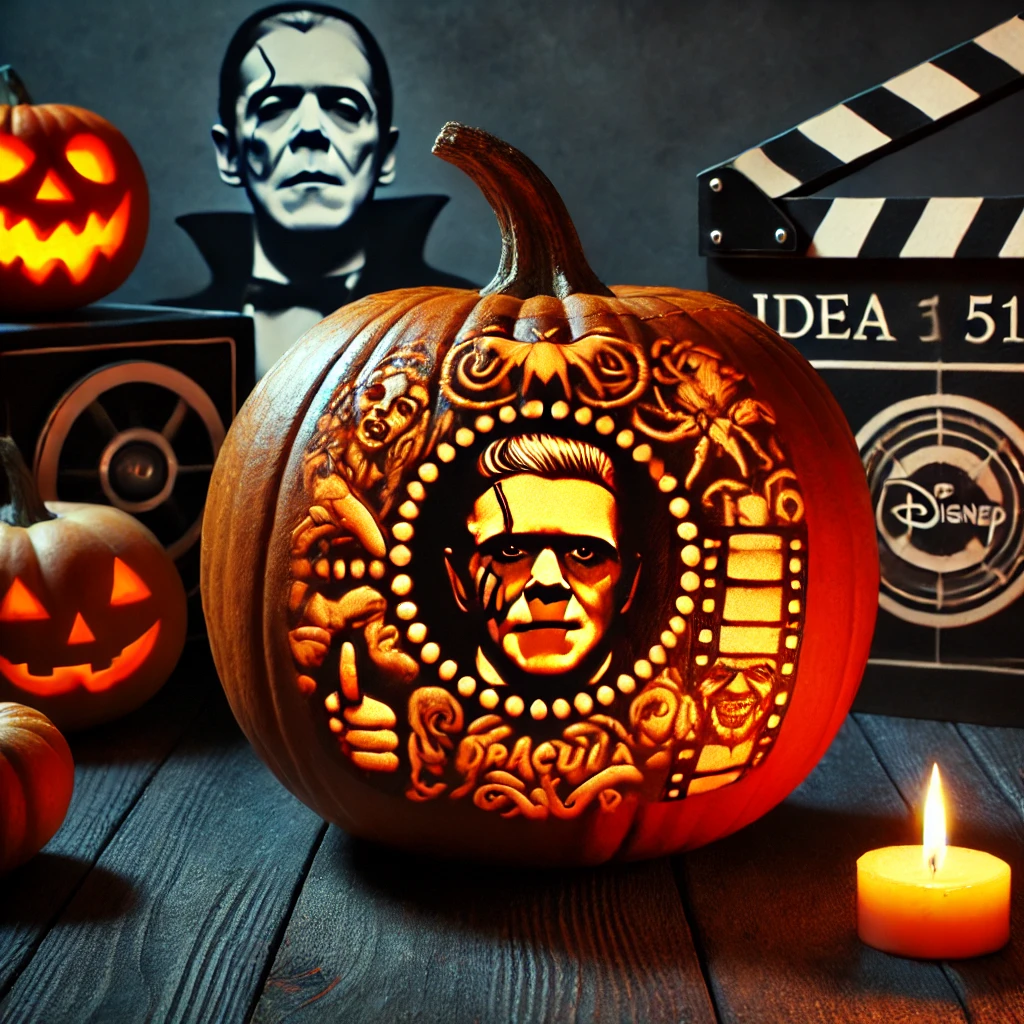
Are you a movie lover? Try carving a pumpkin inspired by your favorite film. Whether it’s a character’s face, a famous scene, or even a movie logo, there are plenty of cinematic ideas to explore. For horror movie fans, this could mean carving famous icons like Freddy Krueger or the mask from Scream. For a lighter approach, try something like Disney characters or superheroes.
52. Polaroid Photo Pumpkin
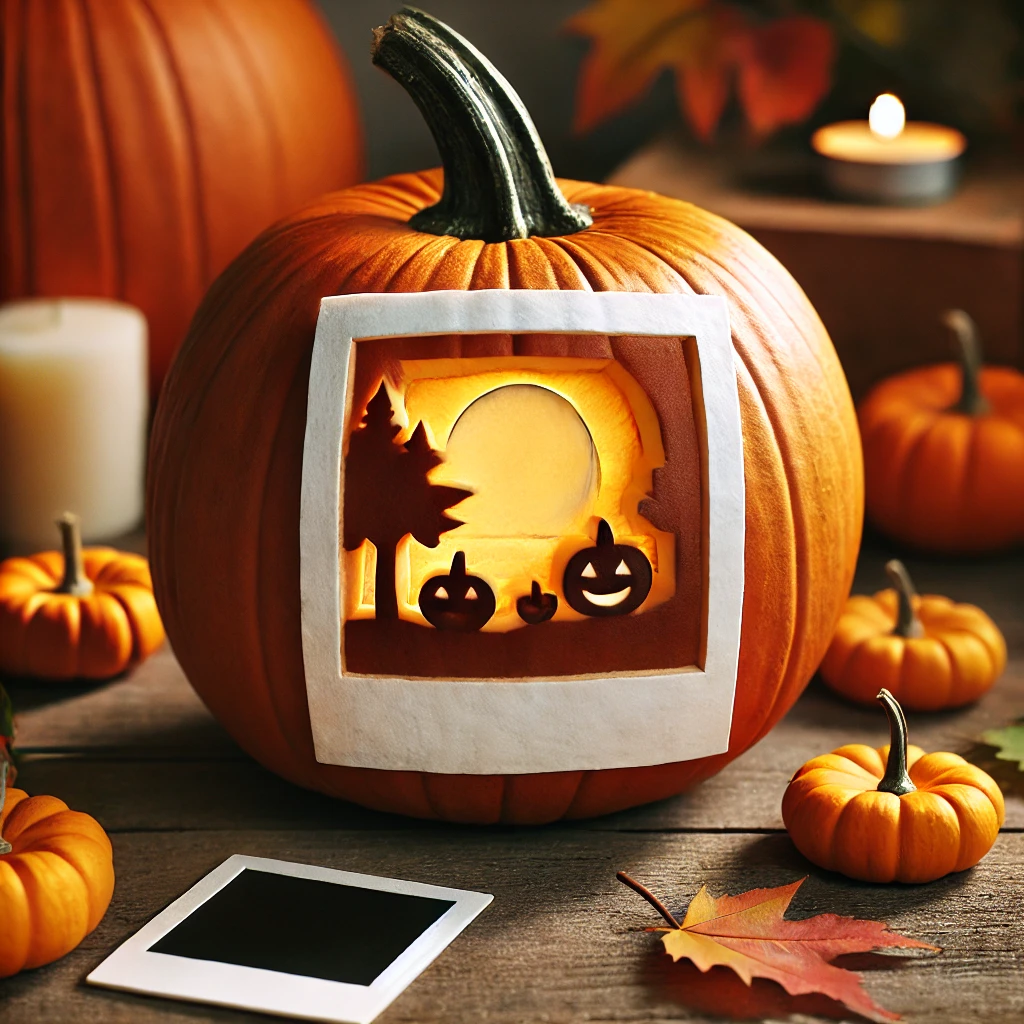
This design brings a nostalgic twist to pumpkin carving. Carve a polaroid photo shape into your pumpkin, and then carve a simple scene or face within the frame. It’s a creative way to showcase your carving and adds a modern flair to the traditional jack-o-lantern. You can even paint the outer edges of the pumpkin white to resemble the iconic polaroid border.
53. Fairy Tale Pumpkin
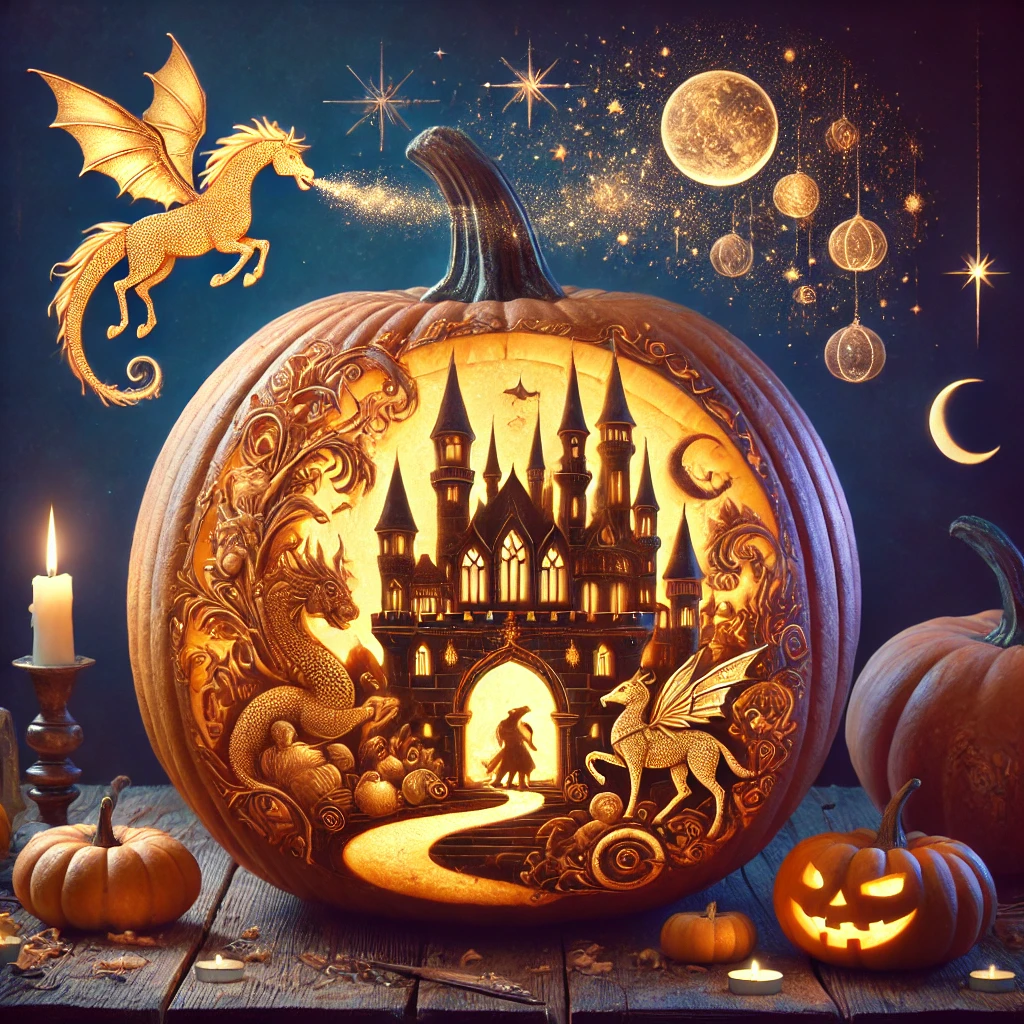
For a more whimsical Halloween, carve a fairy tale scene onto your pumpkin. Think castles, magical creatures like dragons or unicorns, or even a pumpkin carriage like the one from Cinderella. This design is perfect for adding a magical and enchanting vibe to your Halloween decor, especially if you’re hosting a more family-friendly event.
54. Stained Glass Pumpkin
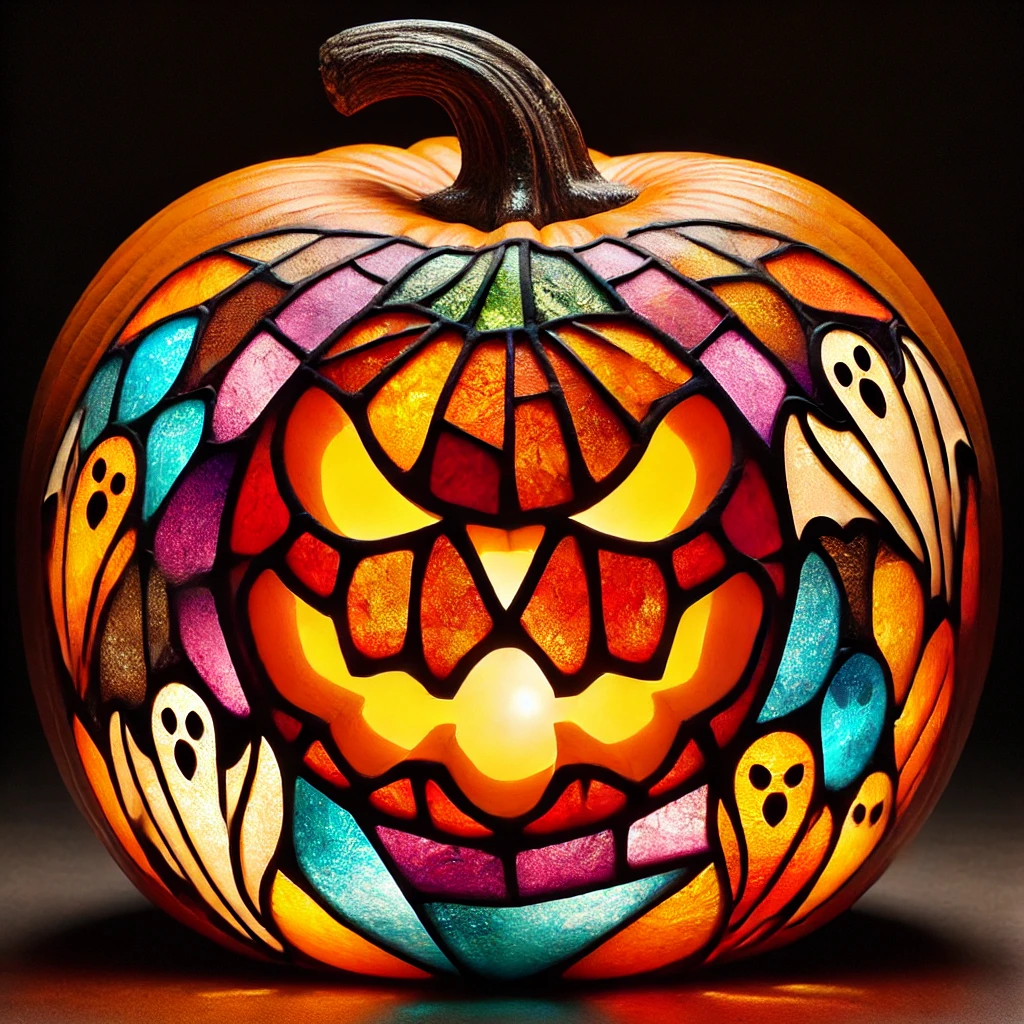
Give your pumpkin a beautiful stained-glass effect by carving out sections of the pumpkin and filling them with colored tissue paper. When the pumpkin is lit from within, the light will shine through the tissue, creating a colorful, glowing design. You can create anything from abstract patterns to traditional Halloween imagery, like ghosts or bats.
55. Pumpkin Clock
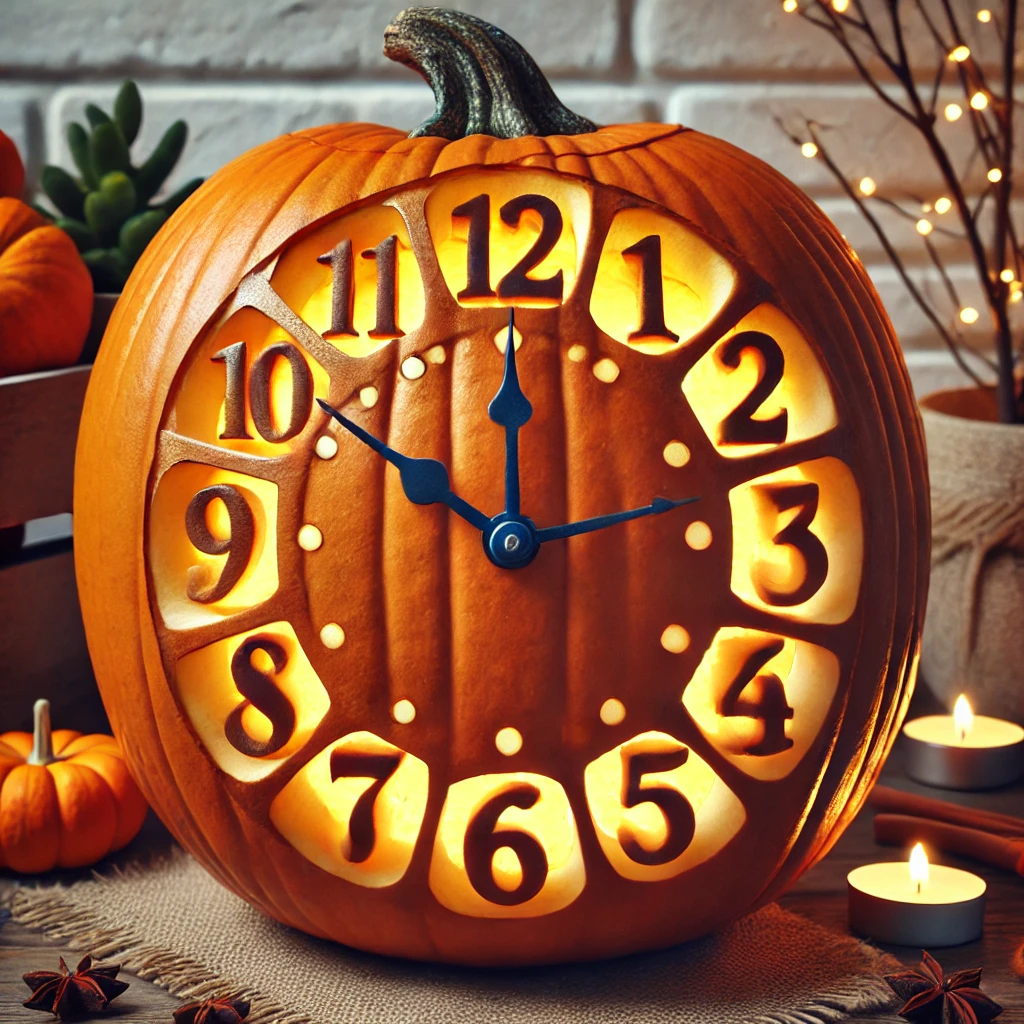
Transform your pumpkin into a functioning clock face! Carve numbers around the outside of the pumpkin and cut out the center for the clock hands. You can either carve the hands or create them using paper or plastic. This is a unique and playful design that adds a functional twist to your pumpkin display.
56. Floral Stencil Pumpkin
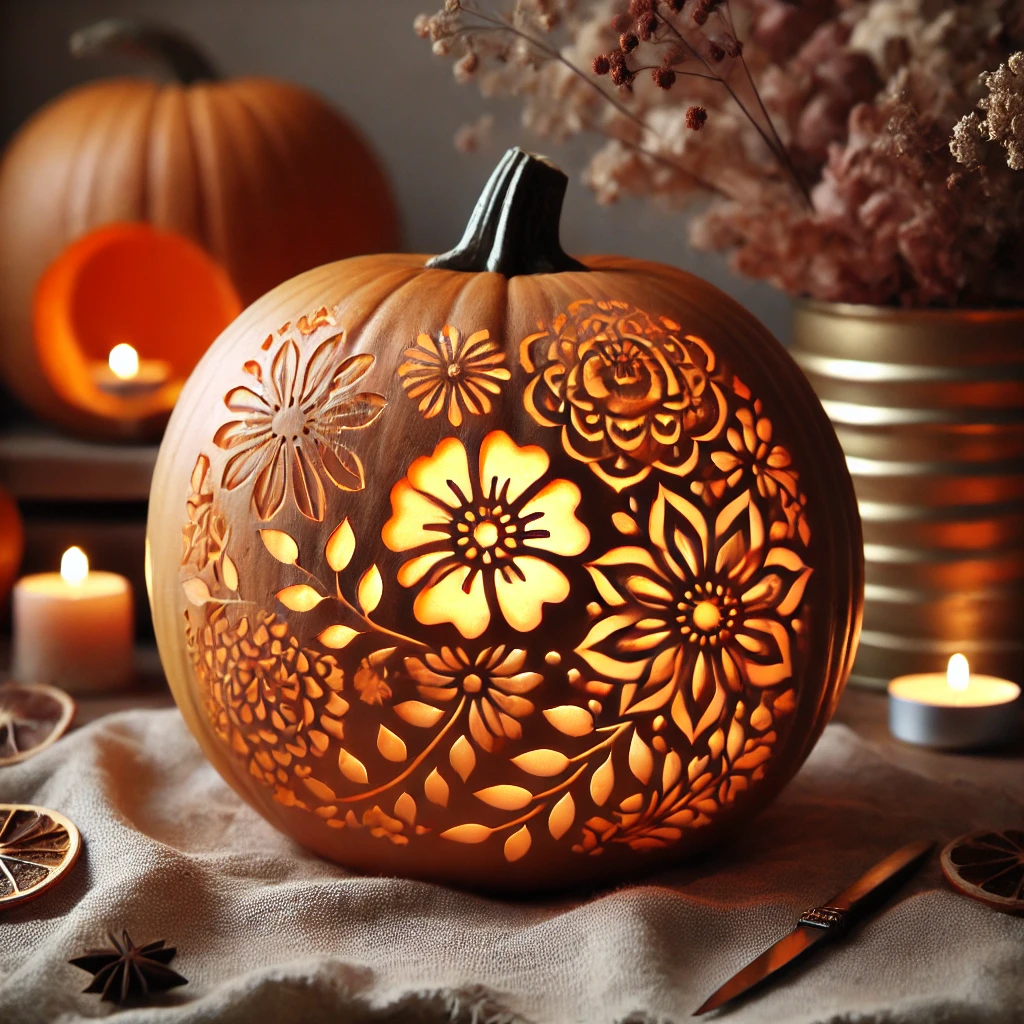
Use a floral stencil to carve beautiful flower patterns into your pumpkin. This design is great for those who prefer a more elegant, non-spooky Halloween look. The floral pattern will glow softly when lit, giving your pumpkin a sophisticated appearance. You can also paint the pumpkin in neutral colors to enhance the floral design further.
57. Bat Pumpkin
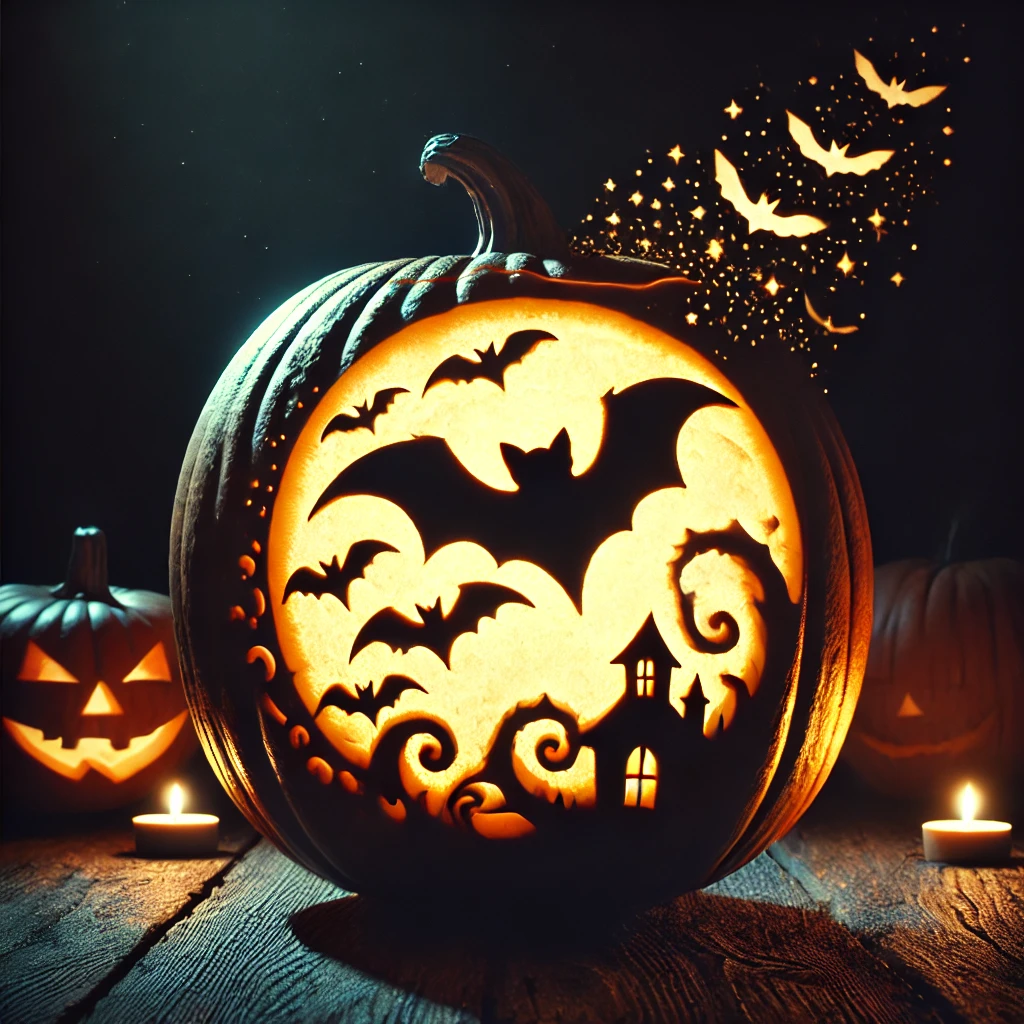
For a simple yet effective design, try carving a bat flying across the night sky. You can either carve a single large bat or multiple smaller bats around the pumpkin. To add depth, carve a moon or stars in the background. This classic Halloween symbol is sure to make your pumpkin stand out.
58. Celebrity Pumpkin
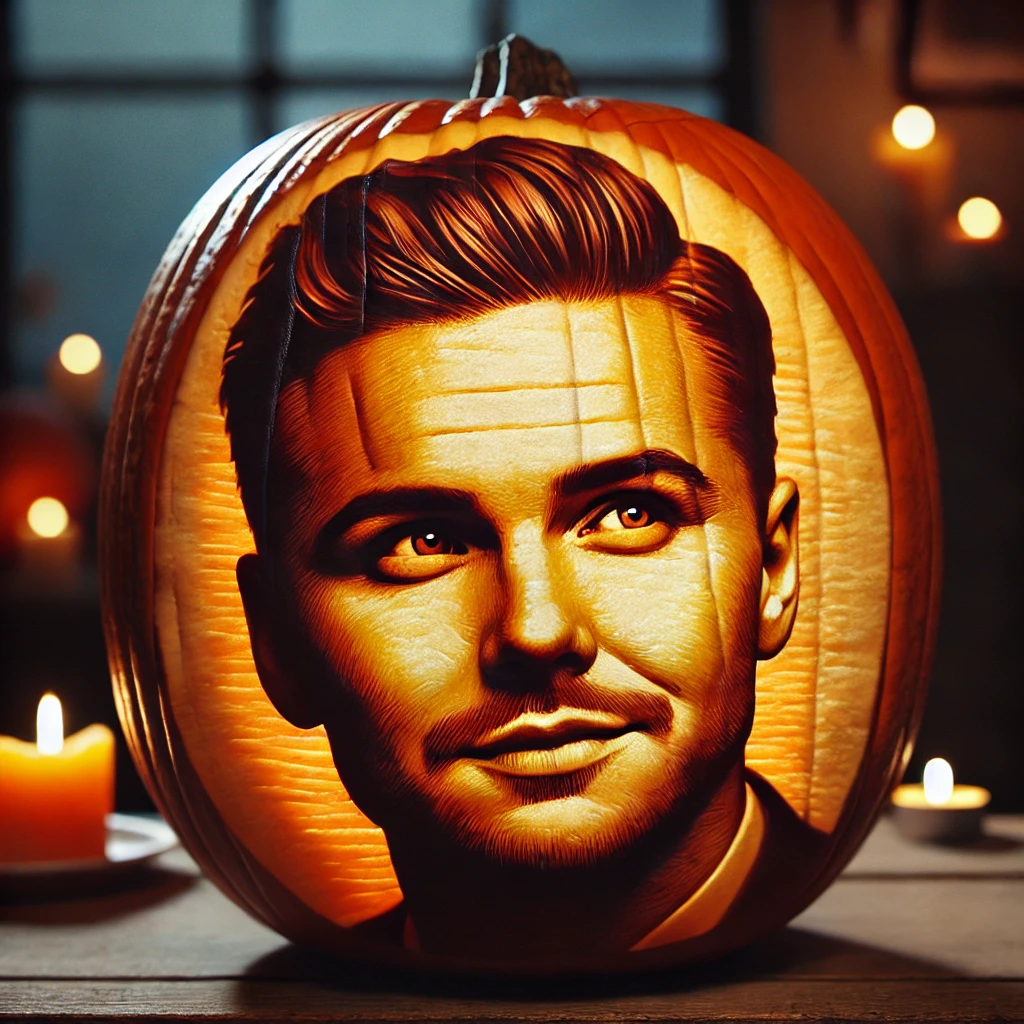
Bring some star power to your Halloween by carving a pumpkin in the likeness of your favorite celebrity. This advanced technique requires some skill, but the result is impressive. Use a photo of the celebrity as a guide and carefully carve out their features, paying attention to shading and detail.
59. Witch Hat Pumpkin
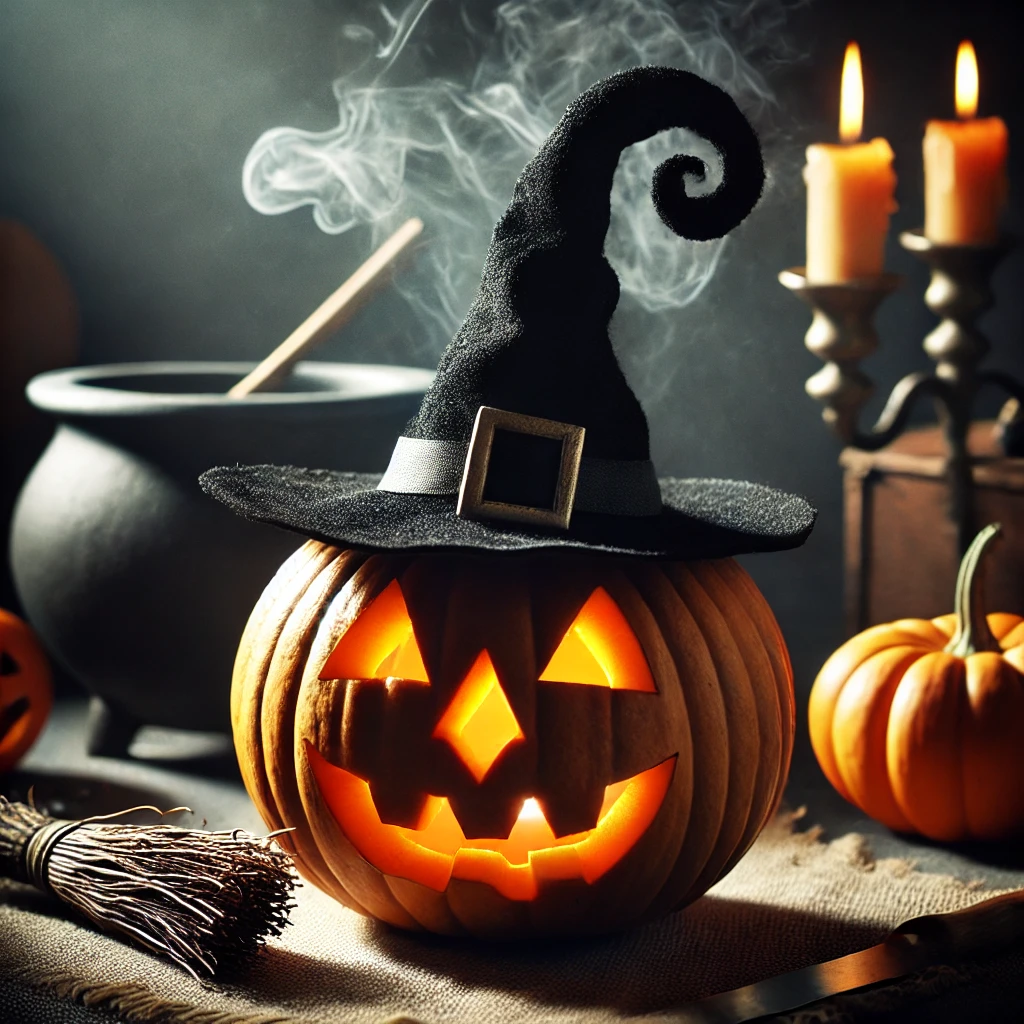
Create a witch pumpkin by carving a simple face and then adding a miniature witch hat on top. You can carve traditional witch features like a pointy nose and sharp chin. To complete the look, use fabric or construction paper to craft the witch’s hat and secure it on top of the pumpkin.
60. Ghost Pumpkin
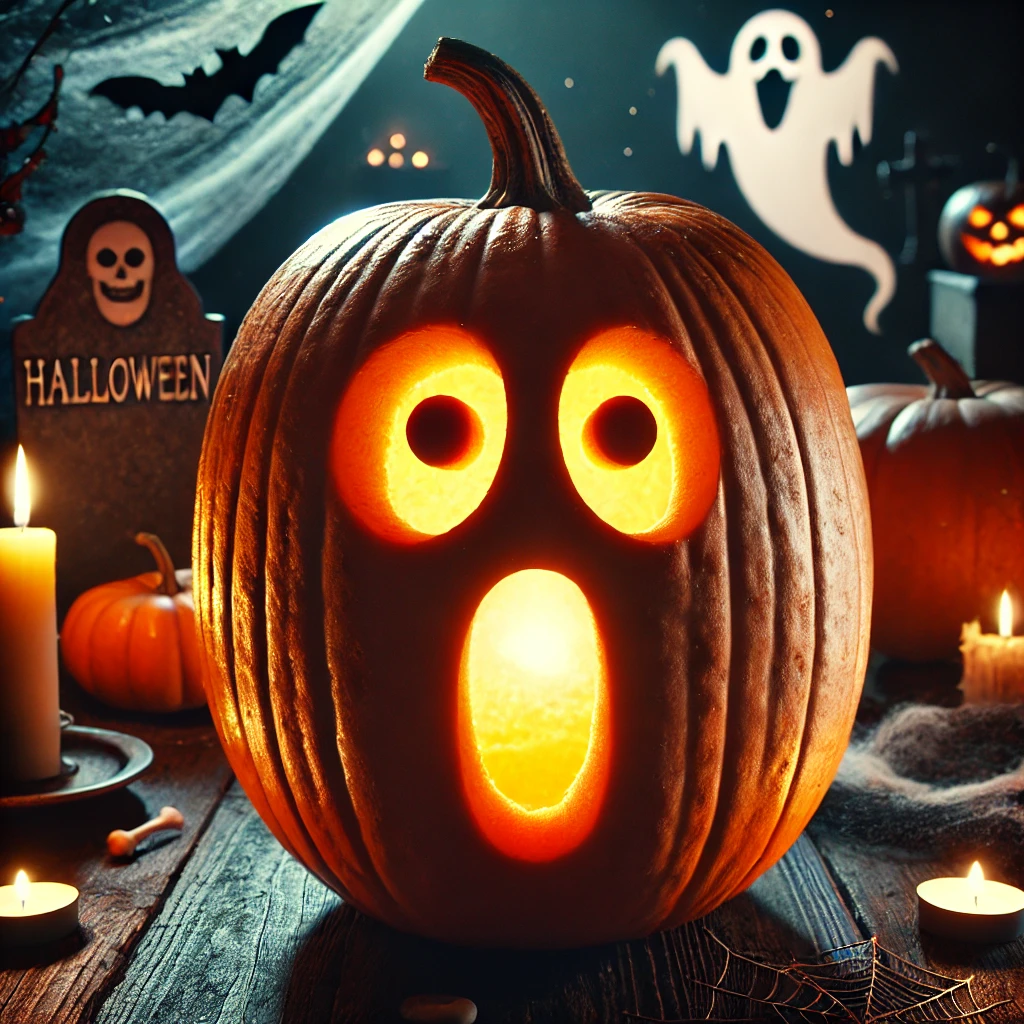
Last but not least, a ghost pumpkin is a classic and easy design that always fits the Halloween spirit. Carve large, oval eyes and a wide “O” shaped mouth to mimic the appearance of a ghost. You can place the pumpkin next to other spooky decorations like cobwebs or tombstones to enhance the haunted theme.
Final Thoughts on Creative Pumpkin Carving

Pumpkin carving is not only a beloved Halloween tradition but also a chance to showcase your creativity. Whether you’re going for a fun, lighthearted design or something a bit more spooky and complex, these 60 pumpkin carving ideas will help you create memorable Halloween decor that stands out from the rest.
From simple pumpkin faces for beginners to intricate carvings like floral stencils and celebrity portraits, there’s something for everyone on this list. Don’t forget to experiment with both carving and non-carving methods like painting or using accessories for a truly personalized look.
Remember to keep your pumpkins fresh by following the preservation tips mentioned earlier, and always prioritize safety, especially if you’re carving with kids.
Happy pumpkin carving, and may your Halloween be filled with creative designs, glowing jack-o-lanterns, and plenty of spooky fun!

